Maybe you've never thought about the order in which you cut the fabrics for your quilts, but you should!
Quilters love fabric. It's beautiful, precious, and we love to collect it. Do you ever find it hard to cut into your favorites? I think we all do. Wouldn't it be great if we could always make the best use of our fabrics and minimize waste? Of course!
In a previous post, we gave you a few tips on 'how to read a quilt pattern'. You can read that post, Here.
Today, I want to focus on the cutting part of your quilt patterns to make the best use of your fabric and reduce leftover scrap and waste. You might be surprised what a simple tip this is:
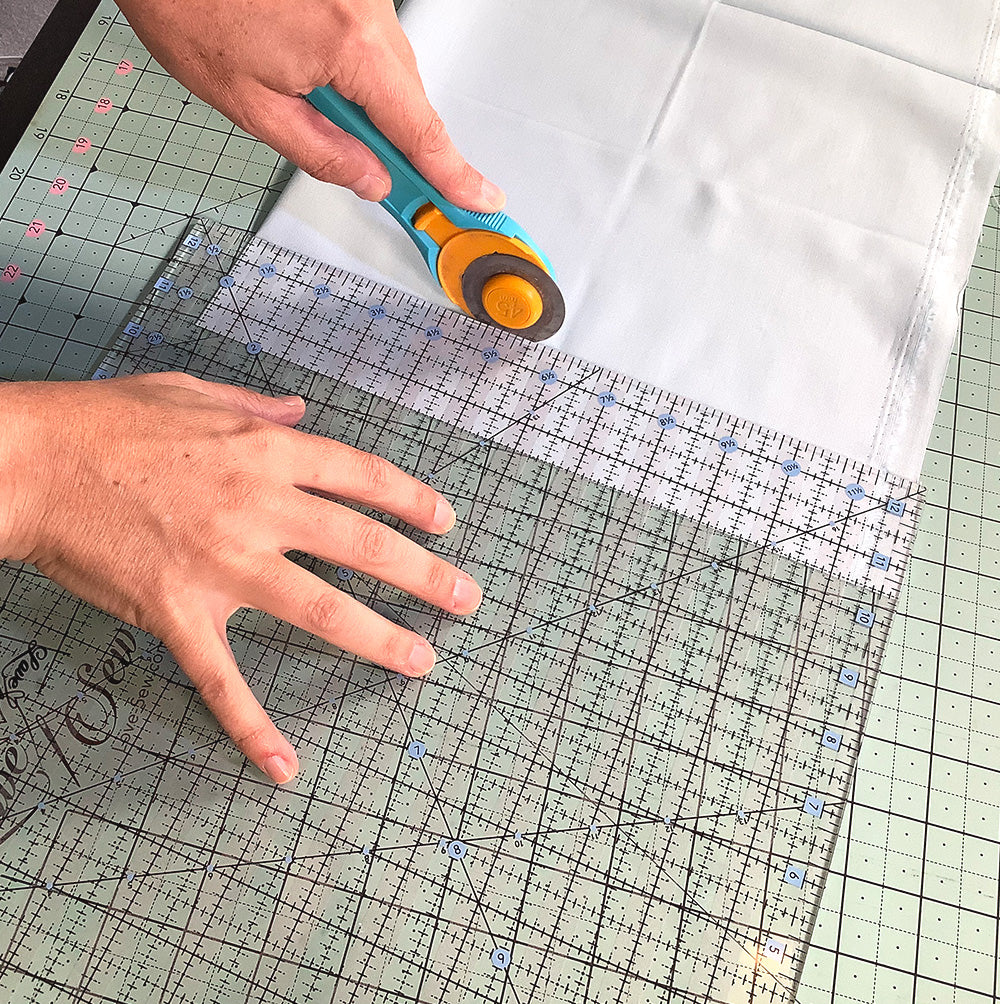
Cut the largest pieces first and work your way to the smallest for each fabric.

Sound simple, right? but it makes a big difference in fabric use.
** Of course, we always hope that the pattern writer has considered the best way to use the fabrics and to require the minimum amount for a given pattern. But not all patterns are created equal. However, if your pattern specifically says to cut fabric in order given, follow that instruction. **
Let me explain and give you some pointers for when you start your next pattern. These suggestions will save you money and the buildup of scraps over time.
1. Read all the cutting instructions before you start. I recommend reading the entire pattern before you start. Choose the fabric (color, print, etc) that you will use for each one listed on the pattern. You may be making it just like the pattern, but if you are substituting your own palette, make sure you are clear what each fabric will be used for in the final design and that you have chosen an appropriate color or value to substitute and get the results you expect.
2. If it makes sense in the design, cut only the pieces needed to make one "block" first. This way you can test the instructions and techniques before you cut up all your fabric. By doing this, you'll catch any potential mistakes in the cutting or piecing instructions (we hope there aren't any, but pattern writers are human). This process will also tell you if the technique and instructions are clear and if the skill level of the pattern is appropriate for you. If you make the first block and realize you don't understand the instructions, don't enjoy the process or technique required, or don't love the fabrics you chose...you haven't invested much by just cutting out one block worth of fabric and can make necessary changes or put that pattern aside for the future (or never 😊).
Okay, that's the basic best practice. Now for the juicy tip you came here for:
3. Cut the largest pieces for each fabric first, then use the scraps from those pieces to cut subsequent pieces working your way down to the smallest.

Here's an example:
From one of the fabrics in your pattern, it says you need to cut (14) 4 1/2" squares; (14) 2 1/2" squares; (6) 9 1/2" x 12 1/2" rectangles; and (6) 6 1/2" squares.
a. The largest pieces are the 9 1/2" x 12 1/2" rectangles. Cut those first. Since you need 6 of them, you can get three from each width of fabric (when you cut two strips 9 1/2" x wof).
When you finish cutting the 12 1/2" rectangles, you have two pieces leftover that are about 9 1/2" x 4 1/2". Keep those.
b. What is the next largest piece? the 6 1/2" squares. Those are too big to use the scraps from step a, so cut those from your main piece of fabric. You need 6 of them, which you can get from one width of fabric strip that is 6 1/2" wide. This leaves you with a scrap that is approximately 6 1/2" x 3". Keep that.
d. What is the next largest piece? the 4 1/2" squares. Check to see if these are the right size to cut from any of the scraps you've saved so far. Yep! the scraps from cutting the largest pieces in step -a- are large enough. You can cut (2) 4 1/2" squares from each of the scraps, or a total of 4. Now you only need 10 more, which you can get by cutting two width of fabric strip that are 4 1/2". This will leave you with a strip that is approximately 4 1/2" x 37 1/2". Keep that.
e. What is the next largest piece? the 2 1/2" squares. Check to see if any of your scraps from steps above are the right size. Yep! you can cut two 2 1/2" squares from the scrap left in step -b-. Now you need 12 more. Check it out: you can get all 12 of the 2 1/2" squares from the scrap left in step -d-.
Ta-da! you have now cut all your pieces and may have saved yourself a decent sized piece of your original fabric cut instead of a lot of small scraps from cutting each set of pieces separately.
I hope you give this a try and tell us how it worked for you in the comments! Then find a fantastic scrappy quilt pattern to make with all the fabric you've saved 😊
Happy Stitches,
Sharon


11 comments
Margo
This was the very first thing my instructor taught me when I made my first real quilt. I love doing it this way!
Betty
Great information
Thank you
Sharon Fagan
I like your suggestions and tools would like to buy some.
Sherrie
Great blog! Makes so much sense. Wish I’d had this the last time I cut into my fabric😬. I ended up with lots of scraps and some waste. Thank you.
Joan
This was very helpful to me. It makes a lot of sense to just make 1 block to test how it will look. I am going to put this lesson into practice. Thank you.
Leave a comment
This site is protected by hCaptcha and the hCaptcha Privacy Policy and Terms of Service apply.