...they will make your life so much easier!
One of the things that makes Love Sew quilt kits different and ultra user-friendly? The kit cover guide.
What is it?
For each quilt kit we ship that utilizes a pattern that was not written specifically for the kit fabrics, includes color substitutions, and/or requires specific fabric placement to get the design right, you'll receive a kit cover leaflet. This simple but mighty guide is your roadmap to successfully sewing your kit into the quilt you see on shop site.
Today, I want to show you what these leaflets are and explain how to use them for matching up your kit fabrics to what is listed on the pattern.

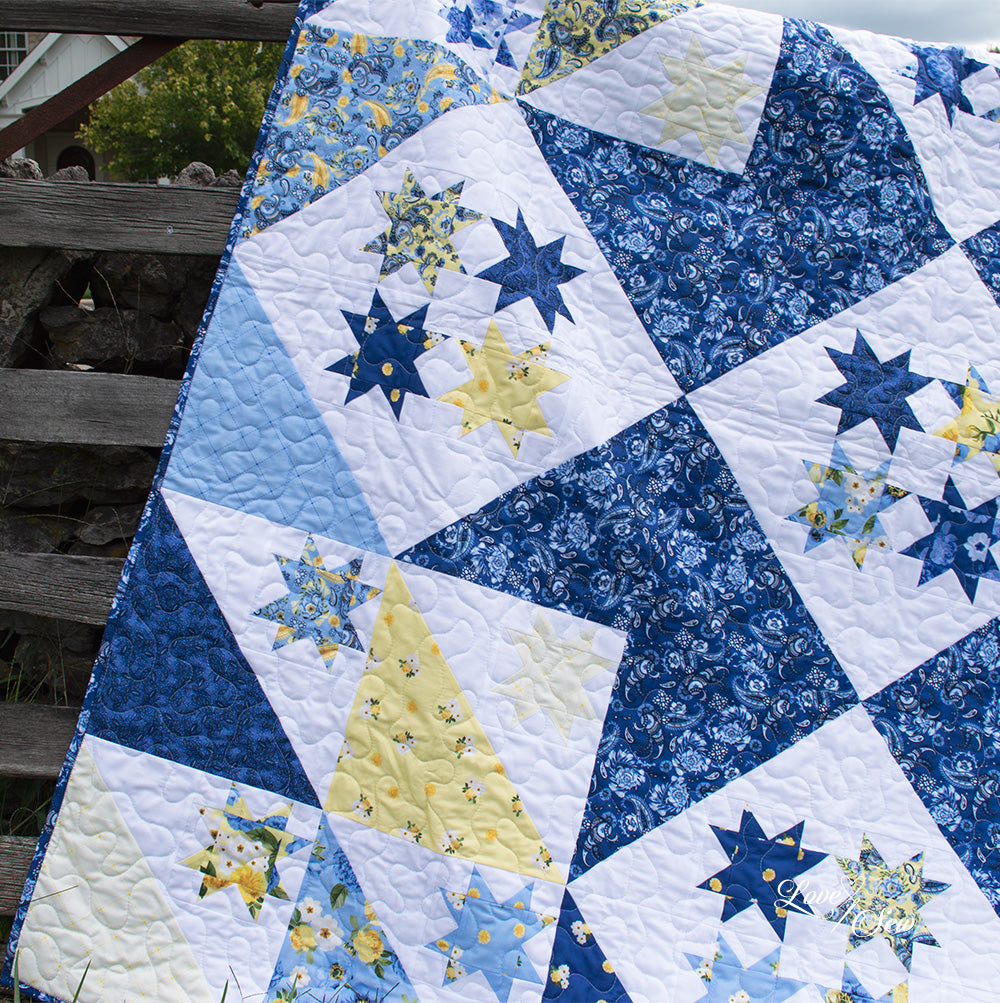
Each kit cover guide includes four pages. The first page, front cover, shows the full quilt in the kit fabrics. This is approximately what your quilt will look like once it's sewn up so get excited! You'll also find the basic details such as the finished quilt size and the name of the pattern and designer. Some of our patterns are designed right here at Love Sew, and some we purchase from well-known designers in the industry.

The next two pages form the inside spread of the kit cover guide. Page 2, the left side of the spread (above), is a guide to the fabrics that are included in your kit. If the kit is for a specific fabric collection of prints, this page may include a swatch for each fabric in the whole collection. This is for you to match what you have in your kit to make sure you are using the correct fabric when there is specific placement required. This leads us to (probably) the most important page of your kit guide:

THIS page is opposite your color swatches so it's easy to refer and match your fabrics as you make the quilt. This chart is most important for quilts where we've made substitutions to what is listed in the original pattern. As you get acquainted with your pattern, look for the fabric in your kit and note it's corresponding fabric on the pattern. This may sound confusing but it's actually super easy!
Here's what to do:
First column of the fabric chart says "pattern list". Under this you'll find the fabrics/colors as they are listed on the original pattern - some or all of them will not be the same as what is in your kit.
Second column of the chart says "kit fabric". Under this you'll find the fabrics that ARE in your kit and will take the place of the fabrics listed on the pattern (first column). So, for the example sheet shown above, our pattern calls for white, light blue, and medium blue fabric. If you check your "kit fabric" (second column), you'll see the colors in your kit for those colors. They are about the same, right?
BUT, when you get to the "medium blue 2" and "navy blue", you'll see that you need to make a substitution. Where your pattern says "navy blue" in the medallion section cutting and piecing instructions, you'll use the very dark green/teal fabric in your kit.
Third column of the chart lists the location you use this fabric. The example shown is for the Pixie Medallion. The guide includes which part of the instructions you make each substitution. For example, the navy blue of the center medallion star (original pattern) will be where you use the dark green/teal fabric of your kit. In border 2, you'll substitute light pink where it says gray.
Notice the green? in the original pattern you only have one green fabric for the medallion star and borders 1, 2, 3. In your kit, you have a bright green for the medallion and borders 2 and 3, but you'll use your light green for border 1.
The original Pixie Medallion pattern is written in a way where you compile your fabrics, cut and sew each section (center medallion, then each border) before moving to the next. Refer to this chart at each section to choose the correct fabrics and you'll end up with plenty of fabric in your kit and a gorgeous quilt.
This is exactly why we include these covers with kits when they are needed. We don't want to leave you having to figure out how to make the substitutions on your own.
Let's look at another, simpler example:

Because each designer is different and writes their patterns in their own way, we have adapted the kit cover instructions to each individual quilt. For Maypole, the pattern lists the fabric by numbers instead of colors. The cutting and piecing instructions call out the fabric using letters. The first column of the kit guide tells you which colors on the pattern correspond with the colors in your kit (second column) and where they are used in the pattern (third column).
See how it works? Each kit comes with specific instructions when needed. Some only need one or two substitutions (background color, maybe). Others, like Lucky Log Cabins, tell you exactly where to put the colors in each block and the final block layout to get the quilt you see on the cover. Makes sewing a kit so much easier and pain free.

hope this "guide to the guide" helps! we have some really beautiful kits right now, some easy and scrappy for beginners and quick makes, others for more advanced sewists...we hope you are as excited to make one as we are!
Happy Stitches,
Sharon
1 comment
Helen Hooper
Brilliant! I wish all quilt kit suppliers would do this
Leave a comment
This site is protected by hCaptcha and the hCaptcha Privacy Policy and Terms of Service apply.