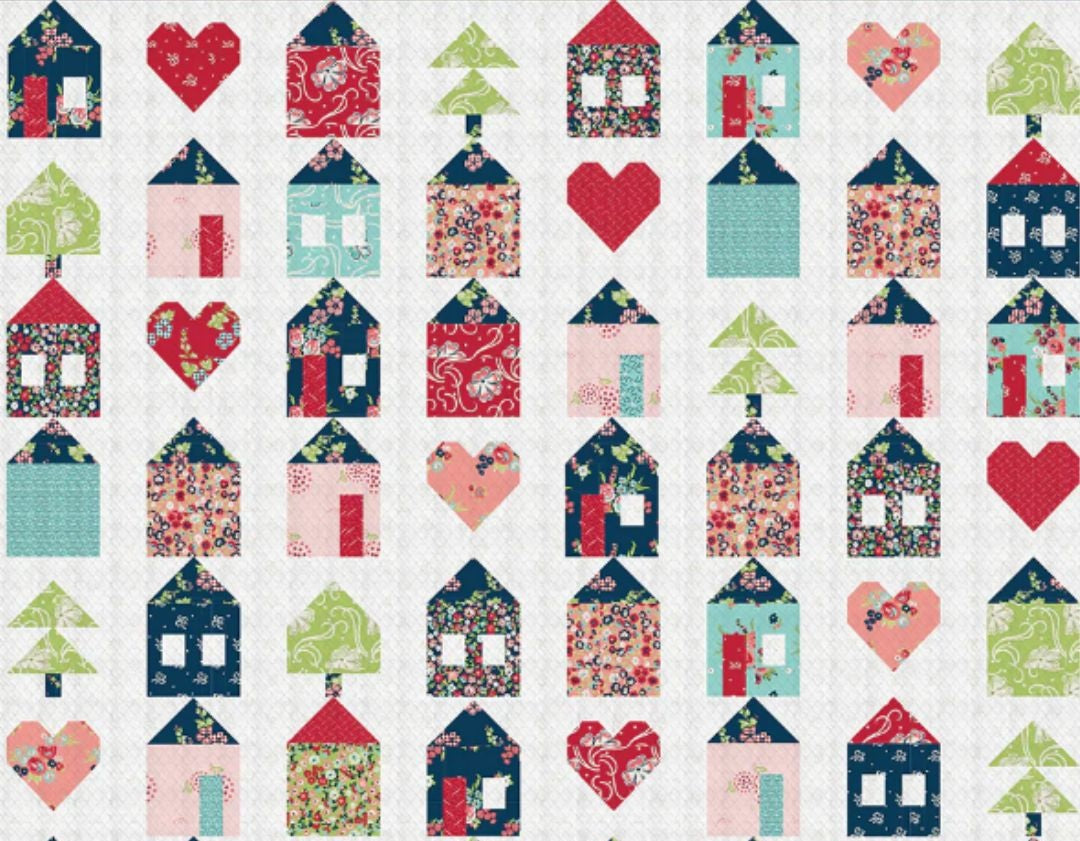
Quilting is addictive! It’s so satisfying to master new skills and see all your hard work turn into a beautiful piece of art. You don’t have to use a pattern, but it can certainly help you create something amazing.
If you’ve never used a quilt pattern before, we want to help you learn how to read one. Every pattern designer does things a little differently, but we have some tips to help you choose a good pattern and follow it.
Love Sew offers a wide range of quilt patterns for both beginners and experienced quilters. We hope you’ll check out our shop. When you purchase a quilt pattern from Love Sew, it is delivered as a digital file via email. You can then print it out and follow along.
Choose a Pattern Based on Your Skill Level
Choosing a quilt pattern can be both exciting and overwhelming. If you’re a beginner, it’s best to look for simple designs that incorporate large pieces. Patterns that have lots of small pieces and tons of different colors are a little harder to follow and take more time. If you need some suggestions, we recently wrote a post sharing 5 Quilt Patterns Perfect for Beginners.
Once you’ve mastered the all-important, ¼” seam allowance and have a few simple quilts completed, you can go ahead and try some more complicated designs. However, be careful only to learn one or two new quilting skills at a time so you don’t get overwhelmed. We suggest you start with simple quilt patterns that use squares and half-square triangles before learning applique, curved piecing, and other quilting techniques like English Paper Piecing. This will allow you to expand your skills while still staying within your comfort zone.
Read the Pattern All the Way Through Before You Start
When you get a new quilt pattern, don’t do anything until you read the instructions all the way through. Don’t simply skim the text — study the diagrams, read all the cutting and piecing instructions, and try to picture the overall process in your head. It’s true that most patterns are written step by step, but it’s helpful to know what you’ll be doing and in what order you’ll be doing it.
We think having a printed pattern is best so that you can write notes and keep track of where you are when you take breaks. This will help you jump back into the project quickly, even if you’ve taken an extended break or gotten distracted by other projects. (Yes, we know that happens!)
As you read the pattern, be sure to look up any terms you don’t understand. Also pay attention to any special callout boxes or asterisks that you see in the pattern. They often give you tips or alternative options.
Buy All Your Fabric at Once
All quilt patterns have a section somewhere near the beginning that lists the fabric requirements. This is typically broken down based on the colors you need to get. However, some patterns simply tell you to buy a certain amount of fat quarters or other sizes of precut fabric. The yardage needed for your binding and backing should also be included in this section.
Pay special attention if there are different quilt size options listed in your pattern. You’ll need a different amount of fabric based on the size quilt you are making.
If you want to use different colors than your quilt pattern suggests, that’s perfectly fine, but you need to write down what you’re doing. We find it’s helpful to get some graph paper and colored pencils to diagram any changes that you’re making.
Most pattern designers generously estimate the amount of fabric you need to get for each color, but you can always get a little extra in case of mistakes. That way you don’t have to worry about buying more fabric later and having it come out of a different dye batch.
Follow the Cutting and Assembly Instructions in Order
The biggest advantage to using a quilt pattern is that the designer has done all the quilt math for you. You just need to make sure you cut and sew precisely.
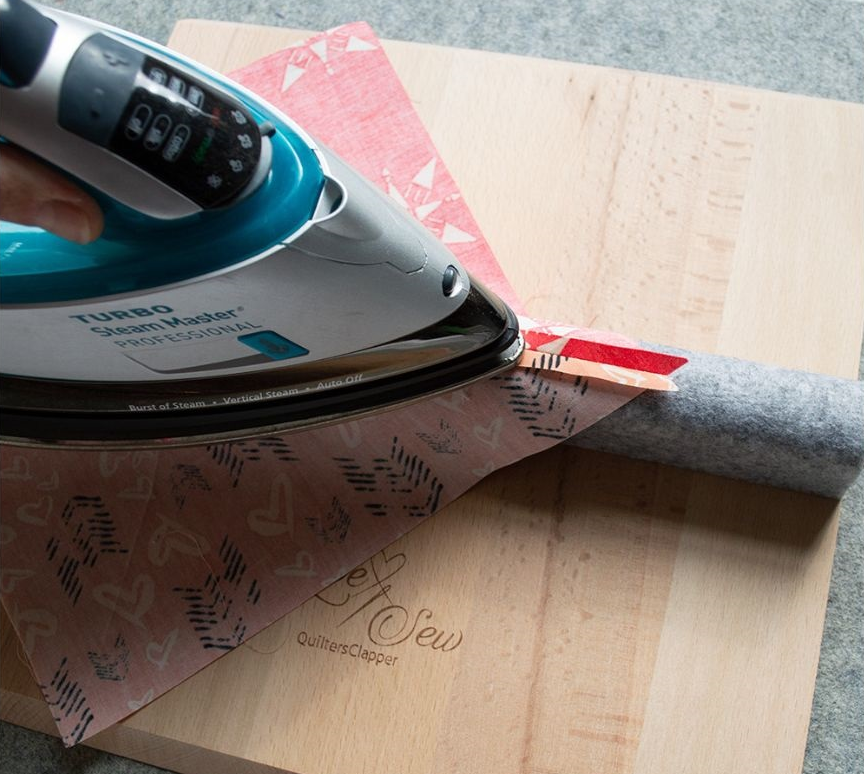
Some quilters like to cut out all the required fabric pieces before sewing anything together. Others batch the process. You can do it either way, but you should always follow the assembly instructions listed in your pattern step by step because they will tell you which way to press your seams so that everything nests well together and your quilt top stays as flat as possible.
When cutting fabric, try to avoid using your cutting mat as a measuring tool because it can warp a little over time. Rely on your ruler instead. Then, place your cut pieces in plastic bags to keep them organized until you need them.
After sewing a few units, you should always use a ruler to check if your blocks are measuring the size the pattern tells you they should be. The pattern designer is going to assume you know how to square up blocks and sew using a consistent ¼” seam allowance.
We hope you found this post helpful. If you ever get stuck or have questions about the instructions in a quilt pattern, head over to Love Sew’s Facebook group and ask for help! The group is full of kind and experienced quilters who are quick to respond.
8 comments
NANETTE
thank you for this article. i quilt, but they are normally patterns that i make. today I’m starting my 1st quilt with a pattern and i found this very informative!
Ann Hedington
I always appreciate patterns that give the size for the different units in a block (e.g. sew two hst’s on each end of a rectangular piece of fabric… unit should measure n" x n" — that way I can see if I’m on target.
Diane M
Good refresher always helps
Suzy Davies
Thanks. Good reminders.
Dorothy Martin
Thank you. This really helps
Leave a comment
This site is protected by hCaptcha and the hCaptcha Privacy Policy and Terms of Service apply.