If you’re familiar with quilting at all, you’ve probably heard the term “free motion quilting” floating around. But what exactly is free motion quilting? How is it different from regular quilting? And how do you actually do it?
Free motion quilting is a technique that allows you to add beautiful, unique textures to your quilt. However, it’s not easy to do. It definitely requires patience and a little bit of practice. Today, we’re going to teach you everything you need to know about free motion quilting, from the materials you need to do it to our best tips and tricks.
What Is Free Motion Quilting?
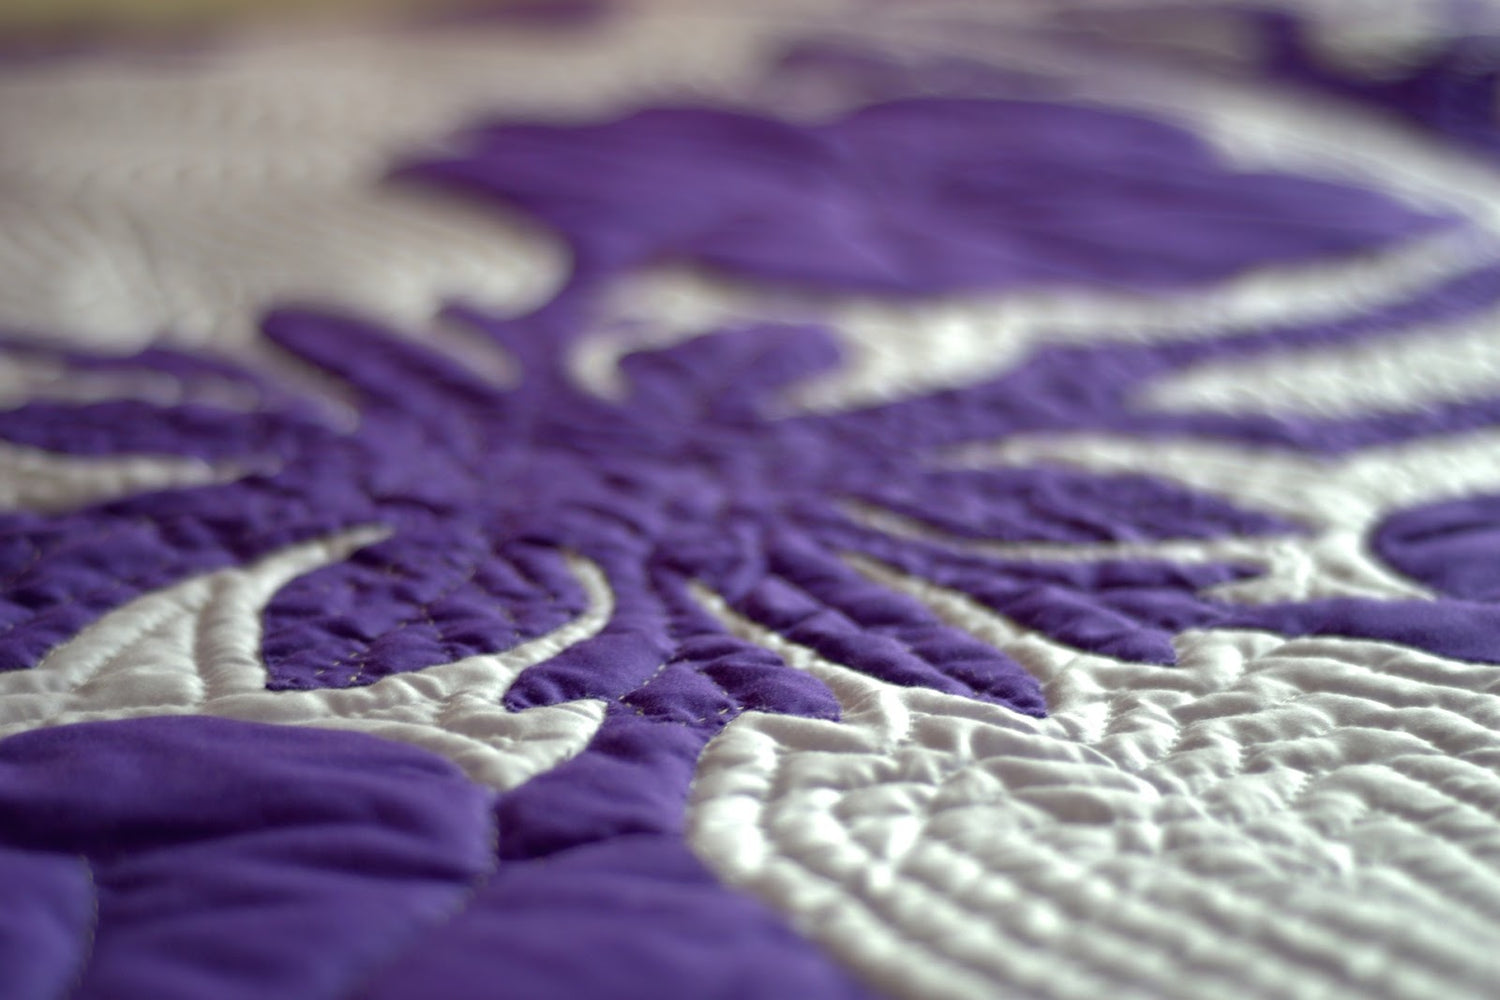
In short, free motion quilting is when you sew patterns into your quilt free-hand instead of in straight lines. You can free motion quilt in any shape or direction. This type of freedom can be intimidating to new quilters. We don’t recommend going in without a plan or a pattern, especially for your first time. It’s very easy to end up with a jumbled mess.
To be able to free motion quilt, your sewing machine must be able to lower it’s feed dogs (see basic parts of a sewing machine for clarification) so that there is no resistance or pushing of the fabric. You’ll also need a free motion foot that is compatible with your sewing machine.
Once you have your feed dogs lowered and your free motion foot attached, you’re in complete control of your fabric and the direction and shape of your stitching. If you’re at all familiar with how a sewing machine works, you’ll know that the needle plunges up and down through the fabric, grabbing the bottom thread and looping it with the top thread to create a stitch. Ordinarily, the feed dogs pull the fabric forward so that the needle can stitch in a straight line. Once you raise the feed dogs, you have complete control over the direction the fabric moves, so you can control the shape the stitches make.
Technically, all you need to free motion quilt is a sewing machine with feed dogs that lower and a free motion foot. However, there are a few other materials we recommend that will make the process a lot easier.
Tools for Free Motion Quilting
Here are some tools we recommend for free motion quilting but aren’t strictly necessary. Remember, we have a huge catalog of handy sewing gadgets on the Love Sew website!
Stitch Regulator
A stitch regulator is a special attachment you can add to your sewing machine that can sense how fast the fabric is being moved underneath the foot. The stitch regulator automatically adjusts the speed of the needle to create the perfect stitch length. Even if your speed doesn’t remain consistent while you free motion quilt, your stitches will still be perfectly even! Not all sewing machine companies offer stitch regulators that are compatible with their machines, but if this option is available to you, we highly recommend it.
Quilting Gloves
There are actually a few different types of quilting gloves. One type is designed to protect your hands while using a rotary cutter. This kind is incredibly useful, but the kind of gloves we recommend for free motion quilting are slightly different. These types of quilting gloves generally feature rubberized tips, which allow you to grip your quilt more easily and move it around under the needle without it slipping. Gloves make it much easier to move and manipulate your quilt, which is incredibly important for free motion work.
Quilting Ruler Set

If you’re a free motion beginner, but you want to get really crisp, precise shapes on your quilt, we recommend trying a quilting ruler set. Sets will come with rules in a variety of shapes that you can effortlessly follow, so you’ll get that free motion quilted look but with maximum precision.
Sewing Machine Extension Table
This is an attachment that you can add to the bottom of your sewing machine to give you a larger workspace. This will make it much easier to slide your fabric around and give you a lot more room to work with.
Chalk or Heat Erasable Pens

If you’re worried about free-handing your pattern, sketch it out on your fabric ahead of time with clark, or heat erasable pens. This will give you a guideline to follow. Plus, you can visualize how your pattern will look before you stitch it out.
How to Free Motion Quilt
There are so many different patterns and shapes you can make with free motion quilting. Each time you free motion quilt, you’ll begin with the same basic steps.
Step One
Ensure that your feed dogs are up and your free motion quilting foot is attached. Slip your fabric underneath the needle.
Step Two
Use your hand wheel to plunge the needle down into the fabric once. This should pull up your bobbin thread, creating a loop. Grab that bottom thread with your fingers and pull it to the top. Both threads should now be at the top. Pull them to the side, so they don’t get tangled. Now, you can lower your presser foot.
Step Three
Now, you can begin free motion quilting! There are so many different patterns you can follow here. You can make circles, wavy lines, or you can just follow the pattern that’s on your fabric. It’s completely up to you! Remember that you’re the one in charge of moving the fabric; your machine won’t do it for you.
Step Four
When you finish whatever shapes you’re making, rotate your hand wheel to bring your needle all the way up, lift the foot, and pull the block off the machine. Cut your threads, leaving thread tails at least four to six inches long. You should now have a single thread at the front of your quilt and a single thread at the back. Give one of these threads a tug. This will bring up a loop. This is the other thread. Pull the loop so both threads are on the same side of the fabric.
Step Five
Now, it’s time to secure your loose threads. We recommend tying your two threads together to create a knot about ⅛ inch from the surface of the quit. Grab a cheater needle or any type of large hole needle. Thread the needle with your threads, then run the needle through the middle layer of your quilt about one to two inches. Pull the needle through, and give your threads a tug. The knot should pop down to the middle layer of the quilt. Clip off the tails, and repeat for the other threads.
Free Motion Quilting Tips
Free motion quilting is an art form. Like any other art form, there is some natural skill involved, but most of it is practice. We’ve compiled some tips for beginning free motion quilters to help you master the craft with little to no frustration.
Step One
Get as much table surface area as you can for quilting. Getting a drop-in table that allows your machine to be flush with the bed of the table is ideal for free motion quilting. If you allow your quilt to hang off the edge of the machine, gravity will pull on it and cause it to drag, which creates friction and prevents good stitches from forming. Having a larger table space to work with makes it easier to move your quilt around and reduce bulkiness.
Step Two
Match thread colors in both your top thread and your bobbin. Unless you have perfect tension, you may see dots of bobbin thread showing through the top of your quilt or your needle thread poking through the backside. Using matching thread colors eliminates this possibility.
Step Three
Use busy fabrics to hide your mistakes! This is a great tip for those just starting to free motion quilts. Busy fabrics make mistakes less visible, and they also give you a pattern to follow with your stitches.
Step Four
Practice on scraps and small projects first. Free motion quilting is all about being able to manipulate and move your quilt around. This can be difficult when you’re working with a full-sized quilt. Plus, if you make a mistake on a scrap, it’s not as big of a deal.
Step Five
Start with a plan. When you’re just practicing, you can have fun with your free motion quilting. However, on a real quilting project, we recommend starting with a plan. Decide ahead of time what you want your stitching pattern to look like. This makes mistakes less likely and makes the whole process less overwhelming.
In Conclusion
Free motion quilting allows you to create beautiful, unique works of art. However, it can be intimidating for beginners. Free motion quilting is a skill that requires a lot of practice. But by investing in some helpful tools and following our tips, you’ll be free motion quilting like a professional in no time!
Here at Love Sew, we love all things sewing and quilting. We offer an extensive catalog of sewing and quilting tools, and we also publish helpful crafting tutorials on our blog. Visit Love Sew online today to join our community!
Sources:
PARTS OF A SEWING MACHINE | Berkeley
How a Sewing Machine Works, Explained in a GIF | The Atlantic
Probing Question: Are artists born or taught? | Penn State University
Leave a comment
This site is protected by hCaptcha and the hCaptcha Privacy Policy and Terms of Service apply.