
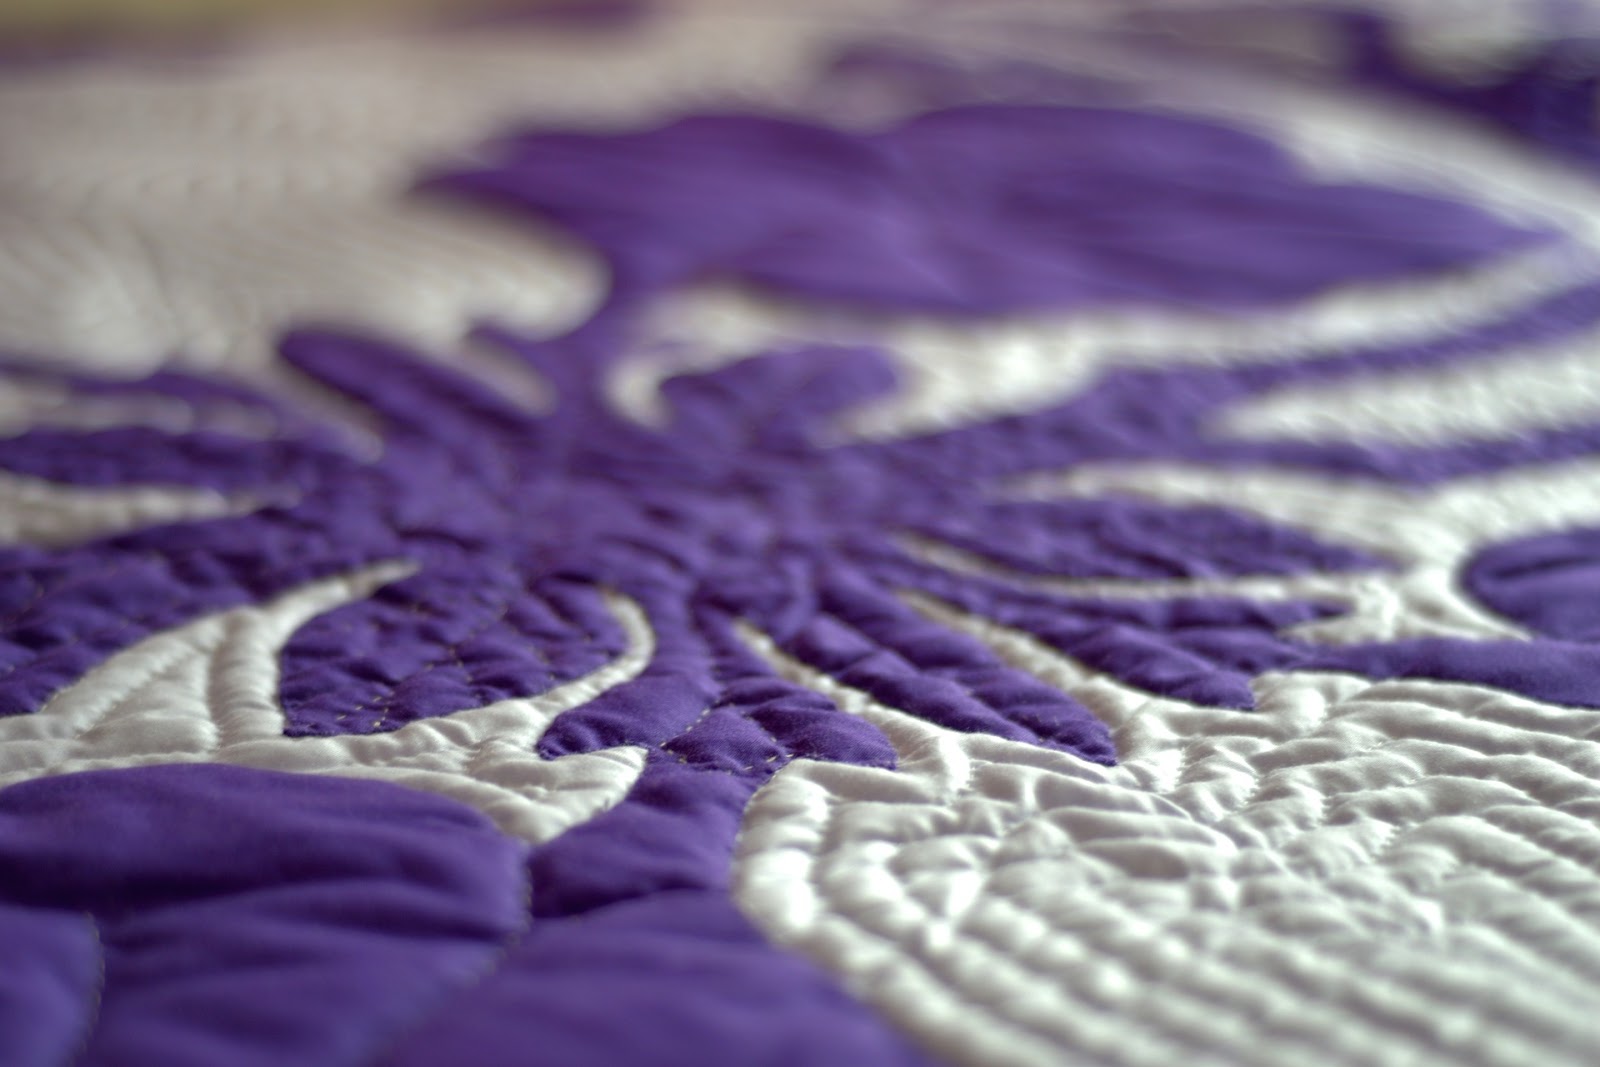
When sewing garments, gathering fabric is a very common task. Gathering fabric and creating ruffles can be done for a variety of reasons, including adding volume, texture, and visual interest. Many seamstresses have a difficult time finding a fabric gathering method that works for them. Today, we’ll teach you a variety of ways to gather fabric, so you can select the best one for your preferences and skill level.
What Is Gathering Fabric?
If you’re unfamiliar with what gathering is, don’t stress. Gathering is simply the act of bundling up a portion of fabric to fit onto a smaller, pre-measured length of fabric. This creates fullness, as well as a beautiful ruffling effect. There are a variety of methods you can use to gather fabric, but the most common method involves using a longer machine stitch that allows for the threads to be manually pulled. The threads will tighten, which consequently causes the fabric to bunch up and gather.
Usually, gathering fabric is done at one-half or one-third of the original width of the piece of fabric. The length at which you choose to gather your fabric will depend on the type of fabric you’re using and the level of fullness you want to achieve. For example, a thick wool fabric will look much fuller when gathered than a satin or a silk, even if you’ve used the exact same length and technique for both.
Depending on the type of fabric you’re using, it is important to pay attention to the thickness of your thread, and, if you’re gathering on a sewing machine, your machine’s tension and stitch length (if you’re not familiar with how to control these settings, make sure to read up on the parts of a sewing machine). If you’re working with a thick, heavy fabric, make sure that you’re using a thicker thread as well. Thinner threads won’t be able to hold up to the weight of the fabric when pulled, and they may break on you, meaning you’ll have to start all over again.
When it comes to selecting a stitch length when gathering fabric on a sewing machine, you’ll again have to consider the weight and thickness of the fabric you’re working with. The heavier your fabric is, the longer your machine stitch will have to be. This will ensure that your thread can be pulled easily when gathering. If you’re using a thin, lightweight fabric, your stitch length will be a bit shorter, but still longer than if you were just sewing a regular seam.
Four common methods can be used to gather fabric. The method you choose will depend on your experience level, whether you want to hand sew or use a machine, and your desired final look.
Method #1: Gathering By Hand
If you’re uncomfortable sewing on a machine but still want to create a lovely gathered fabric effect, this method is for you. This works best for small areas or small articles of clothing. It’s also useful for extremely heavy fabrics, like burlap or canvas, that can be difficult to run through a domestic machine.
- Thread two needles at the same time (to figure out what hand sewing needle is best for your fabric type, consult this chart.) Use double thread, and tie a sturdy knot at the end. The length of your thread must be longer than the required final length of your gather, so you have room to pull the thread and adjust your ruffles.
- If you need ultimate accuracy, use a ruler to make evenly spaced dots along your fabric with a heat erasable pen. This helps to ensure that your stitches are evenly spaced, and your gathers are uniform. However, this step is optional.
- Now, you’re going to stitch two parallel rows of a simple running stitch. Basic gathers can be achieved by beginning your first row of stitches ¼ inch away from the edge of your fabric and placing your second row ¼ inch below the first.
- Once you have completed both rows of stitching, gently pull on your threads, making sure the knots at the beginning are secure. Once you have pulled up your gathers and have adjusted them, end off with a double backstitch to secure everything in place.
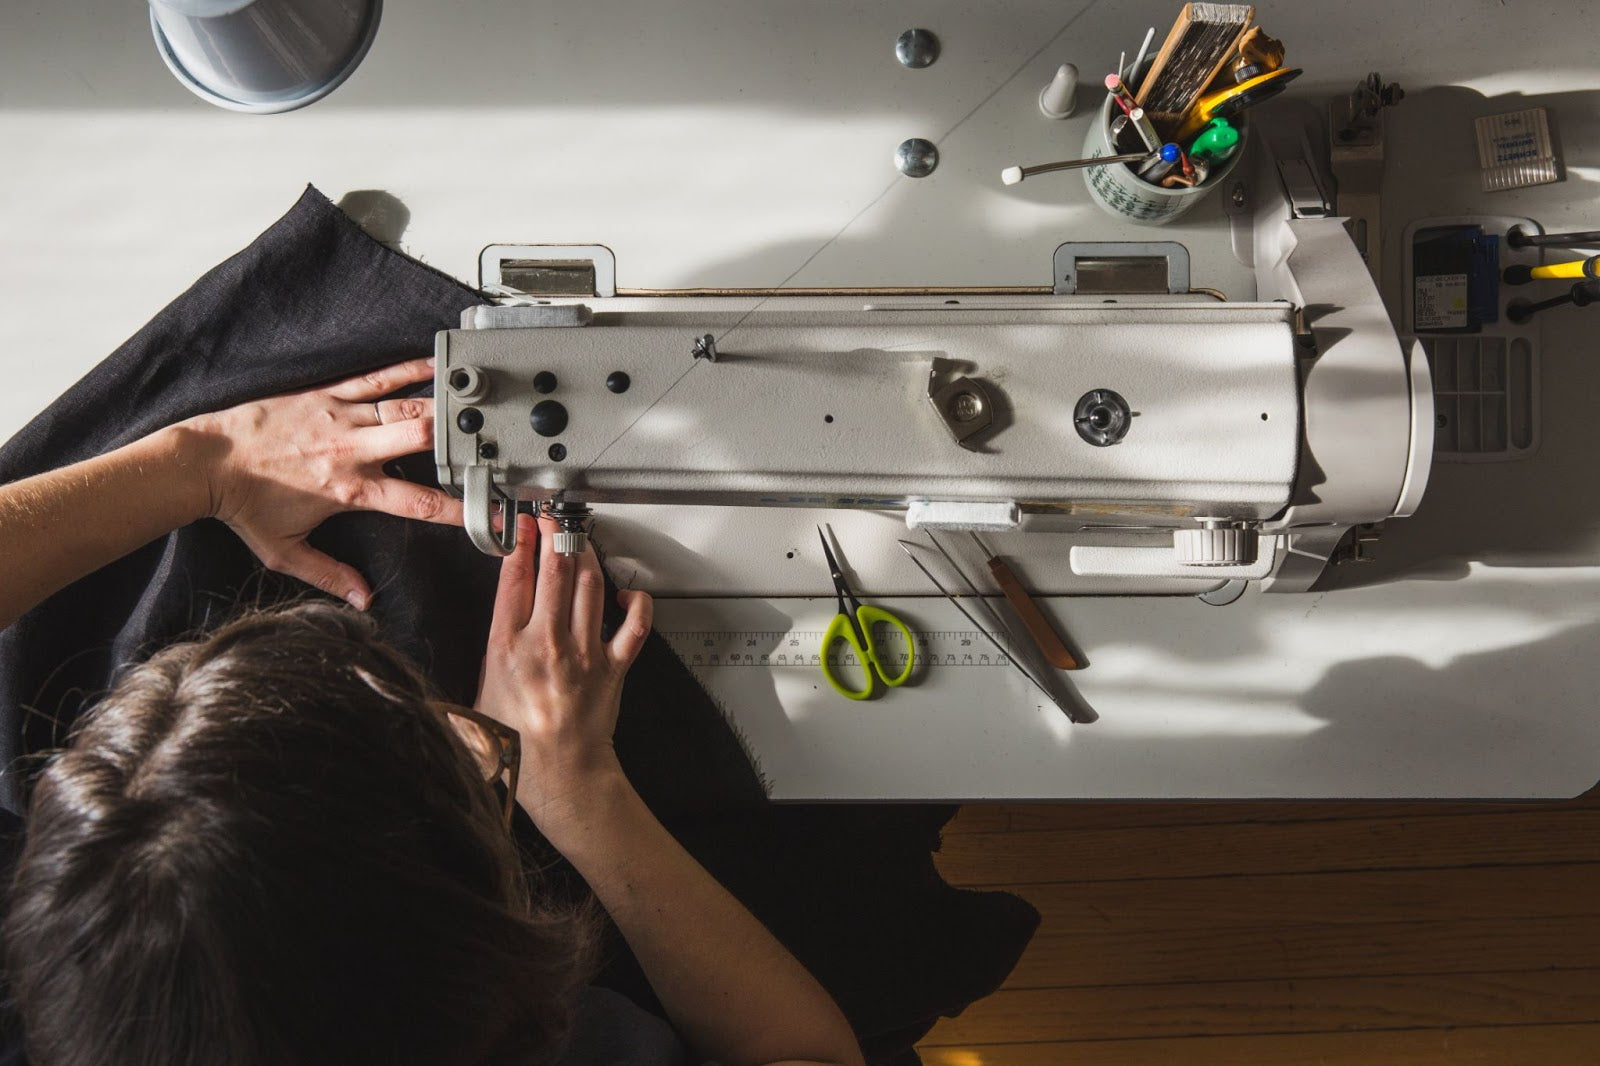
Method #2: Gathering By Machine
This is the standard method used for gathering fabric with a sewing machine. Remember, you must clean, oil, and maintain your machine regularly to keep everything running smoothly, especially if you’re regularly sewing with fuzzy fabrics that shed.
Before you begin, you must select your machine’s stitch length. Most machines go up to a 3.0-4.0, but some will even have a 5.0 or 6.0 option. The longer your stitch, the larger your gathers. Selecting a 3.0 stitch will give you much tighter, finer gathers than a 6.0. You also need to make sure to use a strong bobbin thread so it doesn’t snap when you pull on your threads.
- On the right side of your fabric, stitch two rows parallel to each other. Make the first row just inside the seam allowance and the second row about ¼ inch below the first. Make sure to leave a long tail, about four inches, at either end and don’t backstitch.
- Turn your fabric over to the wrong side. Grab your bobbin threads and begin to pull gently to start gathering towards the center from either end.
- Once your fabric has gathered to the correct length and you’re happy with your ruffles, tie off each end securely and cut off the excess thread.
- Readjust your gathers to make sure they’re evenly spaced. Press your gathers with an iron on the steam setting. You’ll find this makes them sit flatter and look more professional.
Method #3: Gathering With A Serger
If you’re unfamiliar with a serger, or overlocking, sewing machine, it’s a type of machine that trims the seam and encloses the seam allowance or edge of the fabric inside a thread casing, all in one step. Sergers make gathering fabric incredibly easy. However, they’re not as common as sewing machines.
If you find yourself gathering fabric constantly, you may want to invest in a serger! This method is best used with light to medium weight fabrics.
- Set the serger to a four thread machine. You’ll need four cones of thread for gathering with a serger.
- Next, you’ll need to tighten your needle tension. Neater gathering will be achieved with two needles engaged, and the tension on the needles tightened. Make sure you’re only tightening the needle tension and not the looper tension. This increased tension will cause the fabric to gather.
- Now, tighten the differential feed by setting it to a higher number. The higher the number, the tighter your gathers will be. The knobs will usually go from around 0.5 to 2.5. Try to set yours to 2.5 or higher for gathering.
- Now, you can begin gathering! Guide your serger along the edge of the fabric, and your machine will do the hard work for you. Remember that your serger will trim the edge as it sews, so either factor this in as you sew your gathers, or disengage the blade and don’t trim the seam edge. It’s important to ensure that the line of stitching made by your gathers does not exceed the seam allowance.
Method #4: Gathering With A Cord
This method works incredibly well for those who have trouble gathering using the above methods. Gathering with a cord using a zig-zag stitch is great for thicker, heavier fabrics or difficult fabrics to work with, such as tulle. For this method, you’ll be using a cord or strong string, such as crochet thread. Cord is stronger than thread and won’t break when you pull it to create gathers.
- Cut your cord at least four inches longer than the fabric to be gathered. Set your machine to a very wide zig-zag stitch, with a length of around 3.0 and a width of about 5.0 or 6.0.
- Leaving a tail of about two inches, start sewing a zig-zag stitch over your cord. Make sure you’re stitching inside your seam allowance, and leave a long tail at the end as well.
- Secure one end of your cord by winding it in a figure-8 around a pin. Now, pull your cord evenly. Knot the other end, then trim the ends. Distribute your gathers evenly.
- To hold your gathers in place, stitch over them with a straight stitch, backstitching at either end. Then, remove your cord. If some of the cord is caught in your stitches, don’t worry: it will be hidden in your seam allowance.
Conclusion
Gathering fabric is done for a variety of reasons. It creates stunning visual interest and looks wonderful on garments. There are a variety of different ways you can gather fabric. The method you choose will depend on the type of fabric you’re using, your experience level, and your desired effect. Try out all these methods, and select the one you like best!
If you’re passionate about all things quilting and sewing, be sure to visit us online at Love Sew. We offer a huge catalog of handy sewing tools, such as an Applique Fusing Mat; plus, we publish handy tutorials to our blog. Visit us today to join our community!
Sources:
28 Types of Fabrics and Their Uses | Masterclass
2 comments
Astyork
Thank you for the clear and concise guide on how to gather fabric! Your blog post simplifies a complex technique, making it accessible for sewers of all skill levels. Much appreciated
Ava Hill
Leave a comment
This site is protected by hCaptcha and the hCaptcha Privacy Policy and Terms of Service apply.