Cutting fabric accurately is probably the most important element of quilting. If your blocks aren’t accurately measured, they’ll be uneven, and your quilt pieces won’t fit together. This results in a sloppy, uneven quilt top. It’s so important to properly prepare and cut your fabric, so you can make sure the focus is your beautiful quilting, not your uneven quilt blocks.
Preparing Your Fabric: Pre Washing and Pressing
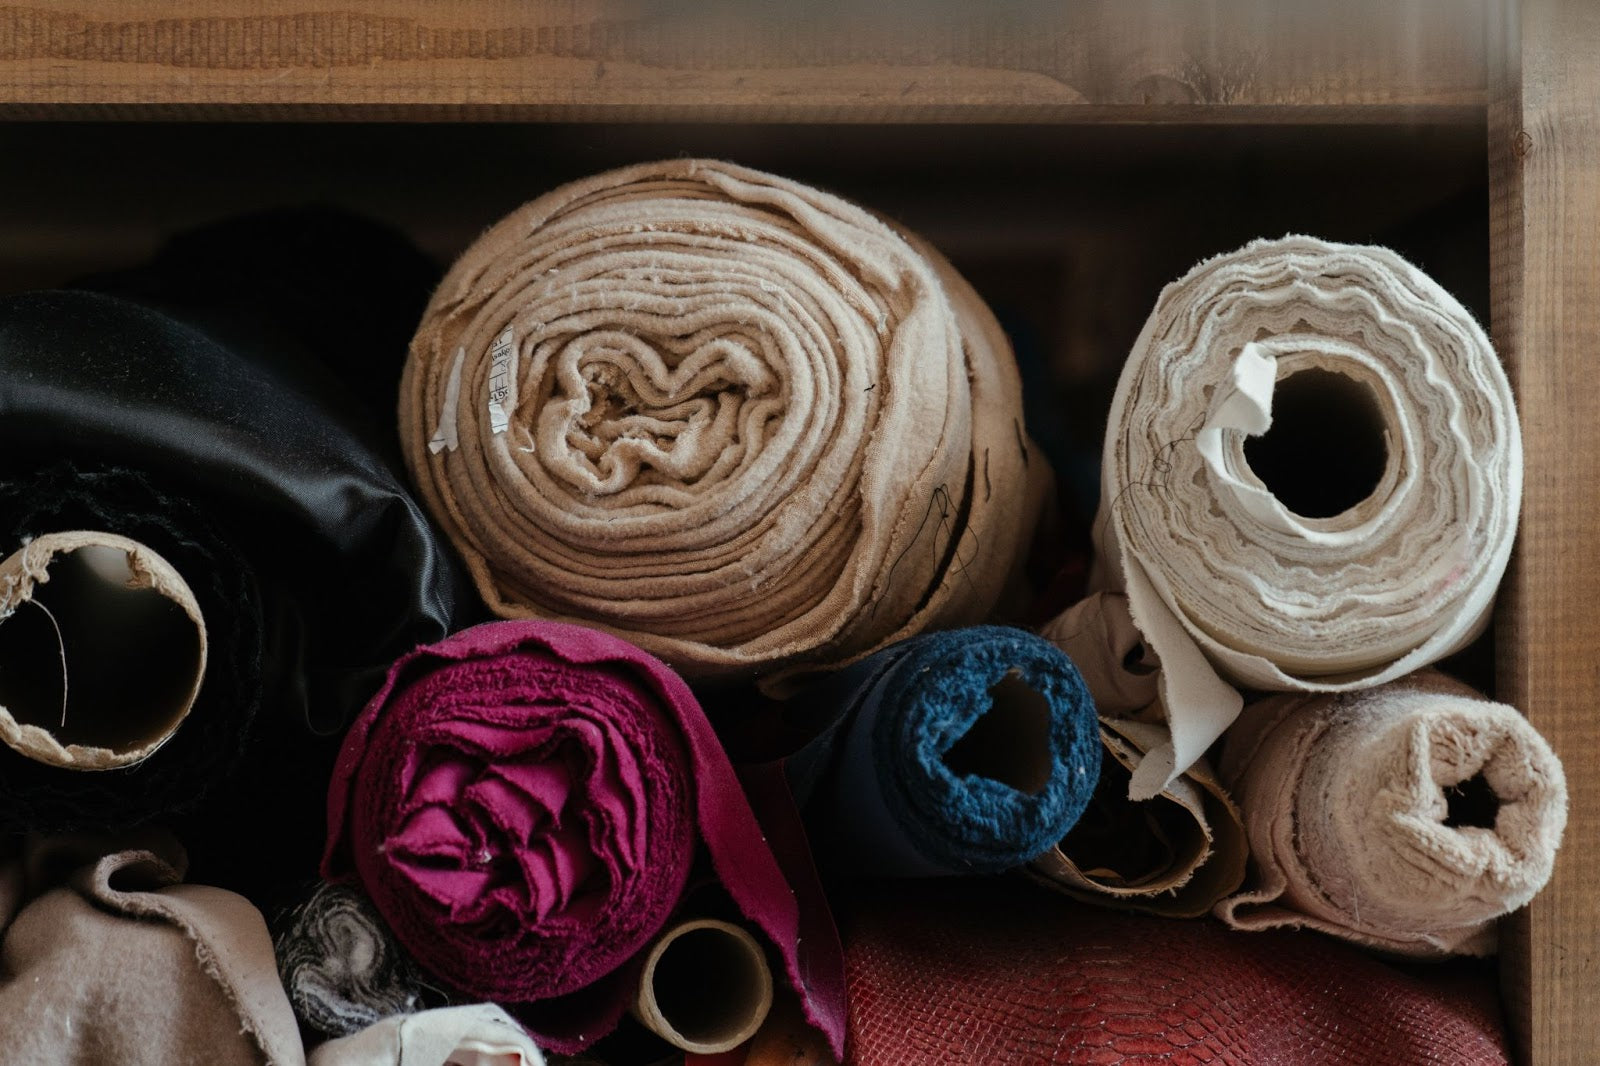
Prewashing fabric is a big debate within the quilting community. Some people consider it essential, while others prefer not to do it. Prewashing makes your fabric fluffy and soft, but there are other benefits it provides beyond just texture.
One major reason to prewash your fabric is that it prevents bleeding. If you’re using bright or dark colors next to whites or creams, it’s a good idea to prewash your fabric. This will prevent the vibrant fabric dyes from spreading onto lighter-colored fabrics.
To prevent fabric bleeding, you can either use Retayne or Synthrapol in your wash. Retayne sets dye into fabric, while Synthrapol releases it and ensures that the dye particles won’t reattach. Prewashing also removes chemicals that may be in the fabric, which is very important if you have sensitive skin.
The main reason to prewash fabric is shrinkage. As we all know, fabric shrinks once it’s been washed and dried. It’s important to prewash your fabric before cutting, especially if you’re using a variety of different fabrics, as your quilt blocks may appear to be different sizes after shrinking in the wash. To cut accurately, you should always prewash first.
After you prewash, we recommend starching your fabric. Crisp fabrics are always easier to cut. In the same vein, you should always press your fabric with an iron before cutting. Wrinkles can throw off your measurements, and they make it much more difficult to cut smoothly.
What Materials Should I Use To Cut Fabric?
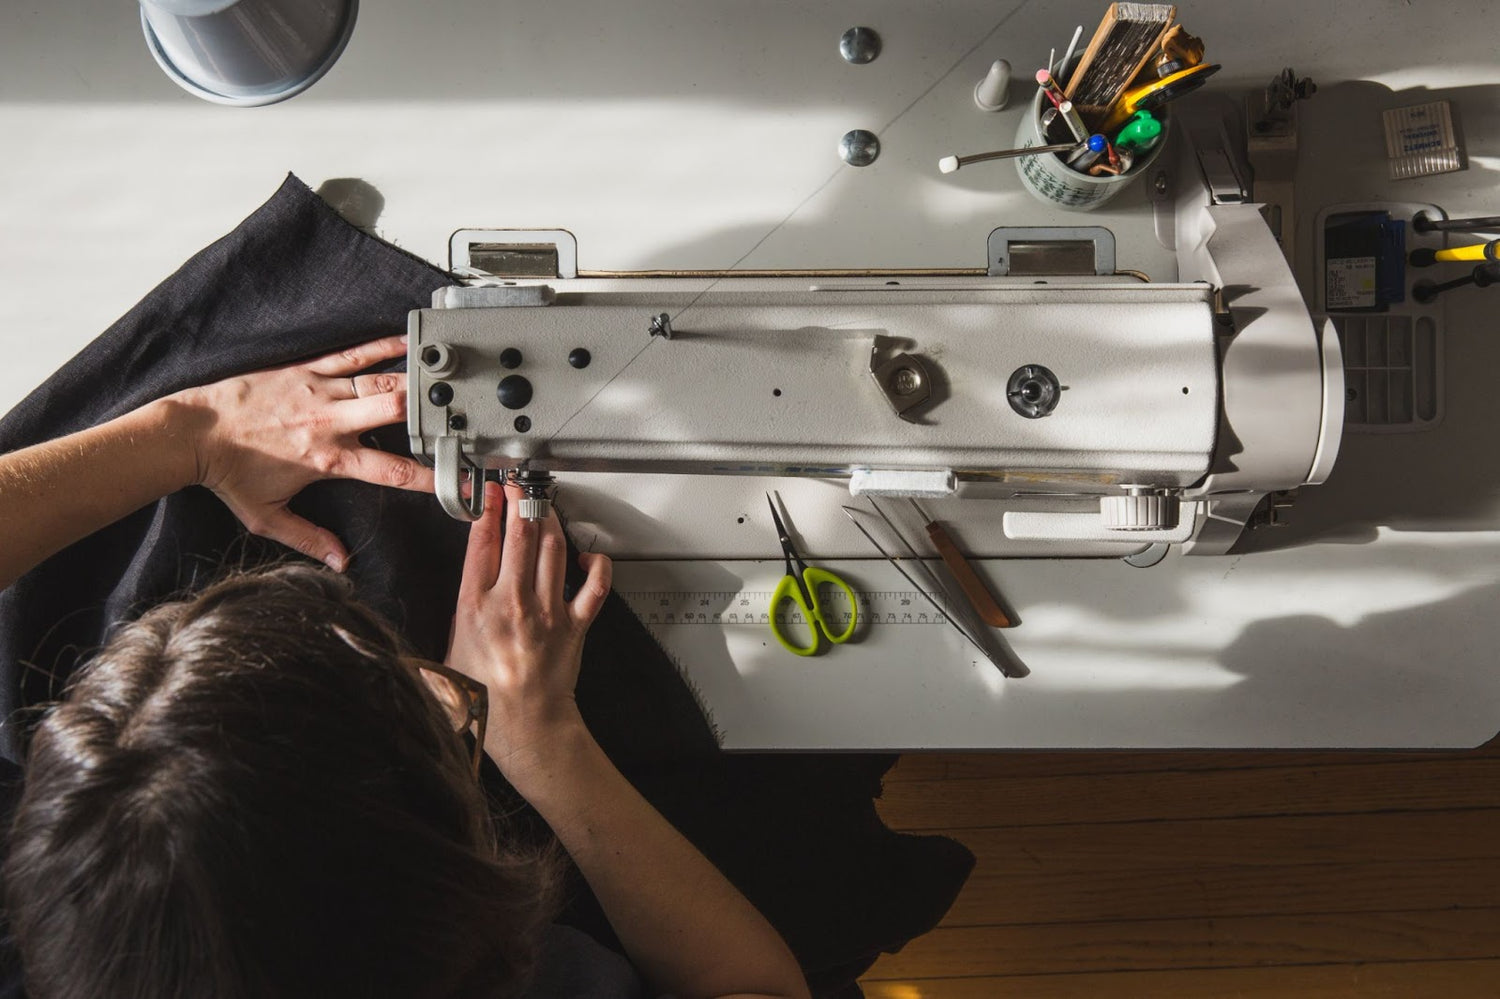
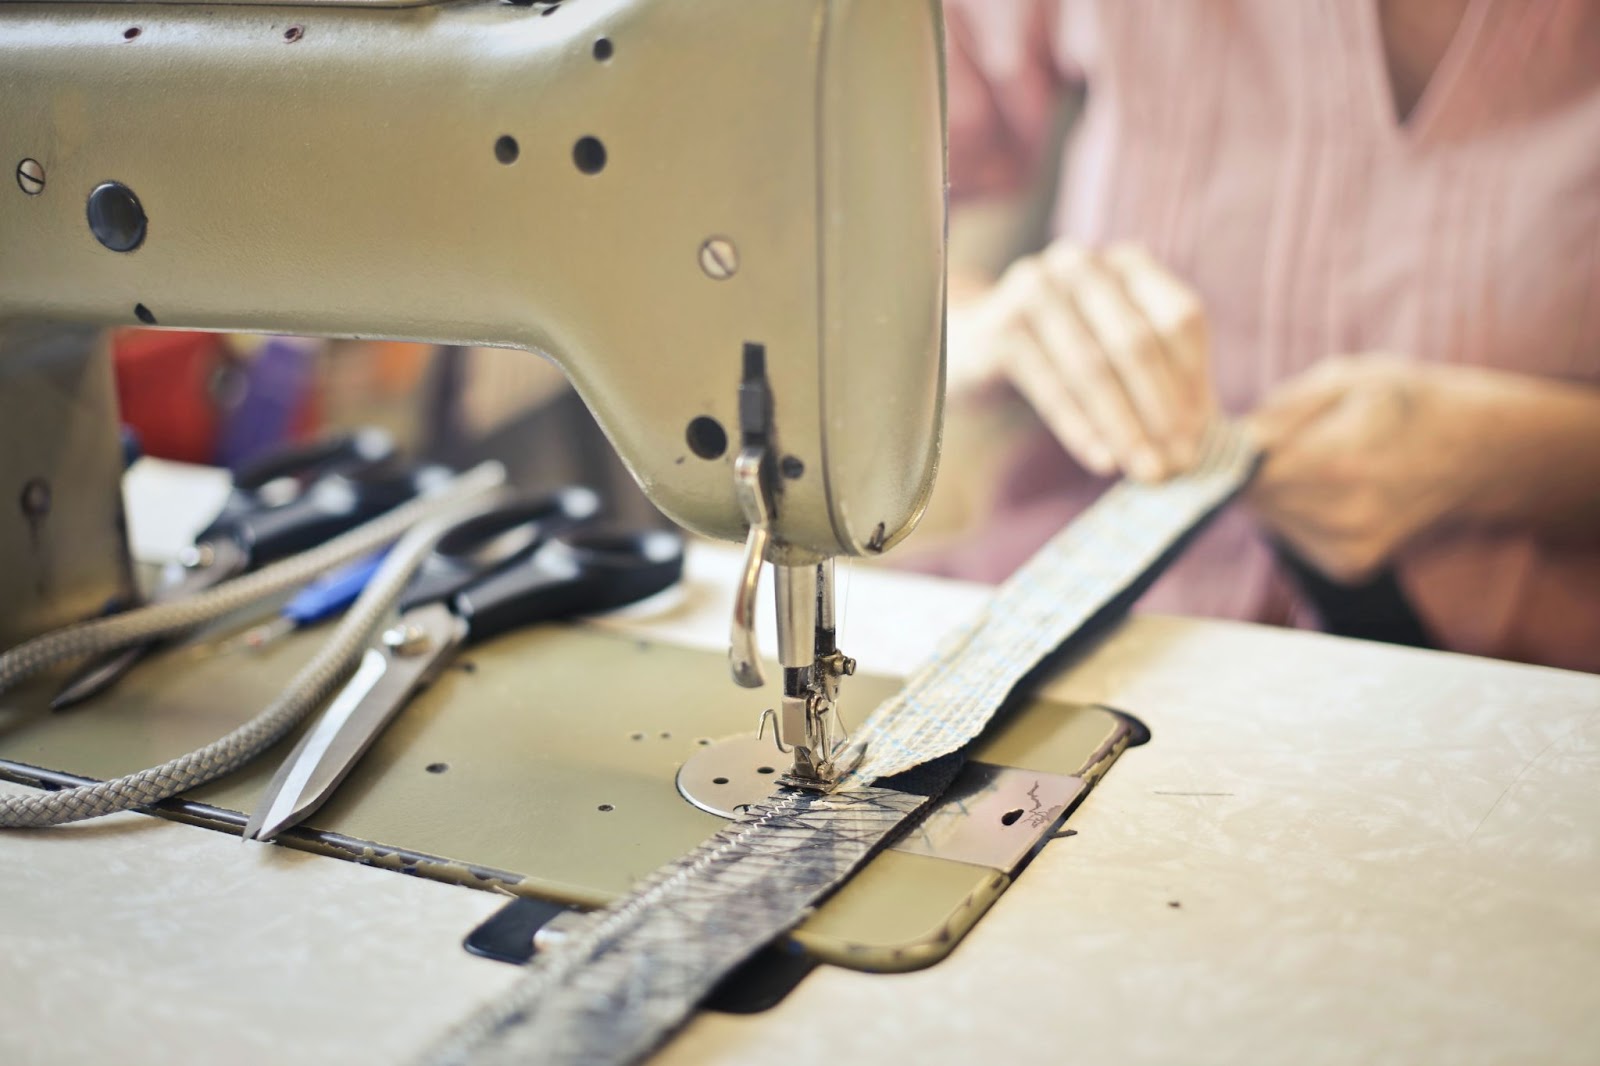
The best way to cut fabric with precision is with a rotary cutter. Rotary cutters have sharp, circular blades attached to a handle. This allows you to cut smoothly, in one motion, without the choppy motions that come with using scissors. Rotary cutters tend to be extremely sharp, which makes them effective, but they can also be dangerous. Make sure you read up on rotary cutter safety and are familiar with how to use a rotary cutter properly.

In addition to a rotary cutter, you’ll also need a rotary mat. Rotary mats are designed to create a smooth, even surface for cutting. There are two main types of rotary mats: plastic and self-healing.
Plastic mats are cheaper, but over time, they can develop grooves or nicks that will make it more difficult to cut a smooth, straight line. Self-healing mats are made of a special material that actually mends itself when cut, so they never develop cuts or nicks. They’re a bit more expensive, but making cutting fabric accurately much easier.
The final thing you’ll need for accurate fabric cutting is a large, sturdy quilting ruler. Quilting rulers come in a variety of different sizes and are usually made of clear plastic, with a grid of measurements on top. This allows you to see through the ruler to your fabric, so you can make accurate markings and cuts. The standard size quilting ruler is 6" x 24", but you can purchase larger ones for bigger projects if need be.
How To Accurately Cut Fabric For Quilting
Once you’ve gathered all your materials, you’re ready to begin cutting. Make sure you’re working on a flat, level surface and have plenty of room to cut. If you have small children or pets, make sure they’re occupied, as the last thing you want is a bumped arm when working with sharp tools. This can lead to inaccurate cutting at best and injury at worst.
Start By Squaring Up
No matter what shape you’re cutting your fabric into, you want to begin by squaring it up. When you purchase fabric from a fabric store, it often comes off the bolt crooked. Squaring up ensures that your fabric’s leading edge is at a perfect, 90-degree angle to the fold and makes cutting accurately much easier.
- Begin by folding your fabric along its length, selvages together. You want your bolt fold to be straight, with no pull lines. If your bolt fold isn’t straight, press it out with an iron, and refold your fabric, so your selvages are matched and parallel.
- If you’re working on a smaller rotary mat, you may need to fold your fabric over again. However, try to avoid this if possible, as each new fold makes cutting accurately more difficult.
- Place your fabric on the cutting mat, with your fold near the bottom edge and the side you’re going to square up to the left. Grab your quilting ruler, and line up the fold with one of the ruler’s horizontal lines. Your ruler’s left edge should be near but not inside the left edge of your fabric. This is where you’re going to make your cut.
- Place one hand firmly on your square ruler, and take your rotary cutter in your free hand. Hold your ruler securely, but make sure your fingers are out of the path of your rotary cutter. Try to cut in one, smooth motion, running the blade of your cutter along the edge of your ruler.
- Now, the edge of your fabric should be at a perfect 90-degree angle to the fold.
Try The Strip Method
From here, you can basically cut your fabric into any shape you need! For the most accurate cuts, we recommend cutting in long strips parallel to your squared-up edge, then cutting segments from those strips. This method works especially well for cutting evenly-sized squares, which you’ll often need for quilting.
- To cut long strips, begin by placing your square ruler down on top of your fabric. When you were squaring up your fabric, you used the left edge of your ruler, but here, you’ll use the right edge.
- Select your desired strip width. If you want to cut a strip that’s six inches, allow your ruler to overlap onto your fabric up to the six-inch mark. Ensure that the bottom of your ruler aligns with the fold and the squared-up edge of your fabric aligns with your ruler’s vertical lines.
- Once you’re satisfied with the way your ruler is lined up and you’re confident in your width measurement, place your hand firmly on your quilting ruler and cut along its edge with your rotary cutter.
- Continue this process, cutting out as many strips as you need. After every few cuts, check to make sure your fabric is still squared, as it’s not uncommon for your fabric to become out of square after repeated cuts.
Once you’ve cut your fabric into strips, it’s easy to cut smaller shapes out of those strips.
- To cut a square out of a fabric strip, turn your strip horizontally. Line up the bottom edge of your quilting ruler with the bottom of the fabric strip, and make sure that the side of your fabric is parallel to the vertical lines of your quilting ruler.
- Allow your quilting ruler to overlap onto your fabric, the same length as the width of your strip. For example, if you cut your strip six inches wide, allow your ruler to overlap six inches.
- Hold your ruler firmly, and use your rotary cutter to cut along the edge of your ruler. This should give you a perfect six-inch by six-inch square.
More Fabric Cutting Tips

Cutting fabric accurately is easy in theory, not so much in practice. Human error and mistakes are common, especially if you’re not used to cutting fabric. However, the tips listed below will make things much easier.
- Place your rotary mat on a hard, flat surface, like a kitchen table or a hardwood floor. Cutting on soft surfaces like carpet leads to inaccuracy.
- If you’re stacking your fabrics to cut multiple layers at once, use like fabrics. It’s best to use fabrics from the same line. Differences in fabric texture and weight make cutting multiple layers difficult.
- Clean away dust from your rotary cutter regularly.
- Change the blade to your rotary cutter as soon as you notice dullness of any kind. Dull blades lead to sloppy cuts.
- When cutting, try to apply even pressure.
Conclusion
Cutting your fabric accurately is incredibly important to quilting. Quilt blocks fit together like puzzle pieces, and if the blocks are different sizes, your final quilt won’t fit together. When cutting fabrics for quilting, it’s important to invest in the proper tools and make sure you measure carefully.
For more sewing advice and tutorials, visit Love Sew online. We offer an incredible catalog of sewing tools and gadgets, and we publish helpful tutorials on our blog. Visit us today to join the Love Sew community!
Sources:
Sensitive Skin: 10 Causes, Treatments, and More | Healthline
WHEN TO USE RETAYNE AND SYNTHRAPOL | Man Sewing
Rotary Cutters: Fast, Efficient, & Safe 13 Must-Know Tips | Craftsy
Leave a comment
This site is protected by hCaptcha and the hCaptcha Privacy Policy and Terms of Service apply.