If you’re new to using a sewing machine, you may not know that the needle is removable and can be swapped out or replaced. A needle may need to be changed for a variety of reasons, and it’s a fairly common occurrence if you’re sewing often. It’s important to learn how to replace your sewing machine needle properly, so you can work efficiently on your projects and avoid accidentally poking yourself.
Why Do Sewing Machine Needles Need To Be Changed?
You may be wondering: why can’t I just use the needle that comes with my machine? Why do I need to learn to change it? There are a variety of reasons you may need to swap out your sewing machine’s needle before, during, or after a project.
The biggest reason is that sometimes, sewing machine needles can snap. You may be attempting to sew a fabric that’s too thick, or sometimes, the needle just snaps from overuse. The best way to avoid this is to invest in some higher-quality needles. We recommend Schmetz Universal Machine Needles. However, even high-quality needles break sometimes.
There are also a huge variety of different sewing machine needles that are designed to tackle different projects. The most common needle is the universal, or all-purpose, needle, which, as the name suggests, can be used for a variety of purposes. However, if you’re working with a difficult fabric, like silk or leather, or on a specialty project like a quilt, you’ll want to swap out your standard needle for a needle that’s designed to handle the task.
There are a few warning signs that will tell you it’s time to change your needle. If you notice your threads breaking during sewing, large puncture holes in the fabric, a popping sound when puncturing the fabric, or skipped or uneven stitches, it’s probably time for you to swap out your needle for a new one or a specialty needle designed for the project you’re doing.
How Do I Change My Sewing Machine’s Needle?
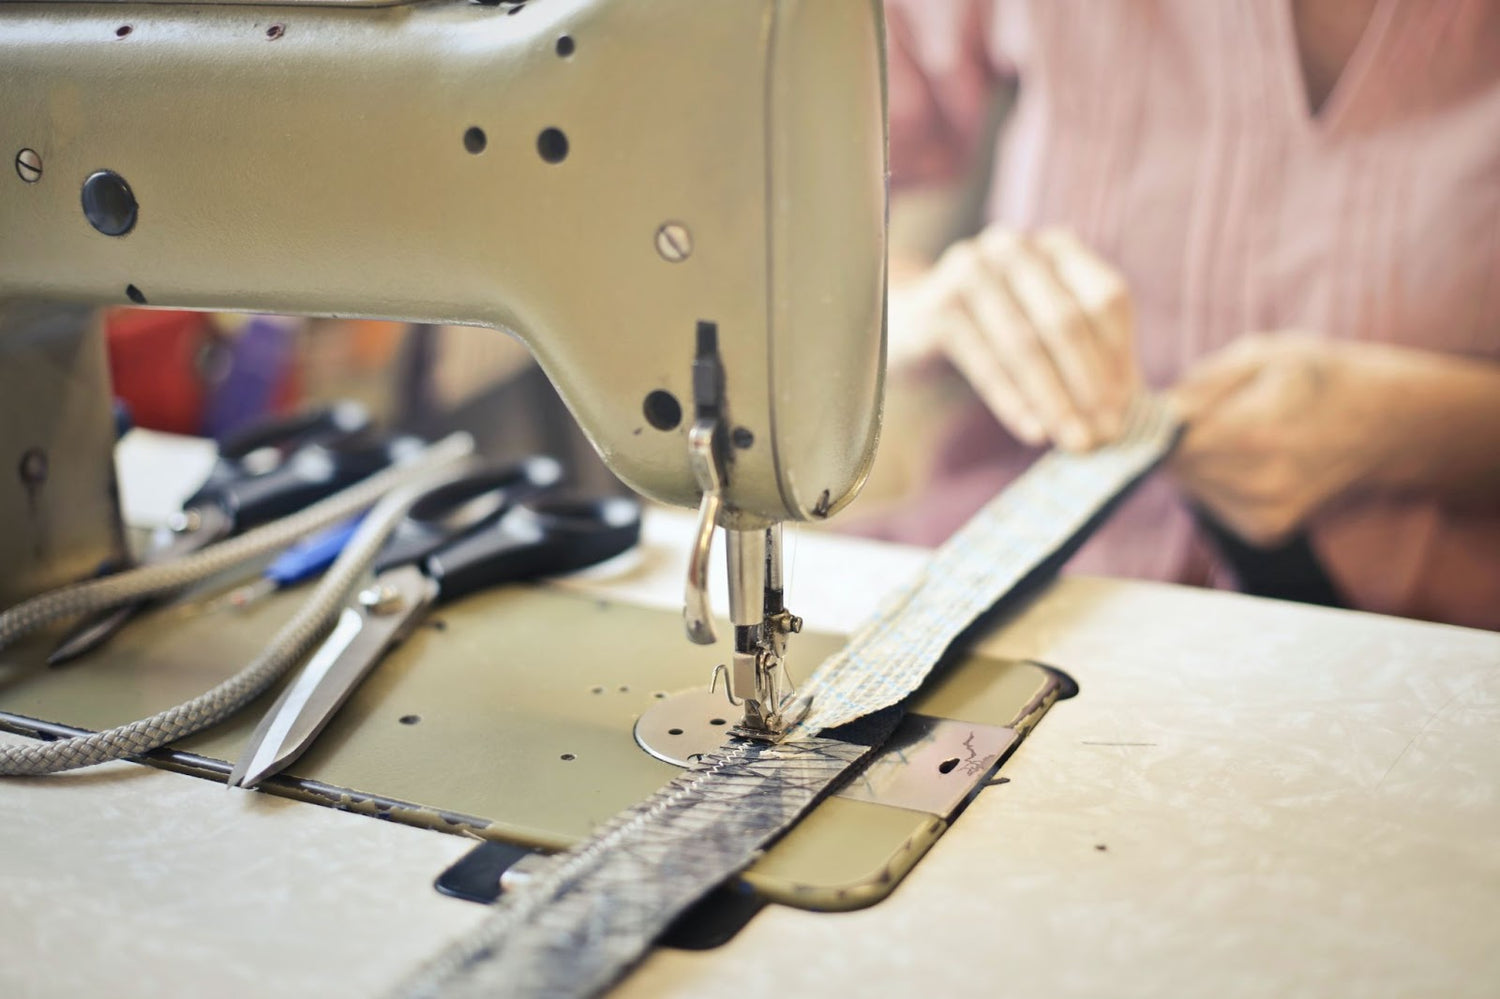
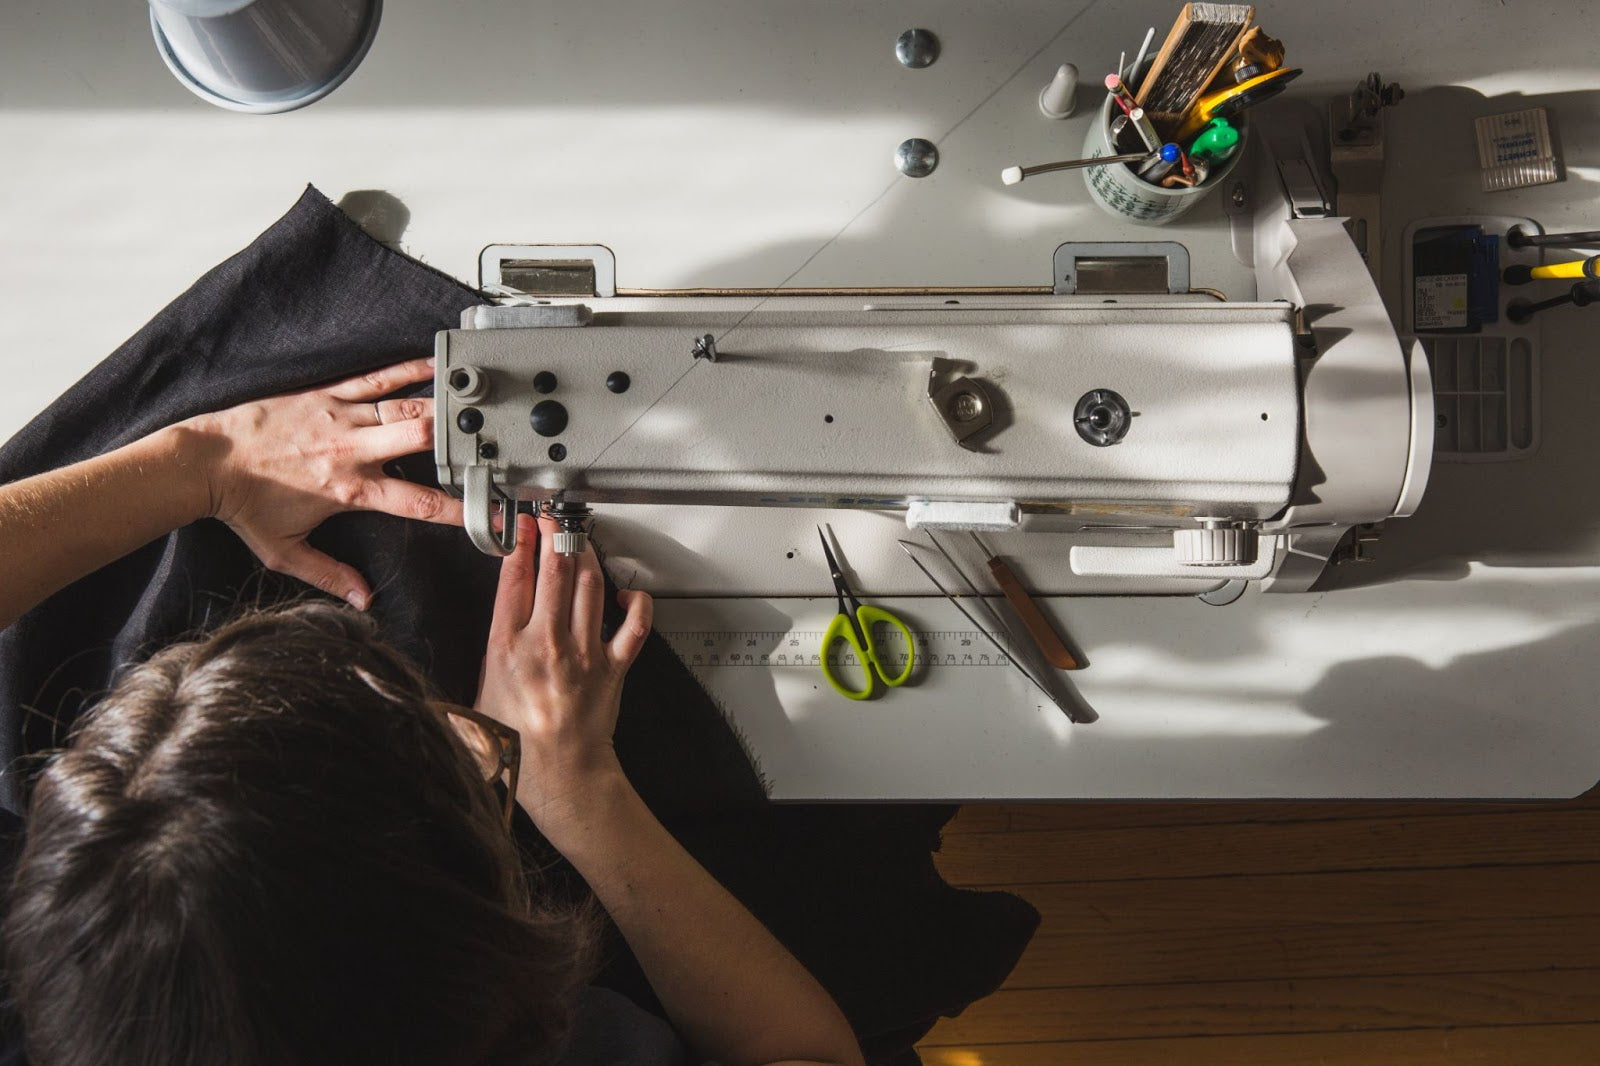
Before you get to work changing out your sewing machine’s needle, it’s a good idea to familiarize yourself with the different parts of a sewing machine and how your sewing machine works. Every part of your sewing machine is interconnected, so it’s a good idea to understand the function and location of all the parts. Plus, if you can visualize the way your needle makes stitches, it will be much easier for you to troubleshoot needle problems as they occur.
Remove the Old Needle
The first step to changing your sewing machine’s needle is to remove the old one. Before you do any type of repairs, cleaning, or oiling to your sewing machine, you always want to make sure the machine is switched off. This is for safety reasons, but you can also damage your machine if you try to do any maintenance work while the machine is on.
To remove your sewing machine’s needle, the first thing you need to do is remove the clamp screw. The needle clamp is what holds your sewing machine’s needle in place. The needle clamp should be located right above your needle, and the clamp screw is typically located to the right of the clamp. It should look like a smaller version of a regular household screw.
There are a few different methods you may have to use to loosen the screw, depending on the model of your machine. On some machines, the screw can easily be twisted by hand. On others, you may need a small screwdriver to loosen the screw. You want to unscrew the needle towards you in a counterclockwise direction. Keep your other hand on the needle while you do this, as it may fall out. There’s no need to unscrew the clamp screw all the way. Just loosen it enough so the needle falls out.
Once the screw is loosened, grab the needle with your thumb and pointer finger, and remove it at an angle. Sometimes, it’s easier to remove your presser foot while you swap out needles, so your fingers have more room to work in.
Make sure to note whether the flat side of the needle shank (aka the top part of the needle) is facing the front or the back. Remember this information, as it will make loading your new needle much easier. Most sewing machines will have the flat part of the needle facing the back of the machine, but take a look at yours just in case it’s different.
Now that you’ve successfully removed the needle from your sewing machine, you’re ready to insert a new one! There are three different ways to insert a needle into a sewing machine. We’ll take you through each method in-depth below.
Inserting The Needle Using Your Fingers
The first method of replacing the needle involves using your fingers to hold the needle and angle it up and into the screw clamp. It’s important to ensure you’re pushing your needle as far up as it will go and that the flat part of the needle is facing the proper direction.
Once you’re satisfied that your needle is in place, tighten the screw by twisting it clockwise. Make sure you tighten the screw as much as you possibly can; otherwise, your needle may be wobbly. Wobbly needles can lead to uneven and skipped stitches.
Inserting The Needle Using A Clearance Plate
The next possible method you can use involves a little contraption called a clearance plate. Your sewing machine may have come with a clearance plate, but if not, they can be ordered online or found at any sewing goods supply store. Clearance plates are usually small, plastic contraptions that have a hole to insert your needle into. The clearance plate holds the needle steady so you can insert it into the screw clamp more easily.
The first step to this method is to correctly orient your needle in your clearance plate. You should be able to tell which way to insert the needle, as one side of the hole should be round, and the other should be flat. The needle should fit into the clearance plate nice and snugly.
With your needle and your clearance plate facing the proper direction, move your plate into the sewing space, and insert the top of the needle into the needle clamp. Once you have the needle in the clamp, push it all the way up. You won’t see much of the needle sticking out the bottom once it’s properly inserted. Once the needle is pushed into place, tighten your screw counterclockwise.
Inserting The Needle Using A Needle Threader/Inserter
There are quite a few companies that make specific tools for threading and inserting needles into sewing machines. These tools work very similarly to a clearance plate. They’re usually more long and thin, but both tools have a special hole you insert the needle into and help to hold the needle snugly while you insert it and tighten the screw.
Sewing After A Needle Change
Once you’ve successfully inserted and secured your new needle, you’re nearly ready to start sewing again. If you removed your presser foot to change out your needle, make sure you put it back in place. Now, just re-thread your sewing machine. If your sewing machine has an automatic needle threader, make sure your needle is correctly aligned so that the needle threader can pass through the eye of the needle.
If it takes you a few tries to properly thread your sewing machine needle the first time, don’t worry! With a little bit of practice, you’ll be able to swap needles in five seconds flat.
Types Of Sewing Machine Needles
There are tons of different types of sewing machine needles out there, all used for different purposes. Here are a few of the most common types:
- Universal Needle: As discussed, this is the type you’ll see most often. Its point is very slightly rounded to sew knits but is sharp enough to pierce woven fabrics. It’s available in the widest range of sizes.
- Sharp/Microtex Needle: This type of needle has a narrow shaft and a sharper point, designed to pierce the threads of woven fabrics.
- Ball-Point Needle: This needle has a medium tip and is slightly more rounded to pass between knit fabric threads without piercing them.
- Denim Needle: These needles have a strong, thick shaft designed to handle denim, canvas, heavy wovens, and other tough fabrics.
- Leather Needle: Leather needles have a special wedge-point designed to pierce through leather, suede, vinyl, and other thick, nonwoven fabrics without tearing them.
- Quilting Needle: Used for quilting on your sewing machine, this needle has a thin, tapered point and is designed to stitch through thick layers and intersecting seams.
Conclusion
Swapping out your sewing machine’s needle is super easy! All it takes is a little practice, and in no time at all, you’ll be able to do it without even thinking.
Here at Love Sew, we’re extremely passionate about all things quilting and sewing. We offer a huge catalog of handy sewing tools, plus we publish an incredible variety of tutorials and tips on our blog. Visit us online today to join the Love Sew community!
Sources:
PARTS OF A SEWING MACHINE | Berkeley
How a Sewing Machine Works, Explained in a GIF | The Atlantic
Leave a comment
This site is protected by hCaptcha and the hCaptcha Privacy Policy and Terms of Service apply.