
Quilting is an amazing art, but it’s very work-intensive. The last thing you want is for your hard work to be ruined by your stitching coming undone! It’s important to secure your threads both when you begin, and when you finish a line of stitches. This ensures that your work is stable and that your quilt will last. In this article, we’ll explain why it’s so important to backstitch and give you a few different methods of backstitching when quilting so your finished project will be beautiful and stable.
What Is Back Stitching?
When you sew, your seams have both a starting point and an ending point. To make sure these points don’t unravel or stretch, you need to secure them with either a back stitch or another alternative stitch that secures a seam in place.
Back stitching is done by sewing backward and forward at the beginning and end of a seam, on top of the other seam stitches, to prevent the stitching from coming undone. Back stitching is very effective at locking a seam into place; however, if you’re quilting with very fine fabric, you may want to use a different method, as backstitching leaves a relatively large amount of thread that can show through.
There are a few alternatives to backstitching that may better suit the design of your quilt. In some cases, it’s best to sew off the fabric, leaving a long trail of thread, and then knot your thread by hand. You may also choose to use a lockstitch, which is a function on most sewing machines.
Every quilter has a different method for securing their stitches. We’ll go through each method below, so you can select the one that works best for you!
How to Back Stitch

Back stitching is an extremely useful skill to learn. You can perform a back stitch using your machine, but you can also do it by hand! We’ll go over both methods below.
How to Back Stitch With a Machine
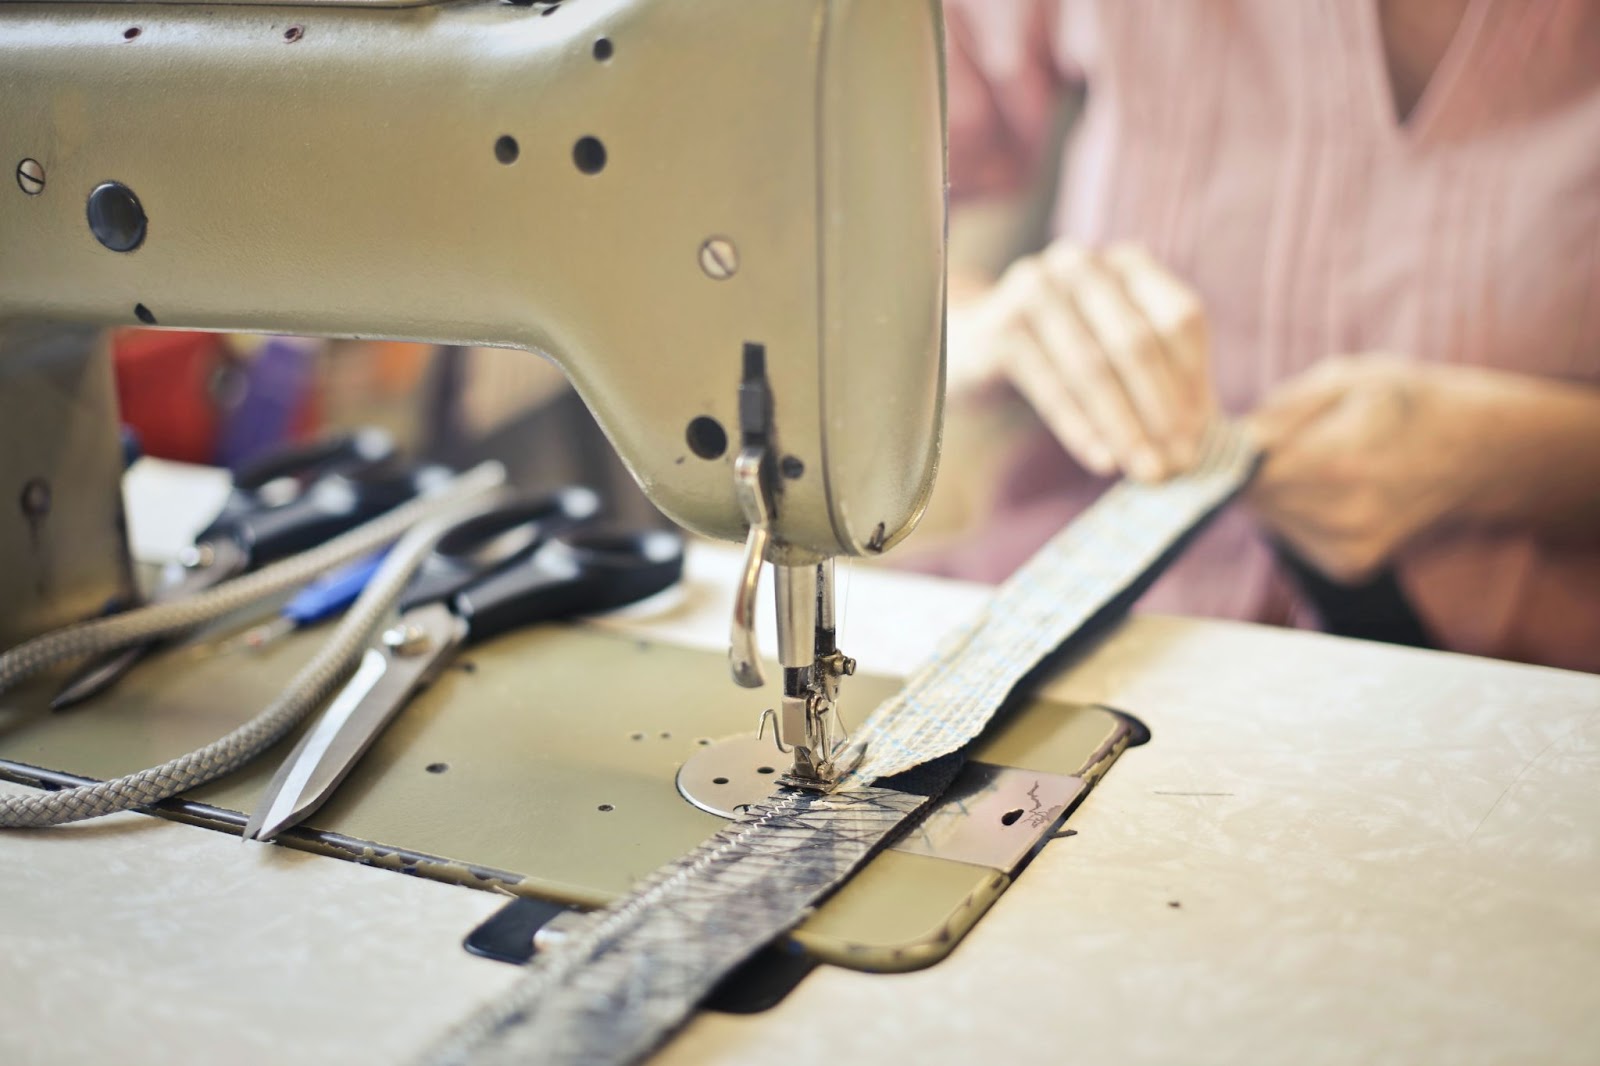
Every model of sewing machine is slightly different, but most have the same basic parts and functions. Before you begin quilting, familiarize yourself with the basics of your sewing machine. (If you’re a new sewing machine owner, learn how to clean, oil, and maintain your machine here!) Most modern sewing machines offer the option of sewing in reverse, but if you’re working on an industrial machine or a very old home sewing machine, you may not have this option. In this case, you can leave the needle down and change the direction of the fabric to achieve the same result.
- When beginning a seam, place the entire section of fabric you plan to sew under the presser foot. Make sure the fabric is aligned with both your seam guide and the back of the presser foot.
- Sew in reverse for a few stitches until you reach the end of the fabric.
- Stop and sew forward for the length of the seam, ensuring that you keep your seam guide lined up for a consistent seam allowance.
- Sew to the end, then stop. Sew in reverse for a few stitches. Remember to press your seams and use a seam finish if your quilt requires it.
How to Back Stitch by Hand
In hand sewing, back stitching means something slightly different. You can back stitch all the way down a seam, rather than just at the beginning and the end. Back stitching is much stronger than a simple running stitch. Back stitching by hand provides a clean, pleasing line while securing all your work in place.
- First, begin by knotting your thread. If you are using a regular, thin thread, then thread it double. If using thicker embroidery floss, just thread it single and knot one end.
- Now, perform your first stitch. Push the needle down through the fabric, and bring it up about ¼ inch away. Pull the thread all the way through until the knot at the end.
- Now, you’re going to stitch backward. Take a small back stitch in the fabric, inserting the needle in the same place you started. Since this is your first stitch, this means inserting your needle at the knot.
- Bring your needle up in front of the next stitch at a distance that is equal to the size of your first stitch. So if your first stitch is ¼ inch, bring the needle up ¼ inch in front of your second stitch. Pull the needle through to reveal your very first stitch.
- Repeat this process to create a row of stitches, keeping them all straight, in line, and relatively even in size.
How to Lock Stitch
Many sewing machines have a built-in lock stitch feature, which means the machine automatically sews a certain number of stitches, and then stops sewing. This option is available on most newer model electronic machines. Quilters often use the lock stitch feature to secure their quilting stitches since back stitches can be bulky and unsightly on certain fabrics.
- On a sewing machine that has a built-in lock stitch feature, refer to your sewing machine’s manual to find out how to use the function. The lock stitch feature will sew the same single stitch forward and backward, without repeated stitches.
- If your sewing machine doesn’t have a lock stitch function, you can achieve the same result by shortening the stitch length as short as possible and sewing two to four stitches in the same spot. If you sew more than four stitches, you risk jamming your machine and creating an unsightly thread knot.
How to Bury Your Stitches

There is another way to secure a line of quilting stitches if your machine doesn’t have a lock stitch function and you don’t like the look of a machine back stitch. This method involves sewing off the end of the fabric, tying knots by hand, and burying your knots inside your quilt. This method is preferred by many quilters, as it allows you to almost completely hide the knot!
Step One
Start quilting by pulling the bobbin thread up to the top of the quilt. Grab the handwheel to the right of your machine, and rotate towards yourself to drop the needle down, then keep rotating until the needle comes all the way up and is even starting to dip back down again. This ensures that the top thread has made a full rotation through the bobbin case and has caught the bobbin thread.
Step Two
Now, give the top thread a tug, and a loop should pop up. This is the bobbin thread. Give that loop a tug, and tuck both threads under your darning foot so they’re out of the way. If you leave your bobbin thread on the bottom where you can’t see it, you may end up stitching through it as you quilt your block, and it may become embedded in the stitching. Pulling up your bobbin thread ensures there are no unattractive knots on the back of your quilt.
Step Three
Now, begin quilting! Don’t build up the thread, don’t back stitch, don’t overlock. We’ll come back to these thread tails once the block is complete.
Step Four
Once you reach the end of your line of quilting, simply stop your machine. Again, don’t back stitch or overlock. Rotate your hand wheel to bring your needle all the way up, lift your foot, and pull the block off the machine.
Step Five
Cut the thread, leaving thread tails that are at least four to six inches long. You will have a single thread on top of your quilt and a single thread in the back. Give one of those threads a tug (it doesn’t matter which side) to bring up a loop. This is the other thread. Pull both threads to one side.
Step Six
Now, you’ll have two starting threads and your two ending threads together on one side of the quilt. Tie two threads together in a knot about ⅛ inch from the surface of the quilt, then grab a cheater needle or any regular needle with a large hole. Thread the needle with your threads, then run the needle through the middle layer of your quilt, about one to two inches.
Step Seven
Pull the needle through, give the threads a tug, and the knot should be pulled down into the middle layer of the quilt. Clip off the tails where the needle came out of the quilt.
Step Eight
Repeat these steps with the ending two threads.
In Conclusion
Making a quilt involves a ton of hard work and patience. The last thing you want is for your stitches to come undone, and all your hard work to go to waste! This is why it’s so important to properly secure all your stitches. Using a back stitch, a lock stitch, or burying your stitches by hand helps secure your work, and ensure your quilt stays looking beautiful for as long as possible.
Here at Love Sew, we’re passionate about creating a supportive community of seamstresses and crafters. We offer a huge catalog of high-quality sewing tools, and publish helpful tutorials to our blog to help you with any and all projects! Visit Love Sew online, and join our community today.
Sources:
PARTS OF A SEWING MACHINE | Berkeley

1 comment
Alex Austin
I’ve read your article. Honestly, I’ve never read this type of informative and efficient article before. This article will help lots of beginners like me to build skills in embroidery. Love to read your incoming blogs too. Really appreciate your work and dedication.
We have us digitizing to fulfill your embroidery needs.
Leave a comment
This site is protected by hCaptcha and the hCaptcha Privacy Policy and Terms of Service apply.