Sewing machines are wonderful tools that allow you to create a huge variety of projects. Once you’ve done the research and purchased yourself a machine, you feel ready to dive into garment-making, quilting, and more! But… how do you actually use a sewing machine?
Sewing machines are just that: machines! They may seem complicated on the surface, but most sewing machines are very user-friendly and easy to operate. With a little bit of patience and guidance, you’ll be sewing like a pro in no time.
Learning How A Sewing Machine Works
Before you dive into sewing with your machine headfirst, it’s best to pause and learn how a sewing machine actually works. This means learning the different parts of your machine, what they do, and how the parts interact with each other. Review your sewing machine’s manual, and try to understand how your machine functions on a basic level. This will make it much easier for you to operate your machine, and for you to troubleshoot if problems arise.

It’s very important to learn the parts of your sewing machine and their functions. Knowing where the different parts are located makes operating your machine much easier. We’ve listed the parts you need to know to use your machine below.
The Basics
- On/Off Switch: This one is a given, as you need to know how to turn your machine on. This is generally located on the side of your machine.
- Bulb: This is the light bulb that shines over the needle area, so you can see exactly what you’re stitching. Learn how to turn this bulb on and off and see if it’s bright enough. If not, you may need to purchase a separate LED light.
- Pedal: The foot pedal operates your machine. When you press down on it, your machine should run. The speed of your machine depends on the amount of pressure you apply to the pedal.
- Stitch Settings: This allows you to select the length, width, and type of stitch. Some machines are manual, meaning you have to set these numbers by hand, and some are electronic, meaning you simply select the type of stitch you want, and the computer in the machine adjusts the settings for you. Your machine’s instruction manual should give you instructions about how to set your stitches. The stitch settings are usually located front and center on your machine.
- Tension Wheels: These set the tension of your machine, which is important for nice, even stitching with no loops. These are usually located at the front or top of your machine.
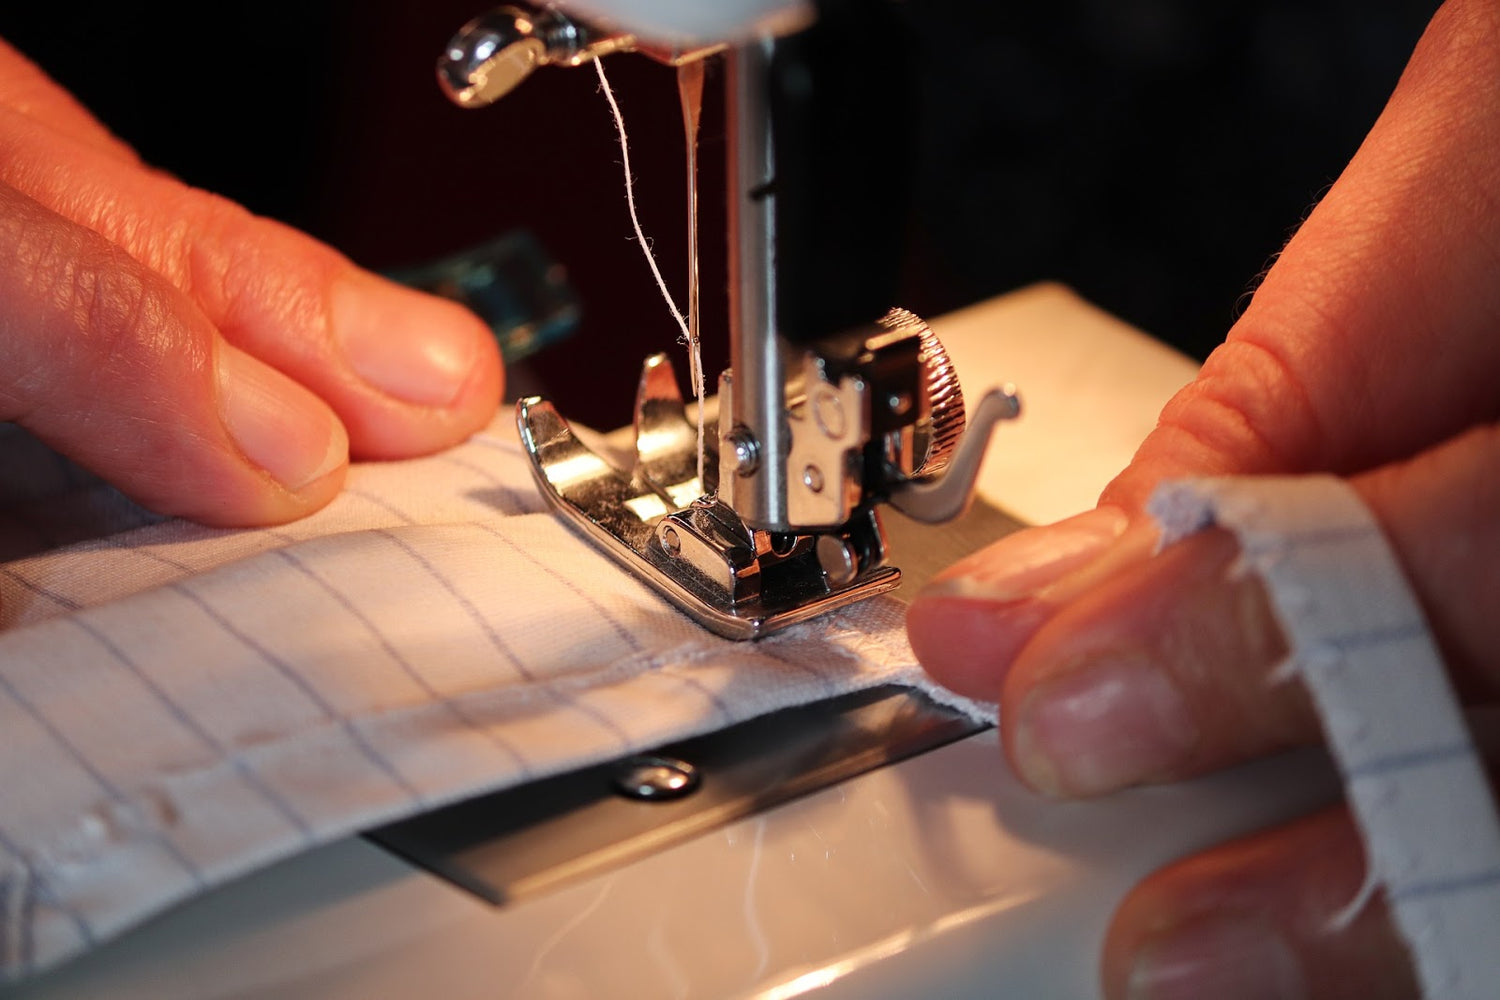
- Presser Foot: This is the attachment that holds the fabric as it is fed through the machine. It is located down near your needle. It can be raised and lowered using a lever on the back of your machine.
Needles and Thread

- Needle: The needle is responsible for plunging the thread through your fabric. It is held in place by a small screw and can be swapped out for different types of needles in different sizes.
- Needle Plate: This is the metal plate beneath the needle and the presser foot. It has an opening for the needle to pass through as it stitches and another for the feed dogs to emerge and help move the fabric forward. It can also be called the throat plate.
- Bobbin: The bobbin is the small spool of thread that helps form the back of your stitches. The bobbin is located in the bobbin case, below your needle.
- Hand Wheel: This is a large knob on the side of your machine that manually raises and lowers the needle.
- Spool Pin: This is located on the top of your machine and is responsible for holding your spool of thread in place.
- Bobbin Winder Spindle: Also located on the top of your machine, this spindle holds your bobbin in place while you wind it with thread from the main spool.
- Thread Take-Up Lever: The top thread, or the thread from your large spool, passes through the thread take-up lever. This moves up and down with your needle.
- Feed Dogs: These are located down near your needle plate. They pull the fabric forward while sewing.
How To Thread A Sewing Machine

Once you’ve learned the parts of your sewing machine, you’re ready to prepare it for use! This means threading your sewing machine. There are actually two threads you need to take into account: the upper thread and the lower thread. These two threads work together to form the front and the back of your stitches. The upper thread comes from the main spool on the top of your sewing machine, while the lower thread comes from your bobbin, which lives in the bobbin case under the needle plate.
Step One
The first step to successfully threading your sewing machine is to wind your bobbin. This means taking a thread from your main spool, and winding it around your bobbin, so both threads match. Your machine has a mechanism to do this, located on top of the machine.
Place your spool on the spool pin, and follow the instructions in your machine’s manual to prepare your thread and thread your bobbin, then place the bobbin on the bobbin winder. Run the machine until the bobbin has a satisfactory amount of thread has filled your bobbin. For more in-depth instructions, see here.
Step Two
Now, it’s time to thread your machine. Begin with the upper thread. Place your spool on the spool pin, and follow your manual’s instructions to trace the steps the thread must go through. Your thread will begin at the top of your machine and travel all the way down your machine (through a series of steps) to meet the needle. Your thread will pass through hooks and tension wheels, and should enter the needle from front to back. The thread should pull through the eye of the needle easily, with slight tension.
Step Three
Now, we’ll handle the lower thread, which is linked to your bobbin. Load your wound bobbin into your case. Some machines have top loading bobbins, which go straight into a casing that is attached to the machine. Others have front loading bobbins, which go into a case first, and are then loaded into the machine.
Step Four
Now, it’s time to join the upper and lower threads together. Turn the hand wheel (located on the side of the machine) towards you. This forces the top threaded needle to plunge down into the bobbin area. The upper thread should automatically curl around the lower thread, and pull it upwards. This may take a few turns of your hand wheel.
Once you see the lower thread has been grabbed, pull it out with your hand, and pull the two threads together towards the back of the machine. Once your threads are together, you can replace the bobbin cover and begin sewing!
How To Stitch With A Sewing Machine

With your machine all prepped and threaded, you’re ready to begin sewing! We recommend practicing with a scrap of fabric, especially if you’ve never used a sewing machine before. You should always test your machine on two layers of fabric, as stitching two pieces of fabric together is what you’ll be using your machine for most often.
Before you begin, check if your foot pedal has speed control. Some machines have a fast and slow setting option. For beginners, we recommend setting it to slow to help keep your speed under control. If your machine doesn’t have this option, just put your foot on the pedal very gently when it is time to sew.
As for stitch settings, for your first time sewing, put your machine on a straight stitch, with a width of 0 and a length of 3.0. If your machine has pre-set settings, just select a medium-length straight stitch.
Now, you’re ready to stitch! Each time you use your machine, follow these steps.
1. Lift Foot
Lift the presser foot (this is controlled by a lever, usually on the back or side) and put your fabric sample underneath. Most sewing patterns will tell you how far from the edge you should be sewing, but since this is just for practice, place the fabric about ⅝ inch from the right side of the foot. This is a little wider than most patterns call for, so it’s easier for beginners.
2. Pull Threads
Pull your threads to the back so they don’t get tangled in the feet or the feed dogs. This can jam your machine.
3. Lower Foot
Lower the presser foot onto your fabric.
4. Release Threads
Press down on the pedal, and run your machine for a few stitches. Once you’re a few stitches in, you can let go of your threads.
5. Secure
After you’ve done a few stitches, press reverse and stitch back to where you started. This is called backstitching, and should be done at the beginning and end of your sewing to prevent your stitches from coming undone.
6. Stitch
Reverse again, and stitch to your heart’s content!
7. Finish
Once you’ve reached the end of your fabric, press reverse again and backstitch to secure. Lift your foot and cut the thread to finish.
In Conclusion
Sewing machines can be intimidating, but if you do your research, educate yourself, and follow instructions, using them is a breeze!
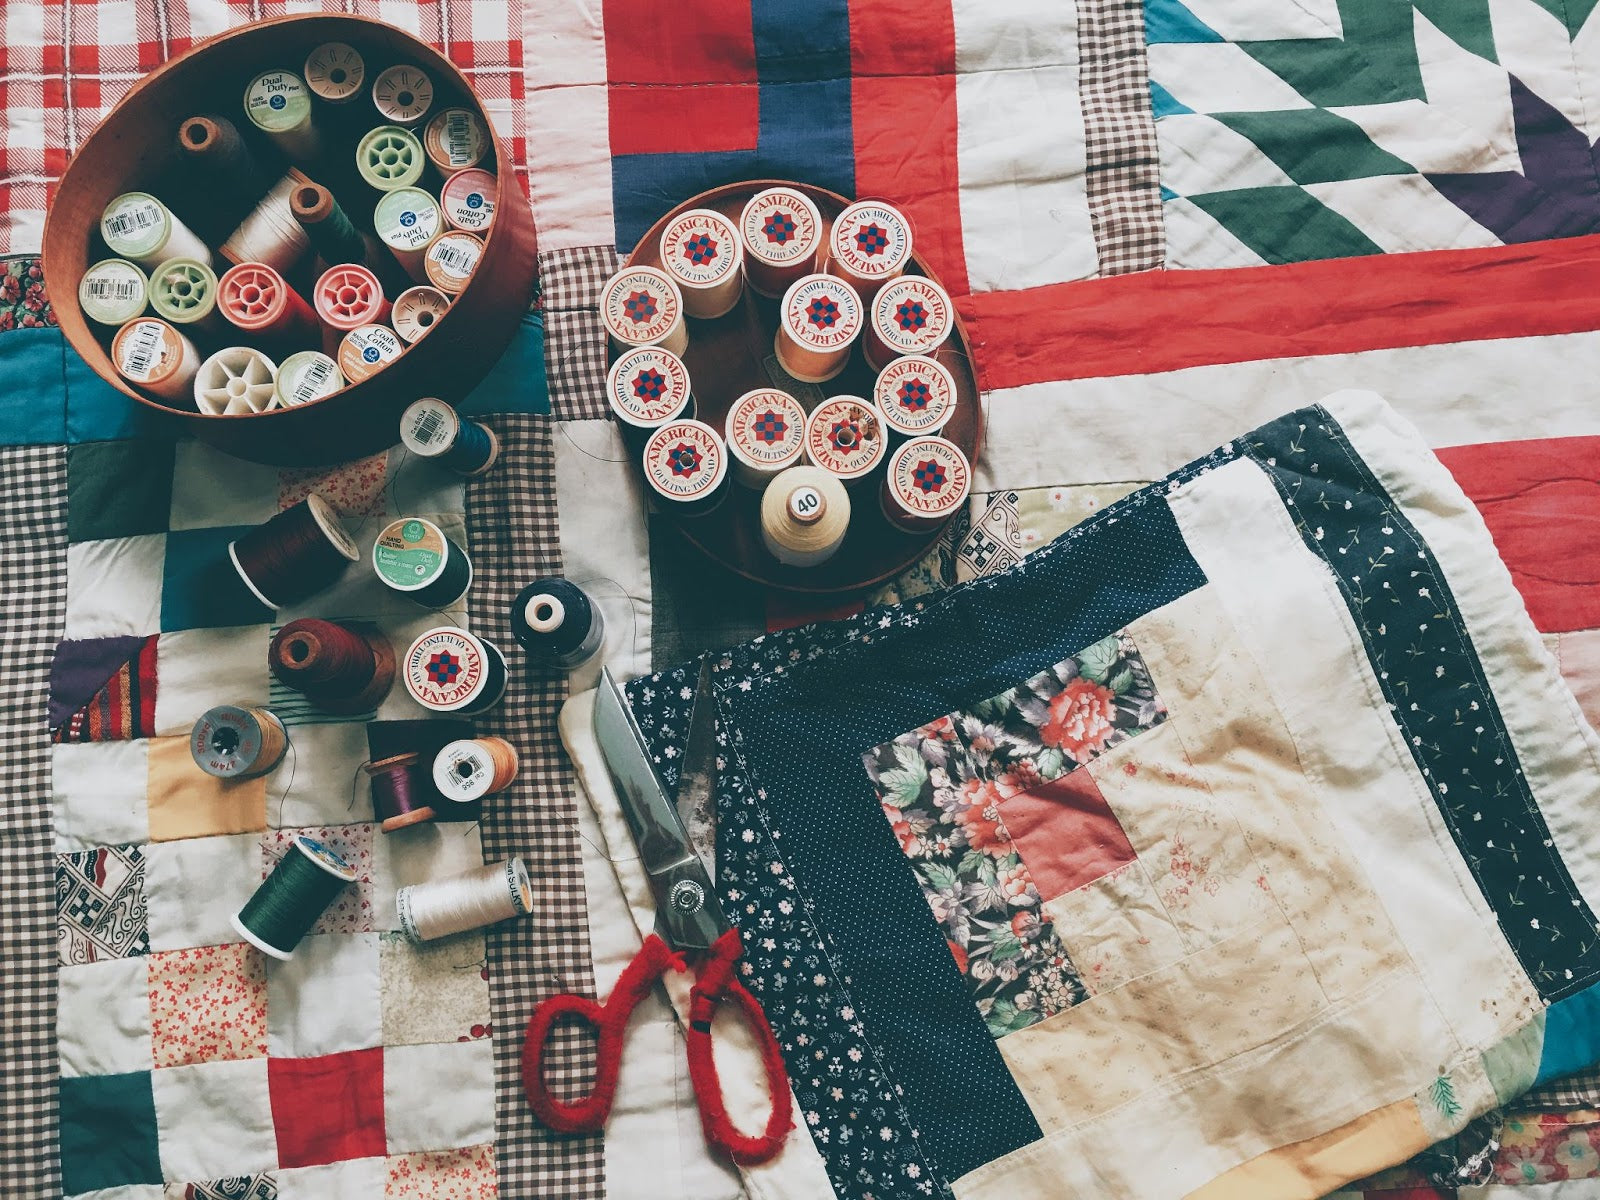
Love Sew is a passionate community of seamstresses and crafters. We offer an amazing catalog of handy sewing tools, plus we publish helpful articles and tutorials to our blog that can help you accomplish any project! Visit our website and join our community today!
Sources:
PARTS OF A SEWING MACHINE | Berkley
Computerized Sewing Machines | Sewing.org
How to Thread a Sewing Machine: Step-by-Step Guide | Masterclass
Leave a comment
This site is protected by hCaptcha and the hCaptcha Privacy Policy and Terms of Service apply.