It's officially summer in the northern hemisphere! It's already flying by for me: so many moving parts with kids, travel, and home projects. I hope you are getting to do some fun things this summer, and most of all I hope you get to SEW.
Last month I told you about our favorite scrappy quilts to make with 10" square packs. It really is amazing how much fabric you get in those packs and the fun quilts you can make with little or no additional fabric.
Continuing our chat today with another favorite pre-cut: 5" charm squares. Charm squares have long been a favorite around here...we started the Charm Club over two years ago and have sent some of you a sweet collection of fabrics and patterns over the months. You don't have to be part of the club to make this sweet quilt with me today!
Bonus: there's also a video, find link to watch the full how-to at the bottom of this post.

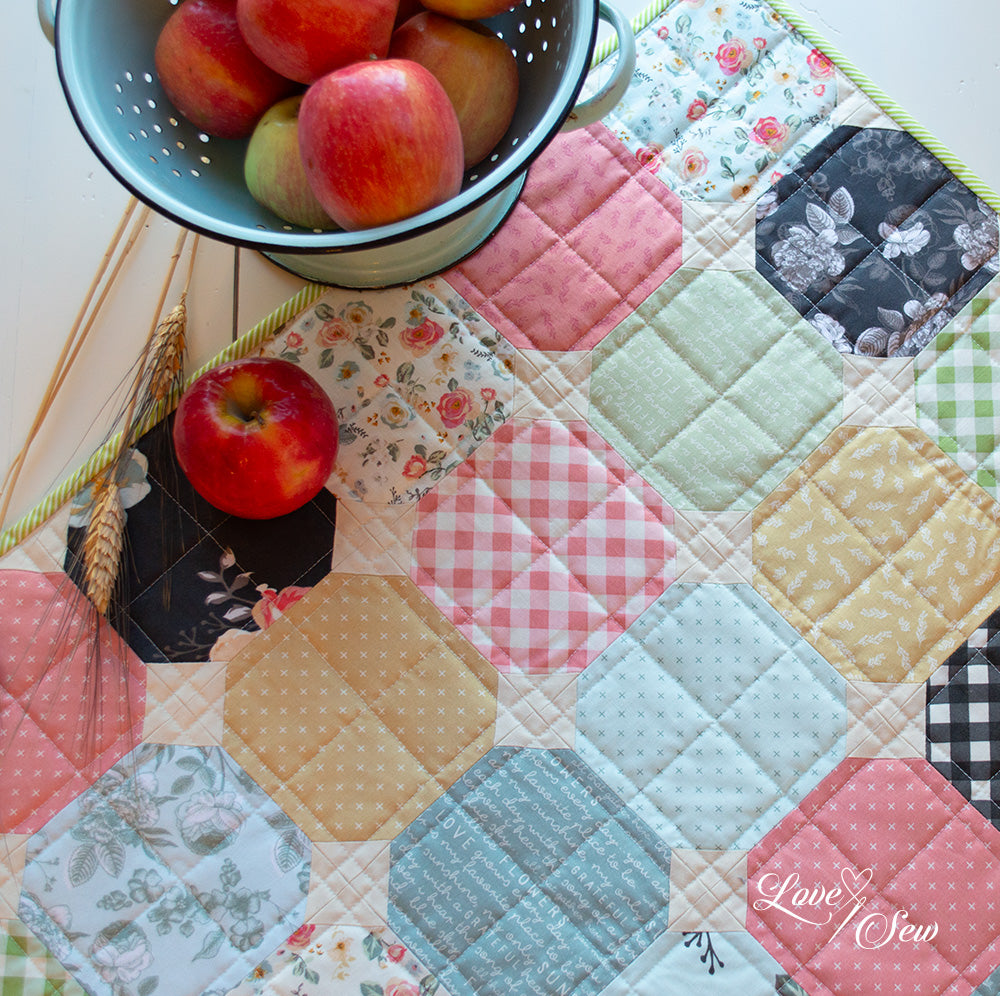
I think the best thing about charm square packs is that you get a wide variety of prints in a bite size, affordable package. It's like an instant scrap bag! They are perfect for quick projects requiring little cutting. After all, we like to make the pretty prints and colors the star of the show. Today, we will do exactly that with the super simple snowball block.
The 'stitch and flip' technique is one every quilter should know - it'll come in handy as you move from beginner patterns to more complex piecing.
Ready?
Each block requires only one 5" charm square and four 1 1/2" contrasting squares. The smaller squares can be a light neutral to fade into the background, or something brighter to stand out from the prints. Just make sure there is strong contrast.
1. Mark a diagonal on the back of the 1 1/2" squares from corner to corner. You can do this with a marking pen or just fold the fabric and crease it.

2. Place the 5" charm square on your sewing surface and align one of the 1 1/2" squares, right sides facing with one corner of the charm square. See the photo below for how the marked line on the 1 1/2" square should be oriented.

3. Sew on the marked line.
4. Trim 1/4" outside the seam and discard corner scrap. Press resulting triangle made by the contrasting fabric.

5. Repeat this step for all four corners of the same charm square.
Just like that! you have your first snowball quilt block.
If you are making snowball blocks with one pack of charm squares, you can make 42 blocks and sew them together in seven rows of six blocks. This will give you a finished quilt 27" x 31 1/2". If you have two packs, you can make 81 blocks and sew them together in nine rows of nine blocks for a quilt that finishes 40 1/2" square. Great for a small baby quilt, wall hanging, or tabletopper.

We have a video on Love Sew YouTube that shows you how to make this quilt live with me. The video has some extra layout ideas and tips, so be sure and watch, then pull out your favorite charm packs (or cut your own 5" squares) and make one with me!
Happy Stitches,
-Sharon


7 comments
Peggy Jenkins
I love the snowball quilt you. I’m going to get out my charm packs and try it.
MaryAnn Springer
Really enjoyed your ideas.
Thanks
Rebecca Hines
Pretty pattern! Thank you!
Denise Lecuyer
It’s a beautiful pattern. Thanks…
Phyllis
Great pattern!
Leave a comment
This site is protected by hCaptcha and the hCaptcha Privacy Policy and Terms of Service apply.