But how do you transfer them to fabric safely to ensure your quilt is going to last?
In this article, we will reveal the secrets of putting pictures on fabric without damaging either of them and walk you through the step-by-step processes you can easily follow at home.
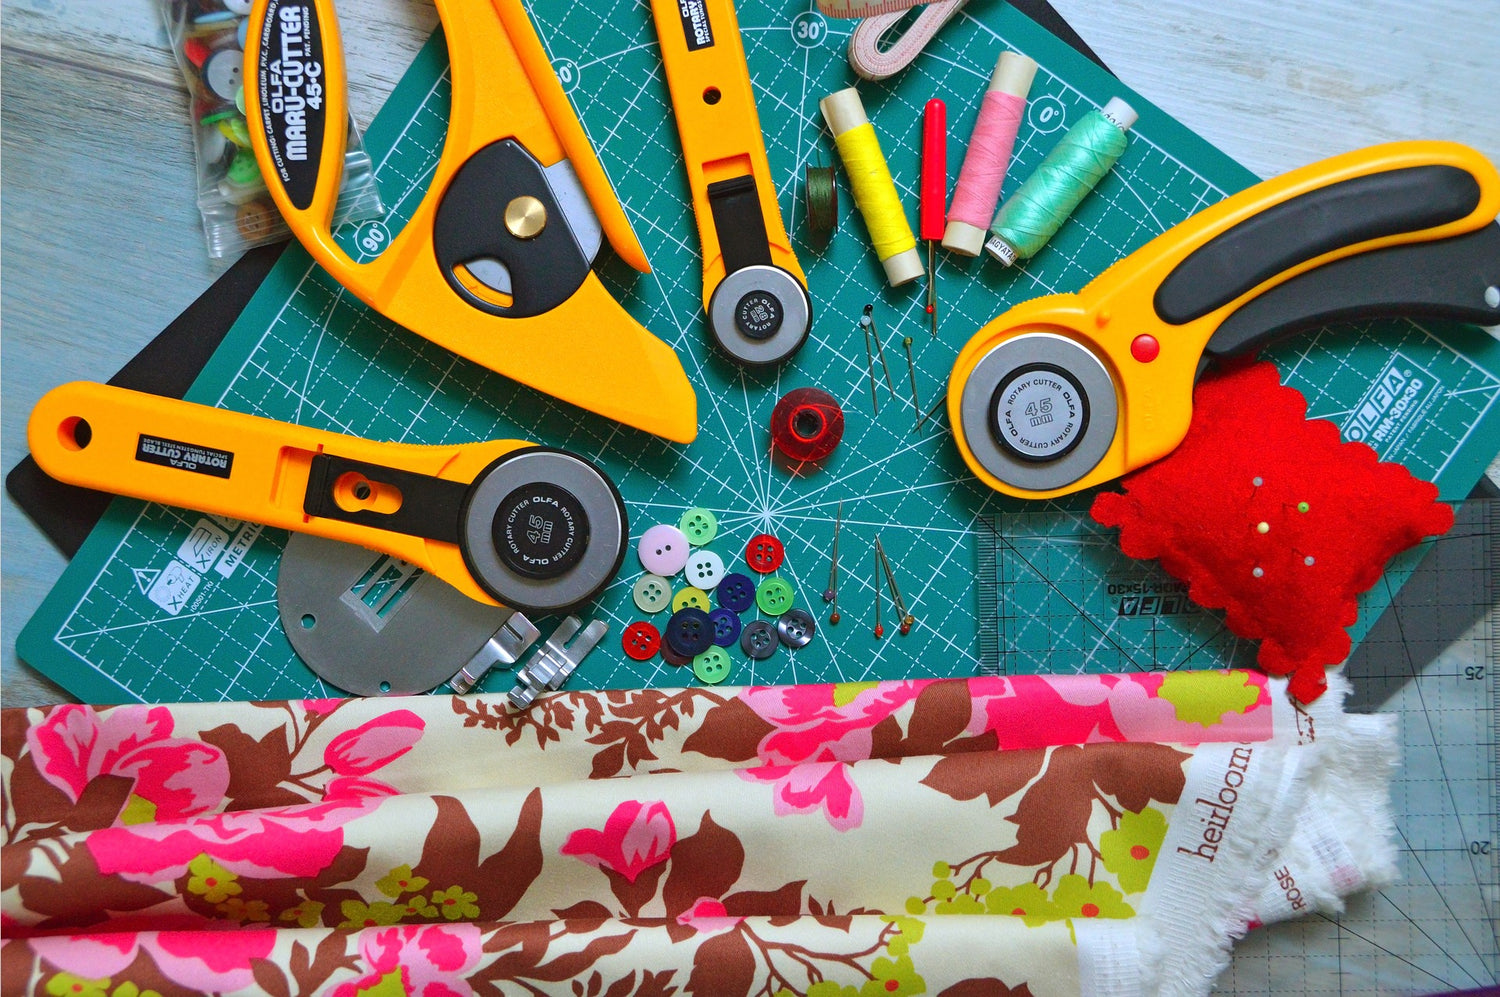
The Starter Pack
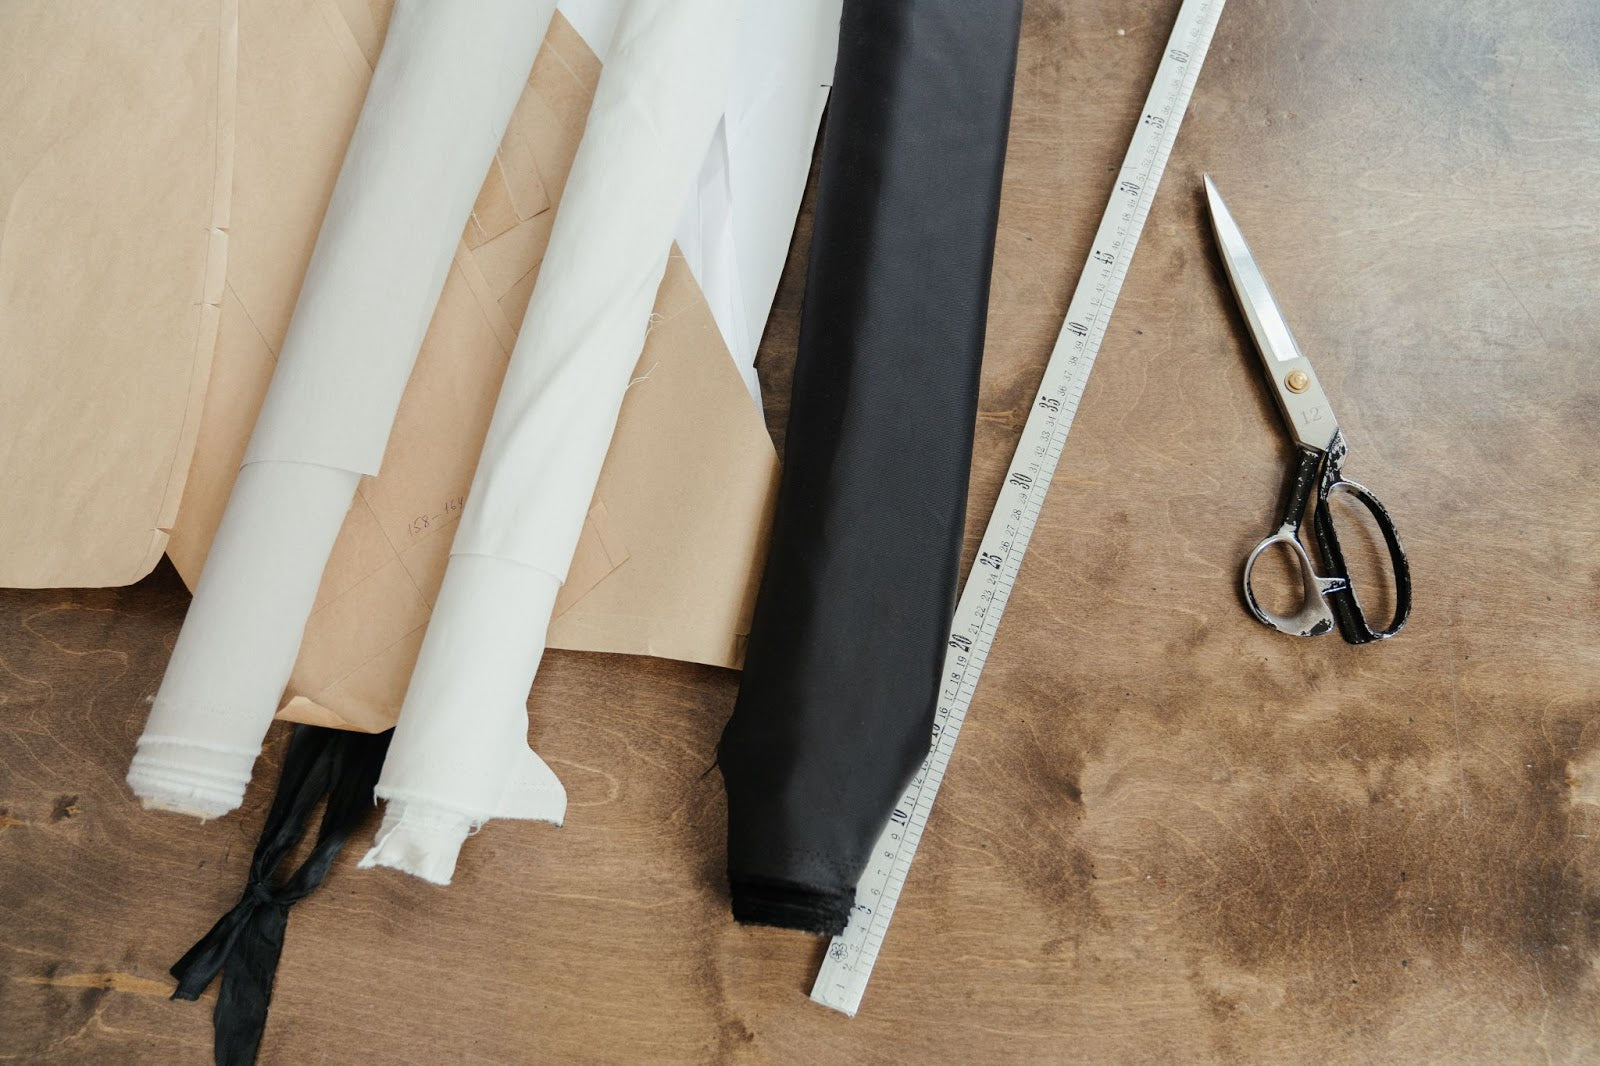
There are a variety of ways you can transfer a photo to a piece of fabric, and this tutorial will introduce you to not one but three different techniques.
But before we start, prepare the tools and materials to make it possible for the transition to happen.
Depending on the method you’re going to use, the materials used for putting photos on fabric may differ, but the core toolkit stays the same.
To follow this tutorial, you will need:
- A printer
- Fabric to transfer your photos onto
- Lukewarm water
Having covered our basis, let’s move on to the practice part.
Method #1: Photo Transfer Paper
This method is often used for printing photos on t-shirts, so it works great for our task at hand as well.
1. Buy Photo Transfer Paper

Begin by getting some photo transfer paper at your local craft store - it’s available in a variety of styles, so make sure to buy the transfer paper compatible with the type of printer you have at home.
Additionally, the paper you decide to buy should match the type of fabric you’re going to use for making your quilt.
Read instructions on the back of the packaging to ensure you work with the right type of fabric.
2. Select and Print Your Photo

Now, it’s time to prepare the photos. Load the transfer paper into your printer, and print out the photos you previously picked.
Trim around the edges of your printed photos with scissors or a rotary cutter. Here are a few other things to keep in mind:
- Reverse the photos before printing them using tools like Photoshop or MS Paint before printing; otherwise, your text will be backward once you transfer it to the fabric.
- Use only high-resolution photos to make sure they don’t become blurry on the fabric as time goes by.
- Make the photos large enough to comfortably sew them into the quilt - 10" x 10" squares of fabric are the most optimal size.
- Never, never, never use actual photographs.
|
Titanium Coated Rotary Cutter Blades $14.99 Whether you’re the occasional or frequent quilter, these blades are guaranteed to make it a LOT easier to cut fabric, one of the most time-consuming tasks in quilting. |
 |
3. Transfer the Image

Now, it’s time to iron on your photos. For best results, place a pillowcase on a hard surface, such as a countertop or kitchen table (not an ironing board).
If you fear ruining the fabric with an iron, you can use a DIY solution like food wrapping paper to create an extra layer of protection.
Place your fabric right-side up, smooth out any wrinkles, and place your transfer paper right-side down, making sure your photo is centered.
Once there, press the paper firmly with a hot, dry iron to put the photo onto the fabric.
Read More: Ultimate Quilt Making Guide From Start to Finish
4. Remove the Transfer Paper

Finally, let cool for a moment and peel away your paper in one, smooth motion - just don’t try to do that abruptly.
Carefully pick the top corner of the transfer paper and gently remove it. This should reveal your perfectly transferred photo.
For visual learners, this video breaks down the process outlined above in a digestible way.
Method #2: Gel Medium
This method probably requires the most materials, but it’s a reliable way to transfer photos with a lot of complex colors and details.
Gel medium works best on solid linens, cotton-blends, or canvas fabrics with no stretch. For this method to work, you will need the following materials:
- Liquitex gel medium (the magic ingredient)
- A paintbrush
- A dry-toner printed image
- A spray bottle filled with lukewarm water.

1. Transfer Your Photos onto Paper
Since you never want to use actual photos, the first step is to prepare photocopies.
Ideally, the photos should be printed using a dry-toner printer to ensure a smooth transition.
|
Heat Erasable Fabric Marking Pens $13.99 The unique gel ink of these pens can help you make clear marks on fabrics which disappear after ironing. |
|

2. Apply the Gel Medium and Press the Photo Onto the Fabric
Apply a thick coat of Liquitex gel medium onto the right side of the printed photos with a paintbrush.
Then, press the photo right-side down onto the fabric, and smooth out any wrinkles. Let the image dry for at least a few hours - ideally, leave it overnight.
It’s a good idea to place a heavy book on top of the photo to weigh it down while it dries.
3. Soak the Paper
Once your image is dry, use a spray bottle to thoroughly wet the entire surface of the photo - you can also use a wet rag if you don’t have a spray bottle.
That way, you can easily separate the paper from the photo without tearing it apart.
|
Love Sews Charm Pack Club $11.99 Each month you get two high-quality, perfectly coordinated, 100% cotton 42-piece charm packs (5 x 5 inches) from America’s top fabric companies. |
|

4. Peel off the Paper
Starting from the center, gently detach the paper from the back of the photo. Don’t rush - if you rub too hard, the image will come off as well.
Once you’ve gotten most of the paper off, soak the image in the water again, and continue peeling the paper off until all the small bits are removed.
5. Rinse the Image
Take the fabric to the sink and rinse the image with running water to get the remaining crumbs of the paper off.
6. Let the Fabric Dry
Hang the fabric out to dry - or lay it out flat in the sun. If you plan on washing your fabric, paint an extra layer of gel medium on top of the transferred photo to make it more durable.
Below, you can watch how the method works in practice:
Method #3: Freezer Paper
Freezer paper is intended for use in the kitchen, but it comes in handy for a variety of crafting purposes, including transferring photos to fabric.
It is not the same as wax or parchment paper. One side of the paper is plastic-coated, designed to provide a barrier to air and moisture, and the other side is a durable piece of paper that can be written on.
The freezer paper method is very convenient as it allows you to run a paper-sized piece of fabric through your printer so that you can print your photos directly on the fabric. For best results, use a laserjet printer.
1. Prepare the Fabric and the Freezer Paper.

Begin by preparing your fabric and freezer paper. Cut both into a rectangle that measures 8 1/2″ x 11″, the size of a standard piece of printer paper.
It’s a good idea to use a sturdy piece of cardstock as a template so that you can get the measurements accurately.
Read More: Beginners Guide to Free Motion Quilting
2. Meld the Fabric and the Freezer Paper Together

Fuse your freezer paper and your fabric together using an iron. Make sure to press the waxy side of the freezer paper to the backside of your fabric.
3. Print on the Fabric

Place your freezer paper and fabric into your printer, and select the Photo mode for best results.
Run a test sheet of paper through your printer first to ensure you’re printing in the correct orientation.
Then, run your fabric through the printer so the photo prints on the cloth side. The freezer paper is there to provide stability and support so that the image doesn’t warp.
To help you understand how to use the freezer paper better, watch this video.
Conclusion
There are so many wonderful techniques that allow you to make quilts that are personalized, heartfelt, and functional.
But using photos that capture good memories as quilting material can help you relieve those magical moments.
And as you can see, there are a variety of ways to make that happen.
At Love Sew, we offer products that help people from all walks of life enjoy the joy of quilting and sewing. Check out our catalog to find something special for yourself.
7 comments
Goldie Rosson
How to print pic.on fabric so it doesn’t fade when wet and also safe for washer and dryer
Goldie Rosson
How to print pic.on fabric so it doesn’t fade when wet
doris moore
I’m a bit confused about method 3. Text says to use a laser printer but the video uses an inkjet. Which is it? I’m hesitant to try freezer paper in my expensive laser printer so don’t want to experiment.
marie
is it possible to print a large picture on fabric for a quilt?
Janet Hagan
Wanting to do pictures for a quilt but don’t know where to start. Is there a catalog that I can order from?
Leave a comment
This site is protected by hCaptcha and the hCaptcha Privacy Policy and Terms of Service apply.