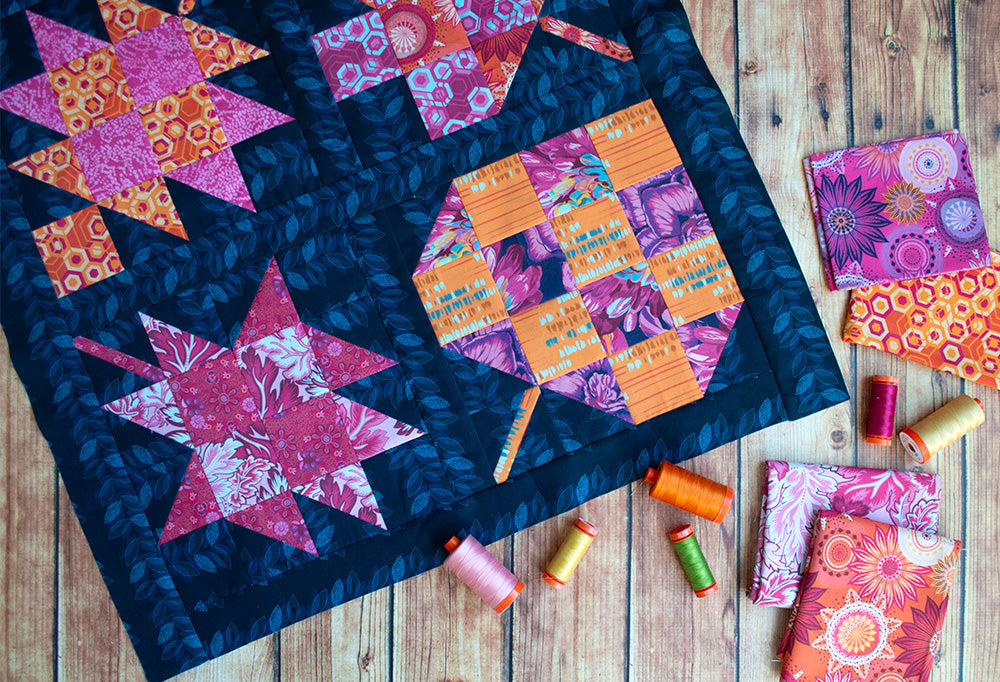
October has flown by so quickly! Have you been seeing some pretty colors around you outside? Even if you live in a place without the beauty of autumn outdoors, you can bring it inside with our leaf quilt blocks. Each week in October, I've published a quick tutorial to make a 10" leaf quilt block. Catch up here:
Maple leaf block
Sweet Gum block
Oak leaf block
Today, we are going to make a simple leaf block that you may associate with whatever you find around you. One of my favorite fall leaves is the Fothergilla - a smallish shrub with bottlebrush flowers in spring and a spectacular orange/pink/yellow show in fall. That's what I had in mind when I chose fabrics today.

Fabric Cutting
Pink: (2) 3 1/2" squares; (4) 3" squares
Orange: (7) 3" squares; (1) 1" x 4 1/2" strip
Navy: (2) 3 1/2" squares; (1) 3" square
Sewing
1. Cut the 3" navy square once on the diagonal to yield two half-square triangles (HST). Center one navy HST, right sides facing, the 1" orange strip. The long angled edge of the triangle should be centered on one long side of the strip. Sew with 1/4" seam.
Press toward navy triangle.
2. Repeat step 1 to sew the second navy HST to the other side of the orange strip. Press toward navy.

3. Use a ruler and rotary cutter to trim the orange strip/navy HST unit to 3" square, trimming the orange strip so the ends now form two corners of the square. as shown above.
4. Match each pink 3 1/2" square, right sides facing, to a navy 3 1/2" square. Use a pencil to mark a line on the back of the pink fabric diagonally from one corner to the opposite.
5. Sew 1/4" on both sides of the marked line. Cut on the marked line. Press toward navy fabric and trim to square at 3".

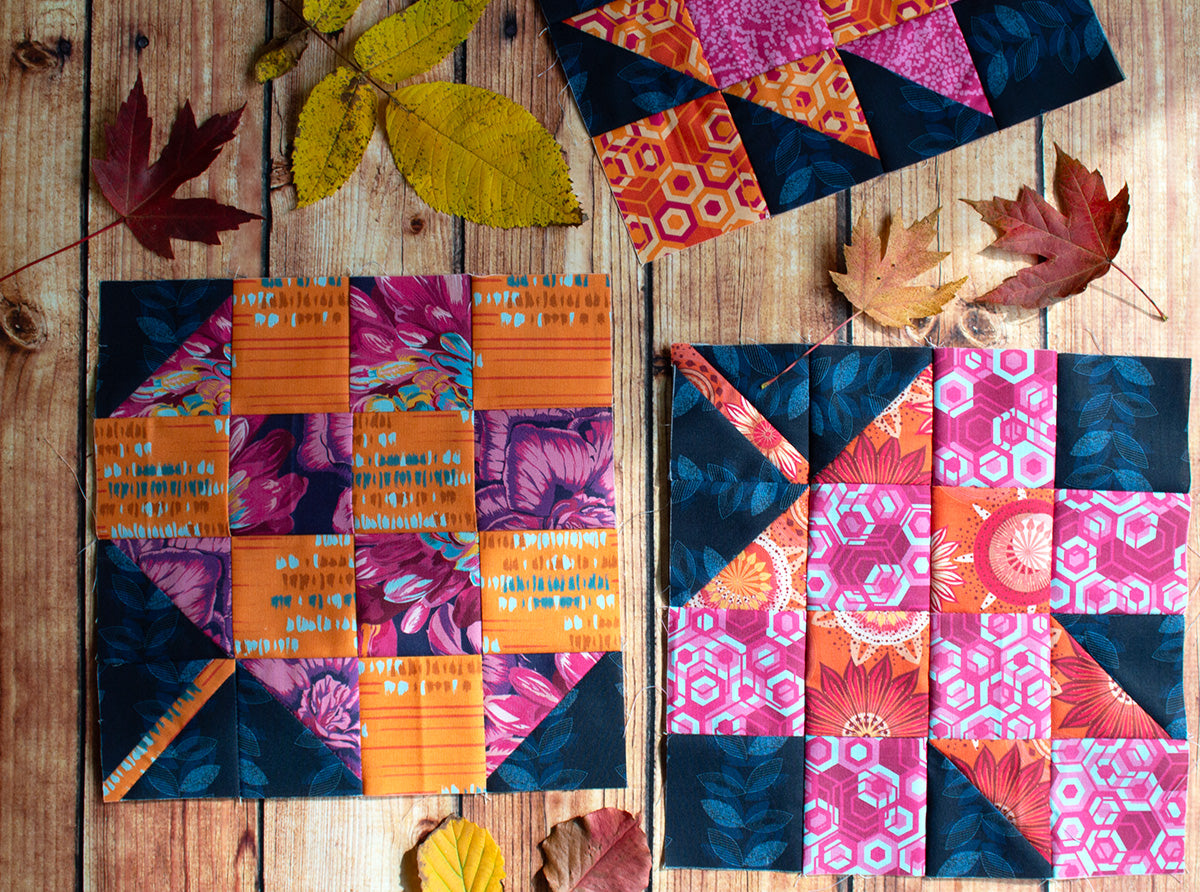
6. Arrange the fabric pieces in rows to make the block.

Row 1 starts with a pink/navy HST square, then two orange and one pink 3" square alternating. Note the orientation of the HST squares in the photo and be careful to position them correctly as you sew.
Row 2 starts with an orange 3" square and consists of two orange and two pink squares alternating.
Row 3 is the same pieces in order as row 1. Note the orientation of the pink/navy HST square.
Row 4 starts with the stem unit made in steps 1-3, then a pink/navy HST square, then an orange 3" square and a second pink/navy HST square.

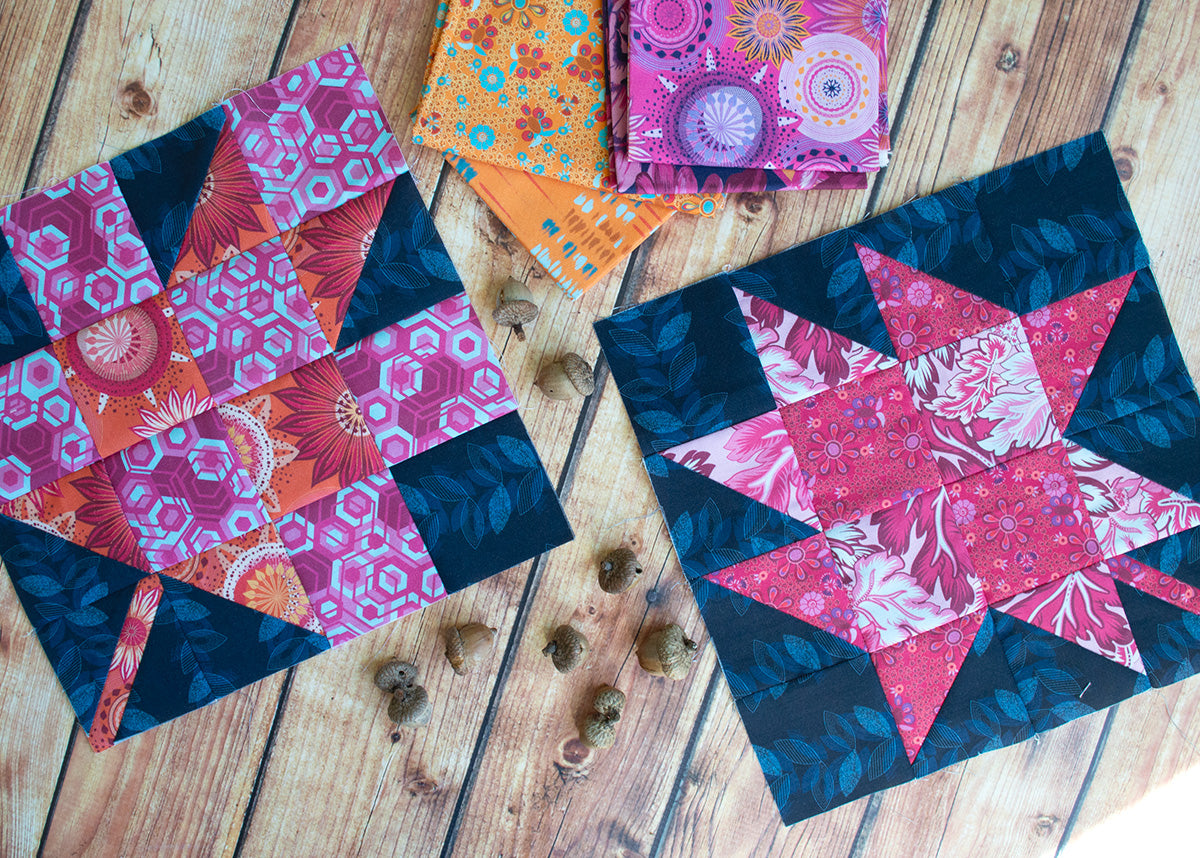
7. Sew the pieces in each row together. Press rows 1 and 3 to the right and rows 2 and 4 to the left.
8. Sew the rows together to finish the block.

I think this one is kind of fun - lots of potential for playing around with colors to make different looking leaves.
We now have all four leaf blocks completed and are ready to sew them into a cute fall project. Next week, I'll show you how I'm sewing mine into a mini quilt for table top or wall hanging.
Hope you've had a beautiful October!
-Sharon
Leave a comment
This site is protected by hCaptcha and the hCaptcha Privacy Policy and Terms of Service apply.