Bias Tape Maker Kit
❤️ Want More?
Join Our #1 Block of the Month Quilt Programs
Create a complete quilt over time with one beautifully designed block released each month. Carefully coordinated fabrics, clear instructions, and a project you’ll actually finish.
Shipping
Orders will be shipped out in 1 business day from either our Nevada warehouse.
Once your order has been dispatched, we offer the following times for delivery:
US - 1-7 Business Days
United Kingdom - 5-15 Days
Australia/NZ - 7-20 days
Canada - 10-20 days
Europe - 7-20 days
Risk Free Returns
Returns
You can return any item you bought within 60 days after receiving it. You do not have to give a reason for your return and you will get a full refund of the purchase price paid.
Our policy lasts 60 days. If 60 days have gone by since you received your order, unfortunately we cannot offer you a refund or exchange.
To be eligible for a return, your item must be unused and in the same condition that you received it. It must also be in the original packaging.
Create Yards of Bias Tape in Minutes!
This Bias Tape Maker Kit has everything you need to make 4 different sizes of bias tape. After cutting strips of fabric, you simply feed them through a bias tape maker and iron the creases as you go. It’s so fast and easy!
- Make Custom Bias Tape from ANY Fabric! — Shopping for bias tape is frustrating… You can rarely find the exact color and size you need. Whether you want contrasting bias tape or an exact color match, these bias tape makers help you achieve the perfect look.
- Avoid Extra Trips to the Craft Store — It seems like you're always forgetting to buy some notion or sewing tool for a project. When you have bias tape makers at home, you won’t have to go on the hunt for bias tape when you need it to finish a project. That saves you time and money.
- Make Perfect Single-Fold or Double-Fold Bias Tape with Ease — It’s nearly impossible to get perfectly straight and even bias tape when you try to do it without a bias tape maker. And why would you want to try?!?! Bias tape makers fold your fabric with no hassle.
Why buy premade bias tape when you can MAKE YOUR OWN!?
What’s Included in the Kit?
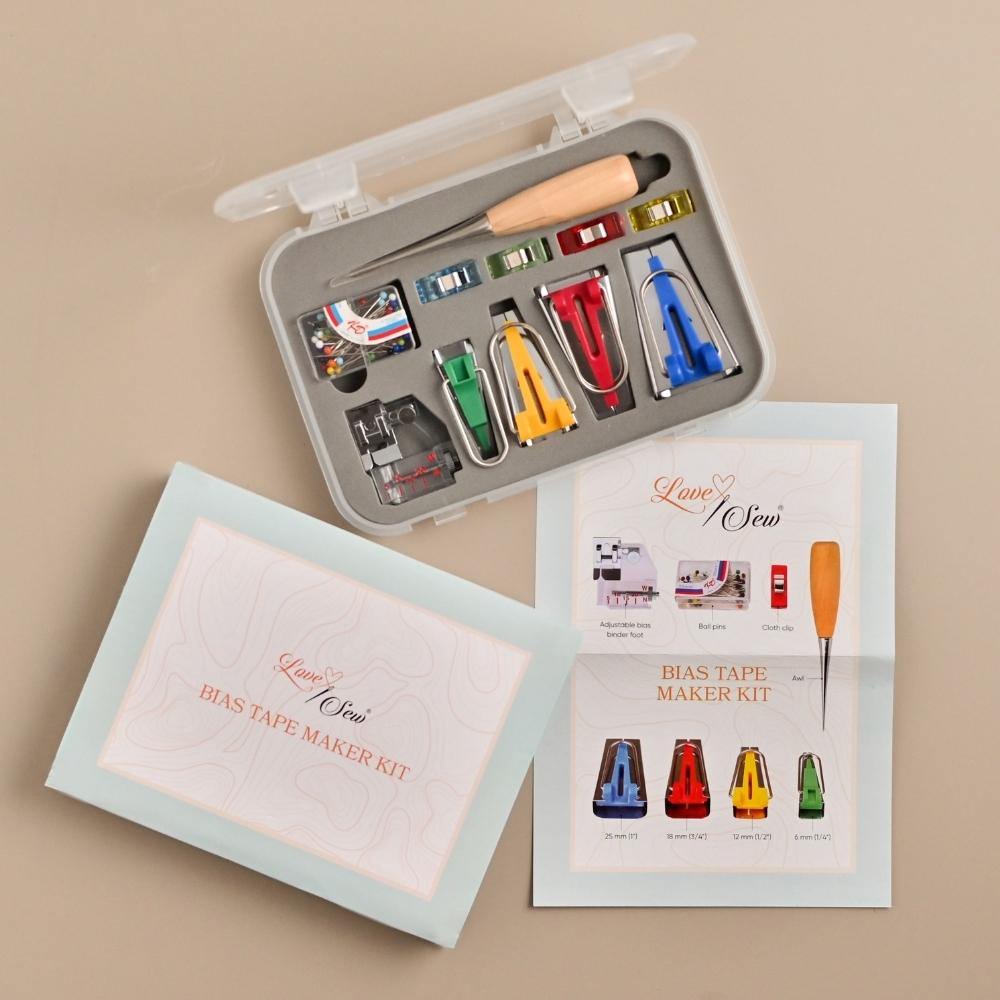
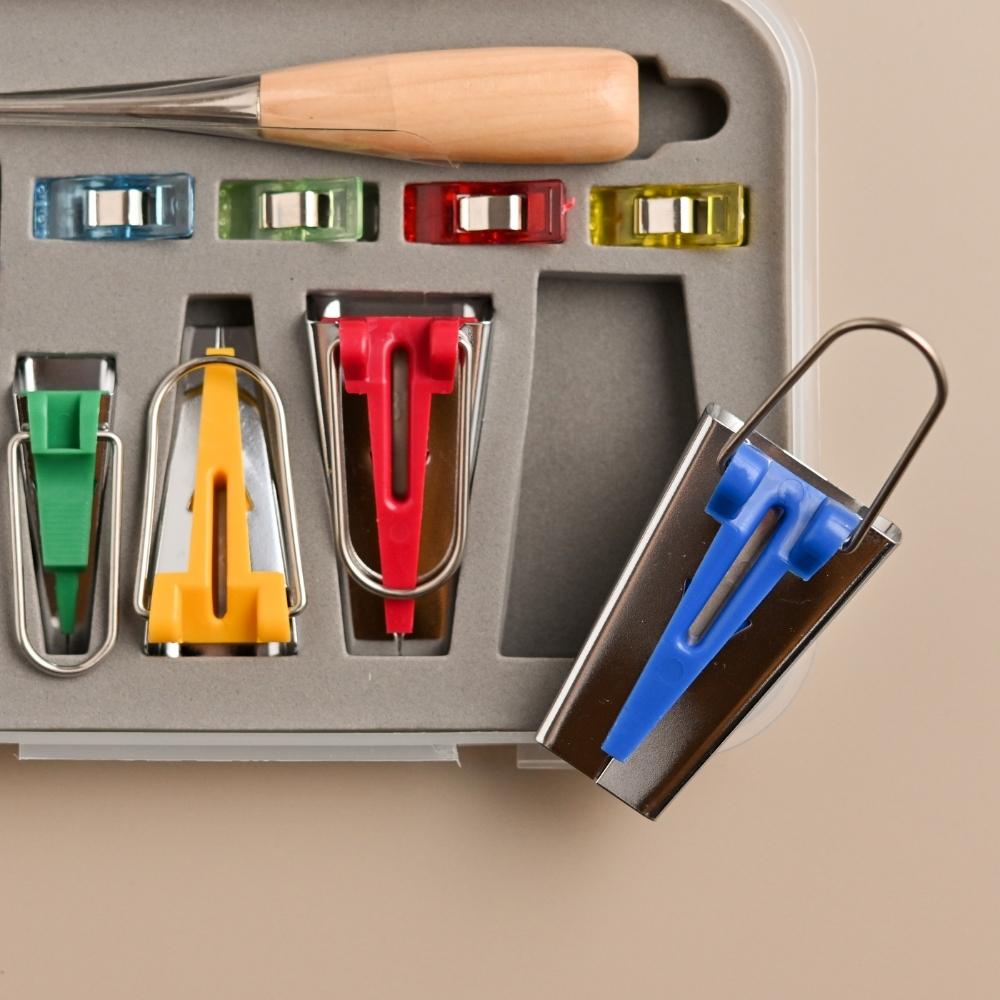
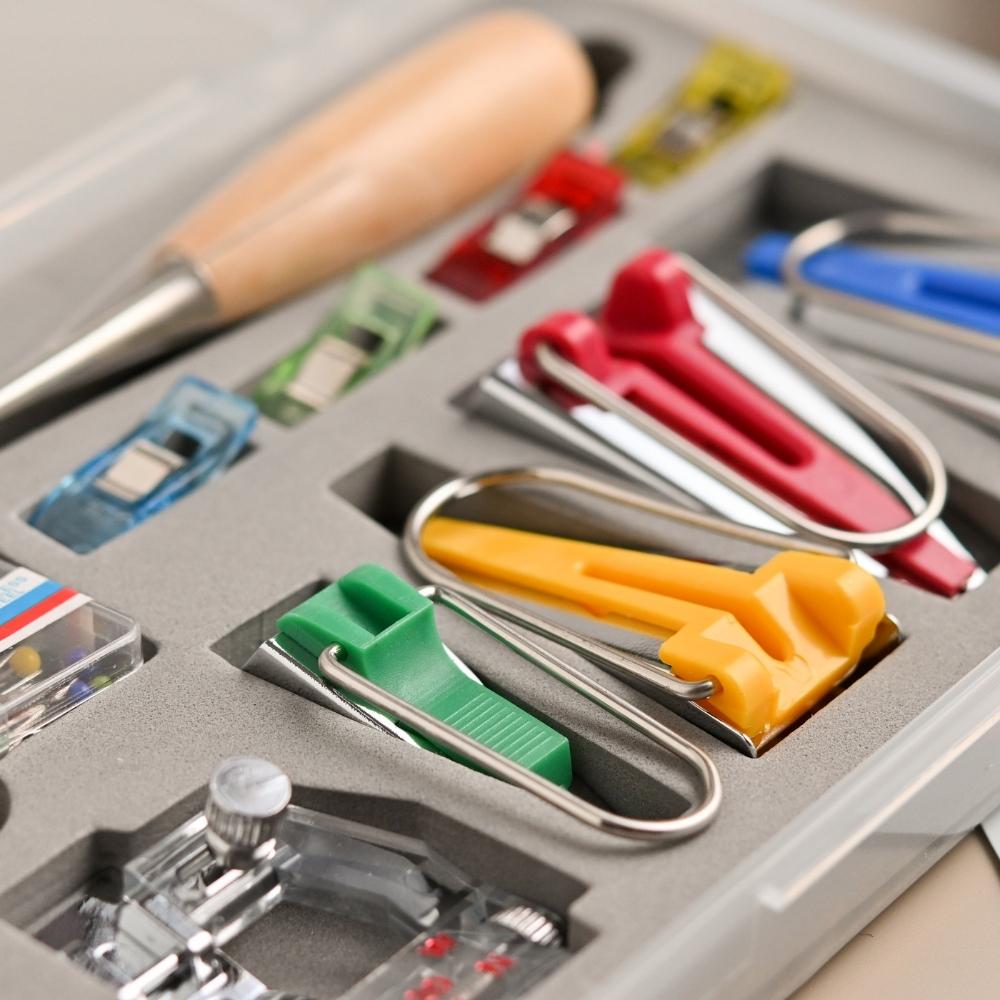
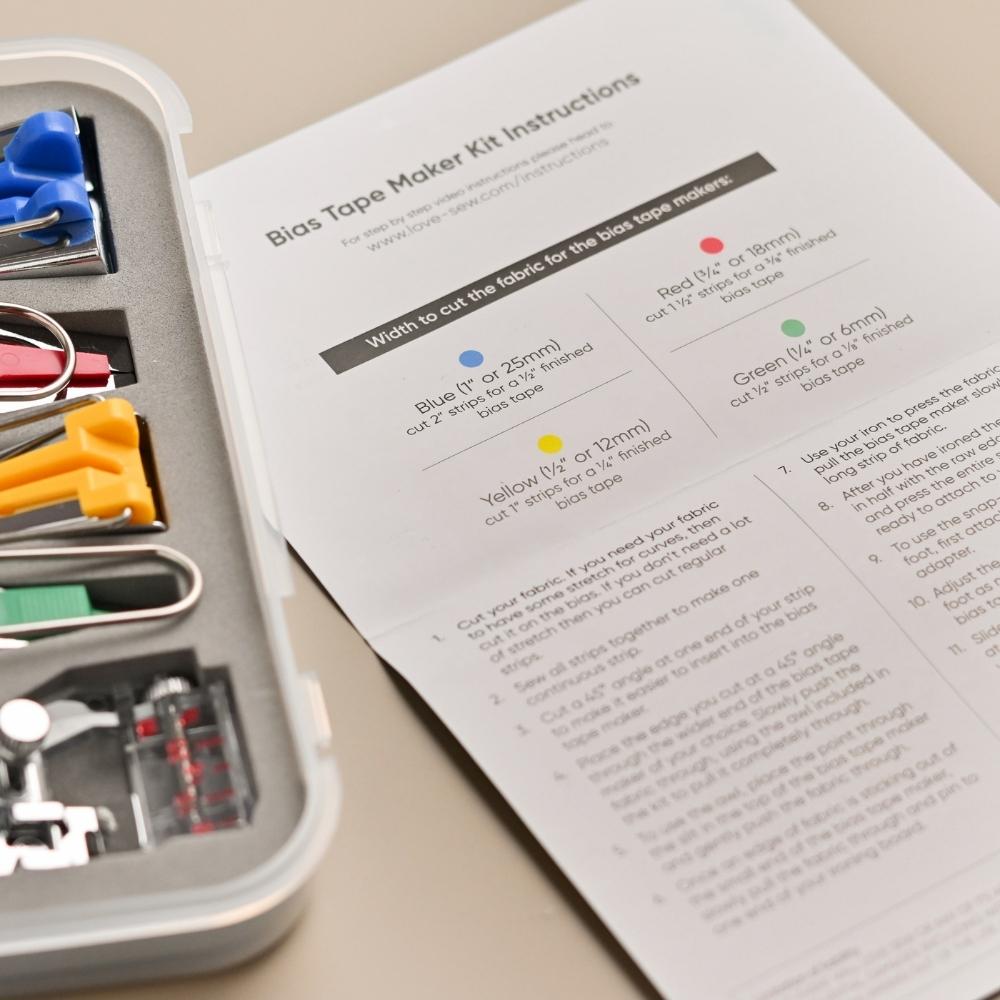
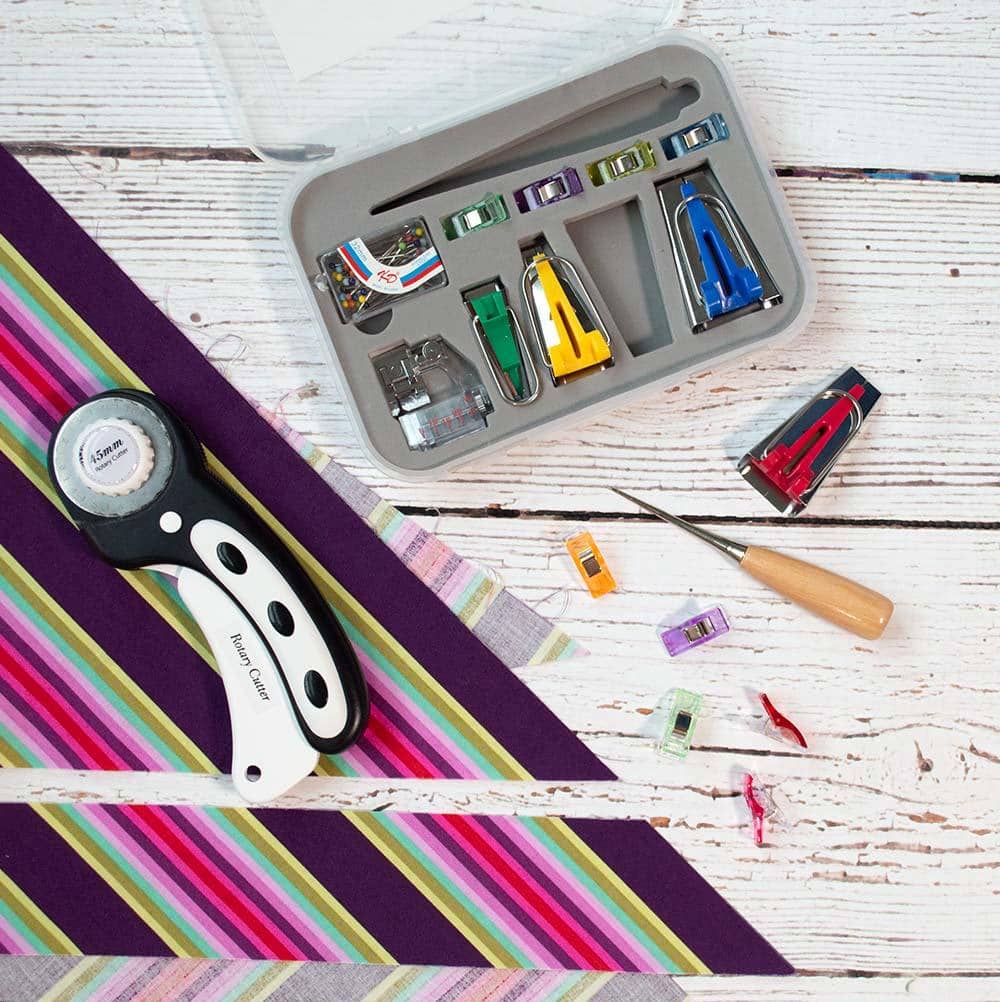
4 Bias Tape Makers:- ¼-inch (green)
- ½-inch (yellow)
- ¾-inch (red)
- 1-inch (blue)
- 1 Wooden Awl
- 1 Adjustable Bias Binder Foot
- 50 Ball Sewing Pins
- 4 Sewing Clips
- 1 Storage Case
- 1 Instruction Manual
What Is Bias Tape Used For?
Whether you like to sew or quilt, you'll probably want to use bias tape on a project sooner or later. It has so many uses! Get the Bias Tape Maker Kit so you're prepared! It's easier to use than you think.
Here are a few ways you can use bias tape:
- Bind the edges of quilts
- Finish the raw edges on necklines, armholes, bibs, placemats, and more
- Add decoration and trim to bags and garments
- Create simple straps, ties, and drawstrings
- And more!
How to Use Bias Tape Makers
Bias Tape Makers are quick and easy to use!
Our kit comes with detailed instructions to help you make perfect bias tape every time.
Here’s how they work:
- Decide what size bias tape you want to make and then select the appropriate maker. You can make ¼”, ½”, ¾”, or 1-inch bias tape with our kit.
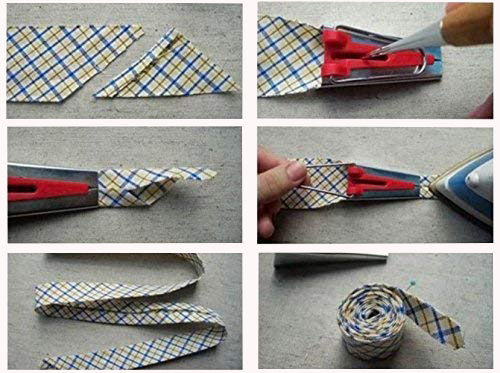
- Cut strips of fabric that are two times larger than your bias tape maker. We recommend always cutting on the bias (45°) for stretch.
- Use an awl to pull the start of your fabric strip through the bias tape maker. You feed it through the large end.
- As you pull the fabric through the tape maker, the edges are folded towards the center. Use an iron to press the creases in place. When you’re done, you’ll have perfectly symmetrical, single-fold bias tape!
- To make double-fold bias tape, simply fold your tape in half and iron it again.
It only takes a few minutes to make yards of bias tape! You won’t ever have to buy expensive bias tape from the craft store again.
★ Bonus: We’ve included a bias binding foot in our kit that is compatible with most low-shank sewing machines. It helps you attach bias tape to your sewing projects with ease. Simply line up your bias tape over the edge of your fabric and feed it through the adjustable presser foot as you sew. There is a small screw on the top to set the size.
Bias tape makers are a must-have sewing tool! There always seems to be some project that calls for bias tape!
Note: If you’re looking for a larger size bias tape maker, check out the Sasher Collection. You can make bias binding up to 2 ½-inches!

