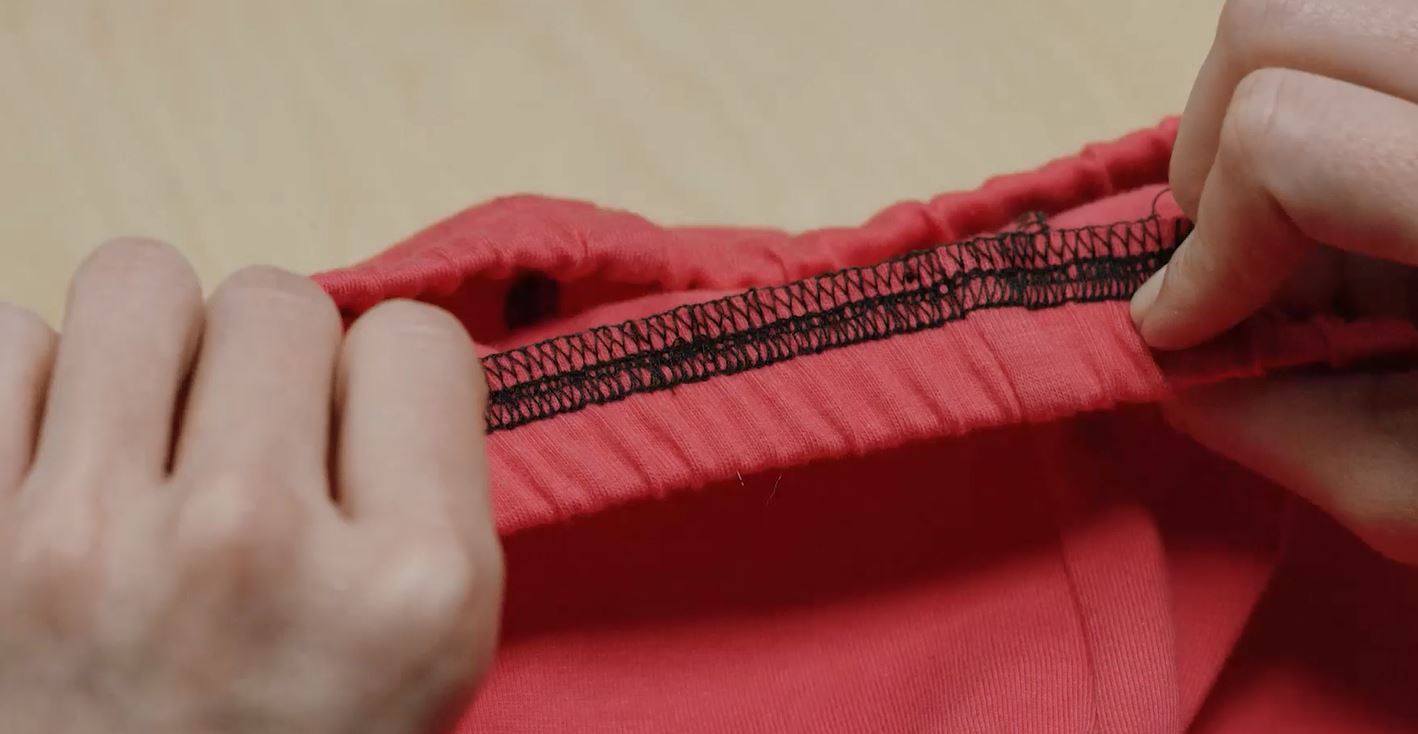
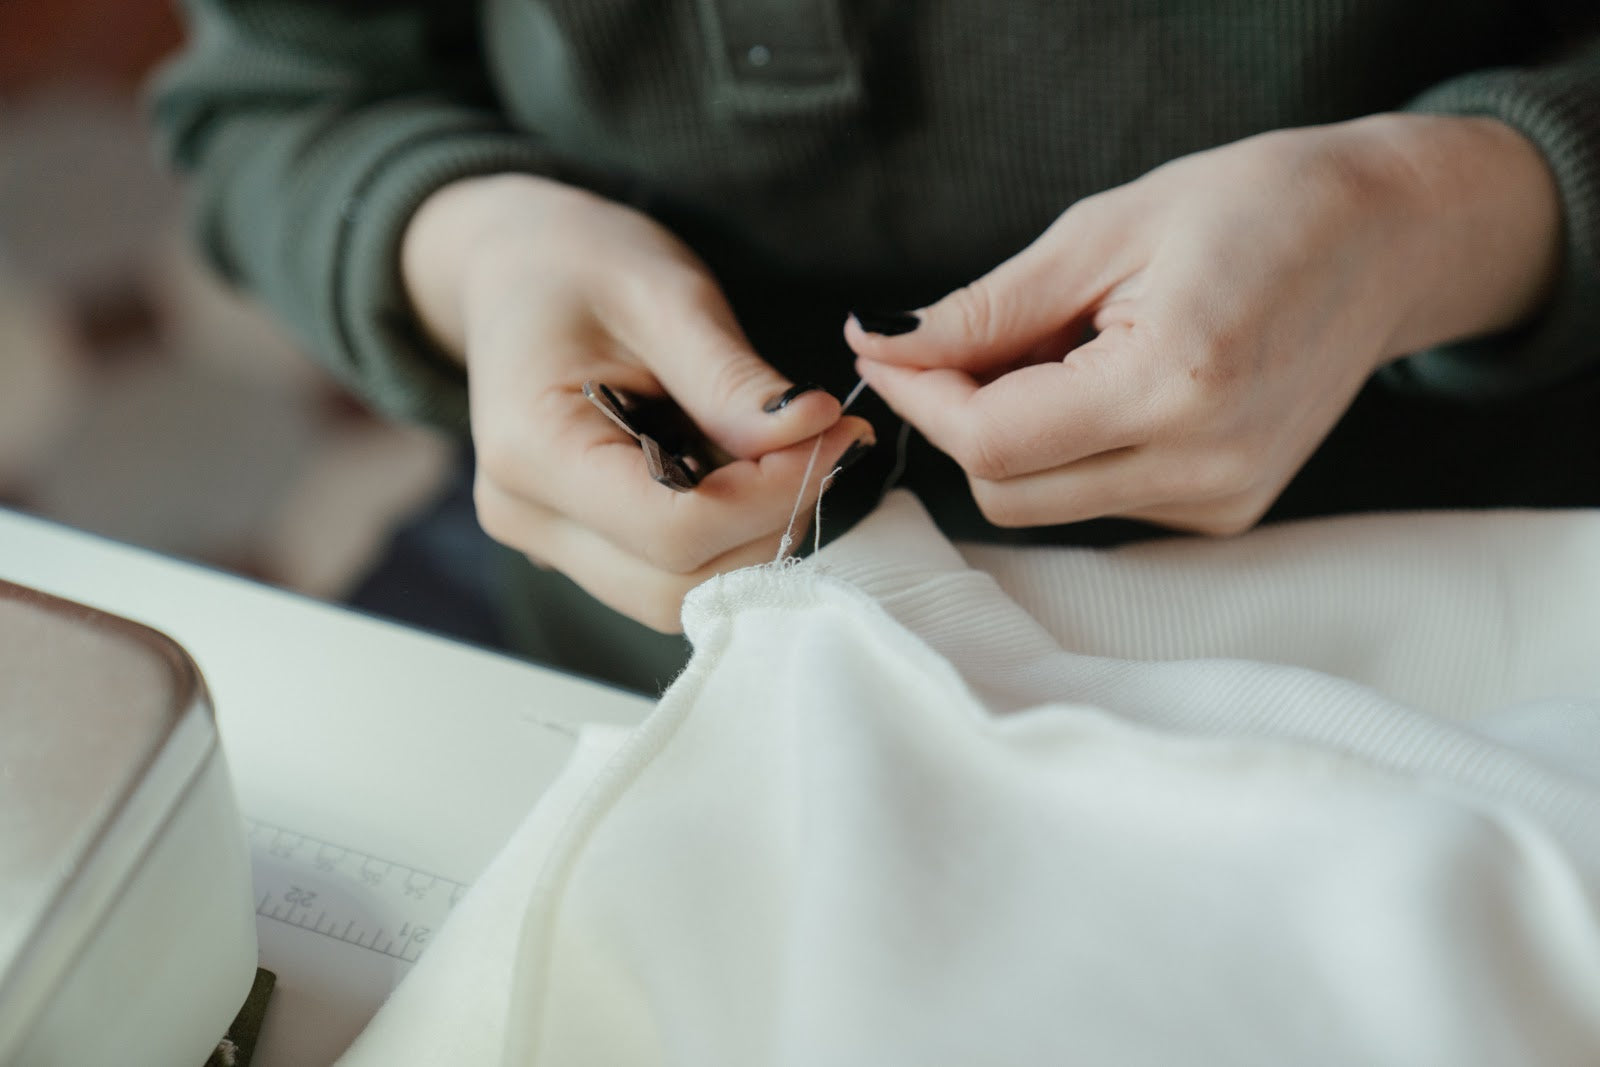
Staystitching is a type of straight stitch that’s sewn through a single layer of fabric. It’s used in sewing projects to prevent distortion and keep the curve intact. Without staystitching, curved fabric can completely change shape and lose its curve when stretched. Over time, curved fabric edges, such as necklines, shoulders, and armholes, can stretch out, distort, and lose their shape.
Staystitching is commonly used around collars and necklines to keep them smooth and perfectly curved over time. It’s important that you don’t skip this step, especially if you’re planning on wearing the garment often or moving around in it. Creating durable, long-lasting garments is so important, especially considering that clothing waste is a huge problem today. The average American is estimated to throw away over 80 pounds of clothing every year. When you reinforce your garments, you keep them looking new and wearable for longer, and you help to keep textiles out of landfills.
Staystitching is something every garment maker should know how to do. Luckily, it’s easier than you think. In this article, we’ll go over how to staystitch, what garments need staystitching, and we’ll share tips and tricks to help you get it right every single time.
How To Staystitch
It’s important to staystitch your fabric right after you cut it. Even stretching your fabric a few times can distort the shape. Plus, it’s nice to get it over with, so you won’t have to worry about it again.
To begin, set your sewing machine with a smaller stitch, one of 2.0 or less. Smaller stitches help to keep the garment stable. For a standard staystitch, 1.5 works well.
Now, you must determine where to place your staystitch and how far away from the edge it should be. Staystitching is done on a single layer of fabric and should be fairly close to the edge of the garment. However, if it’s too close to the edge, it will be visible when the garment is finished. Remembering to take your seam allowance into account, sew your staystitch about 1/16th inch under the stitch line.
The direction of your staystitch is also important, as you want to ensure it’s even all the way around the garment. The most common type of garment that you’ll be staystitching is a bodice, so we’ll use that as an example. Begin at the neckline of your piece. Start up at the inside edge of the shoulder, then continue down to the center of the neckline. Begin again at the inside edge of the other shoulder, and continue down to meet the other portion at the center of the neckline. By doing the curves in halves, you ensure your stitching is even and reduce the risk of wrinkles.
Now, continue onto the rest of the bodice, working outward and down. Don’t try to do it all in a single pass, as this will just make it more difficult to maneuver the garment and get clean lines. Continue stitching across the shoulder, then down the armhole, then down the side of the bodice, then across the waistline, stopping halfway across to meet the stitching on the other side.
It’s also important to make sure that you're staystitching the front pieces and the back pieces of your garments in the same direction. Make sure you’re practicing directional stitching, meaning you’re traveling in the direction that causes the least distortion. The general rule is to travel from wider to narrower and from higher to lower.
However, sometimes the rules of directional stitching can contradict each other. If you’re sewing a skirt with an A-line silhouette, you’ll want to travel from the bottom to the top because the bottom is wider. No matter which direction you travel, make sure to match it on both sides. Whatever is done to one side of the garment must also be done to the other.
If you’re new to sewing curves, staystitching may take a bit of practice. Here are a few tips to ensure your work is crisp and neat.
-
Mark your seam allowance with a pencil or a heat erasable pen. This will help you follow the curve of your garment more easily, so you don’t have to estimate where your staystitch should be placed.
-
Place your pins vertically, or use clips, so you’ll have minimal interference when sewing curved. You shouldn’t have a problem with this when staystitching, as you’re only working with one layer of fabric, so it shouldn’t require pinning.
- Smaller stitches work best when sewing curves.
- Go slowly and maneuver your fabric gently, remembering to keep your eye on the seam allowance line.
- Pressing with an iron when finished helps to smooth out any wrinkles and gives you an accurate look at your work.
What Should Be Staystitched
Remember to staystitch all parts of your garment, even parts that will be added on later, such as facings and collars. Any garment with a curved edge should be staystitched, and even other types of straight collars, like V-necks, should be staystitched to prevent sagging and distortion.
It’s really only necessary to staystitch around the edges of the entire garment when the fabric is really unstable or slippery. When working with normal fabrics that are fairly sturdy, you only have to staystitch around curved edges like necklines and armholes. However, a garment will never really be hurt by staystitching, so if you’re unsure, we’d say go ahead and staystitch (as long as it doesn’t sacrifice good construction technique.) Better to be safe than sorry!
One fabric to be careful with when staystitching is a knit. Knit fabrics aren’t usually handled the same way as woven fabric because they’re meant to be stretchy and flexible. Staystitching a knit might defeat the purpose of using such a flexible fabric in the first place.
To decide whether to staystitch a knit, consider the silhouette you’re aiming for and which other pieces of fabric will be attached to the edge in question. If it needs to be stabilized, like an armhole where a sleeve will be attached, staystitching might be a good option. However, if the edge needs to remain flexible, try using a different stabilization method, such as attaching fusible interfacing.
Staystitching And Grainlines
Even after all this, you still may be tempted to skip staystitching. “My directions don’t call for it,” you may be saying. Or “it won’t really make that much of a difference.” However, staystitching is so important to your sewing projects. It’s fallen out of favor in modern sewing circles, as more emphasis is placed on projects that are fast and cheap. This is why so many modern, fast-fashion clothing items fall apart after one wear, and why your grandmother has clothes in her closet from the ’60s that look like new.
To understand why staystitching is crucial, we must first understand grainlines. Grainlines are simply the weave of the fabric, which direction the threads are going. There are three different types of grains: straight grain, cross-grain, and true bias.
The straight grain, otherwise known as lengthwise grain, is the threads that are traveling parallel to the selvage of the fabric. The selvage is the tightly woven edge of a straight grain fabric that keeps the threads from unraveling.
The cross-grain is the threads that are running along the width of the fabric, from one selvage to the other. The cross-grain runs perpendicular to the straight grain.
The true bias is the 45-degree angle that runs diagonally through the straight grain and the cross grain. Every piece of woven fabric has two true biases running through that cross over each other like an X.
When a piece of fabric is in one large piece, the straight grain and the cross-grain are perpendicular, or at right angles to each other. This holds them in place and makes them stable. However, once you cut your fabric into the shape you need for your garment, the straight grain and the cross-grain are not perfectly perpendicular anymore, and they become unstable and prone to stretching and warping. This is when staystitching becomes necessary to keep the fabric intact.
Conclusion
Staystitching is a technique that every garment maker must master for long-lasting, well-fitting clothing. Staystitching used to be taught in every sewing class and instruction manual, but it has gone by the wayside in favor of faster methods. Unfortunately, faster often means sloppier. Staystitching will make your garment look and feel professional, and it will keep your clothes looking crisp and new.
Here at Love Sew, we’re passionate about creating a loving, helpful sewing community. We publish helpful tutorials on our blog, and we sell top-of-the-line sewing equipment, like this high-quality elastic sewing foot. No matter what project you’re taking on, we have the tools to help you. Make sure to visit our website, and let us help you with all your sewing needs.
Sources:


1 comment
Steve
Fabulous article about stay stitching it makes way more sense to me now !!!
Leave a comment
This site is protected by hCaptcha and the hCaptcha Privacy Policy and Terms of Service apply.