When an item of clothing is well-loved and well-worn, small rips or tears over time are inevitable. Even if you take amazing care of your garments, snags, washing machine accidents, and plain old rips are a part of life. However, this doesn’t mean the garment has to be thrown away! By learning how to repair holes in your clothes, you can add years to the lifespan of the pieces in your closet.
Nowadays, with the invention of fast fashion and a cultural emphasis on everything being quick and cheap, it seems clothing is far more prone to ripping, tearing, and fraying. The old saying “they used to make things better” is usually a fallacy, but in the case of clothing, it’s actually true. Clothing back in the day was much sturdier and regularly lasted a person’s entire lifetime.
Clothing waste caused by fast fashion is a huge problem in the United States today. The average American throws away 70 to 80 pounds of clothes every year, most of which will end up in landfills due to recycling difficulties. By making your own clothes at home and learning to repair your garments, you can keep more clothing out of landfills, keep your favorite clothes for longer, and save yourself money.
Types Of Rips
Before you begin repairing any type of rip or hole in your clothes, you first need to determine what type of rip you’re dealing with. There are three main types of clothing rips you’re likely to encounter.
-
Clean Rips: This is a long, narrow, relatively straight or L-shaped rip. No fabric is missing in between, and the two edges of the rip can be brought back together and repaired.
-
Open Rips: Open rips will be larger, more circular rips, and will have fabric missing from the center. This type of rip requires a patch to cover the hole where the fabric is missing.
- Seam Rips: This is when clothing rips along a seam, most common around the hips of pants or the shoulder of a sweater. Any area that gets a lot of stretch is vulnerable to seam rips.
Types Of Mending
Once you’ve established the type of rip you’re working with, you must decide the method you’ll use to repair the rip. The two main methods are hand sewing and machine sewing. Hand sewing is just like the name implies: using a needle and thread with your fingers to stitch. Machine sewing uses a sewing machine. Both methods have their pros and cons.
Sewing by hand is great for beginners, as it’s intuitive and easy to learn. It’s also extremely precise and allows you the most amount of control, which is often necessary when mending a hole. It is portable and can be done from anywhere. It’s also much cheaper than buying a sewing machine. Hand sewing takes much longer than machine sewing and tends to be a bit messier due to human error.
Sewing with a sewing machine is quick, allowing the user to sew large areas in seconds. The stitching also tends to look more consistent and professional, as it was done by a machine. Once you learn how to use a sewing machine, it’s quite convenient and simple to use. It just requires a bit of a learning curve. Unfortunately, when sewing with a sewing machine, it can be difficult to be precise if you don’t have a lot of practice.
Now that you know the pros and cons of hand sewing and machine sewing, you’ll need to decide which method is best for the hole you’re working with. Hand sewing is more suited to small, difficult-to-reach areas, which machine sewing is great for large, open, straight tears or rips. Don’t worry, though; we’ll go over how to repair each type of rip using both methods.
Sewing Clean Rips
Generally, a clean rip is the easiest to mend. However, there are a variety of steps you need to take to add stability and make your final product look as neat as possible.
Whether you’re hand sewing or machine sewing, the first step is to iron the area. This allows you to begin with a smooth surface and to see the full extent of the damage without any wrinkles. Next, you’ll want to neaten up the area by going in with scissors and trimming any loose threads away. You’ll have to be careful here not to make the hole any bigger.
If you’d like, you can also reinforce the rip with iron-on interfacing inside the garment. A clean rip in a delicate area will often benefit from reinforcement to make sure it doesn’t open up again. If you don’t have iron-on interfacing, you can pin a spare scrap of fabric behind the rip and sew it in place later.
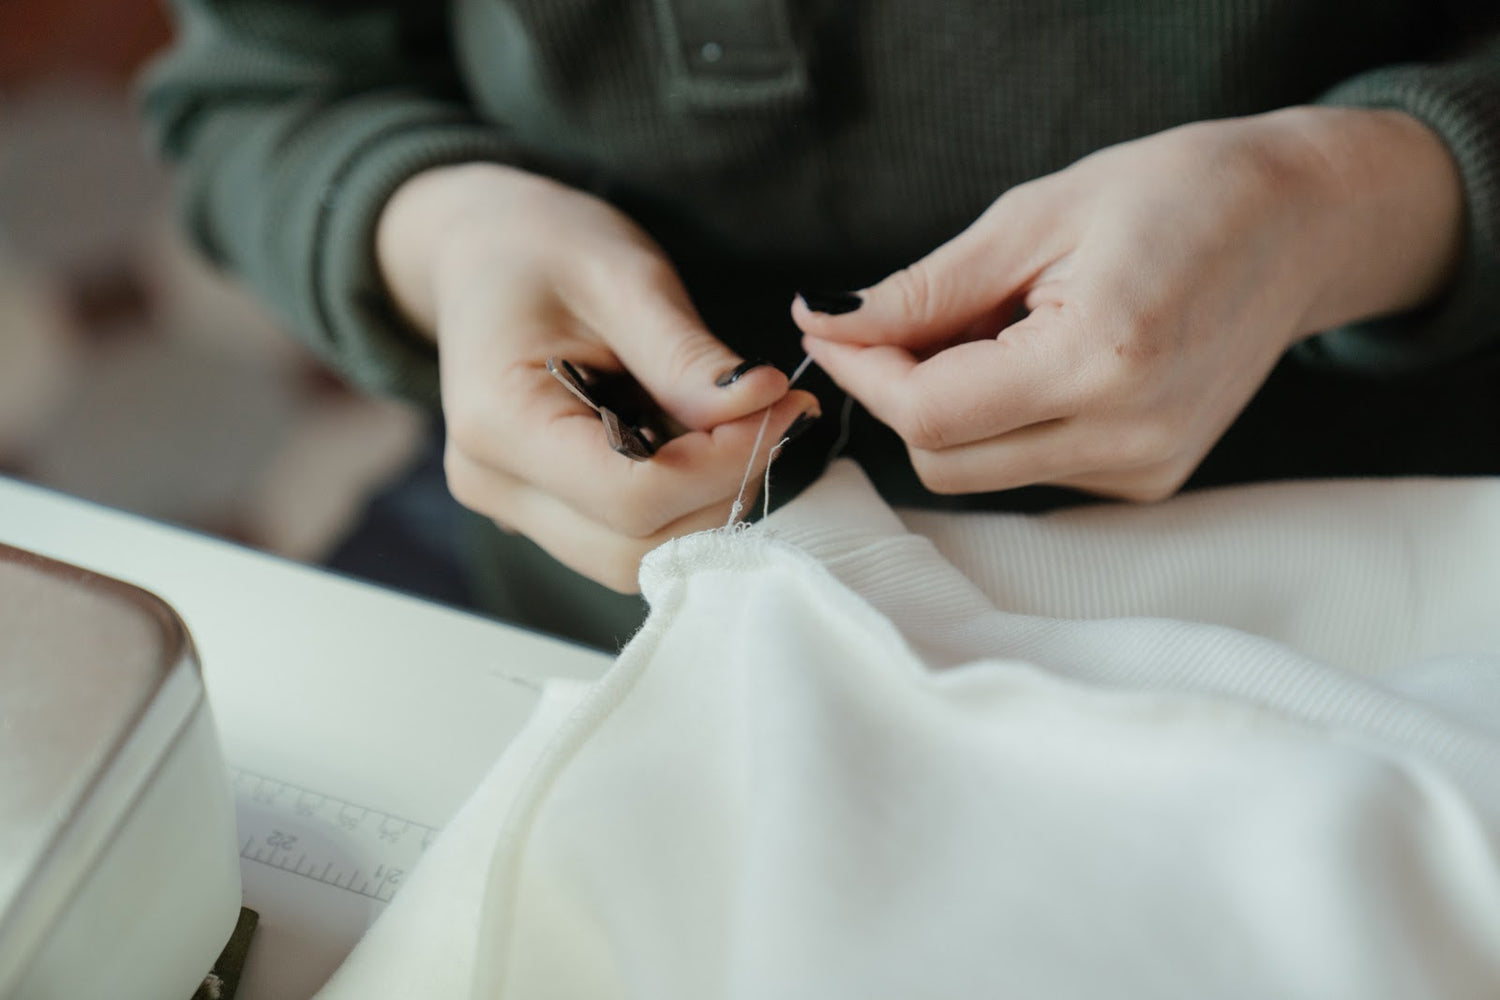
Hand Sewing A Clean Rip
Hand sewing a clean rip is fairly easy and intuitive, but it may take a bit of practice. To begin, thread your needle double with a thread that roughly matches the color of your garment. Knot one end of the thread.
Next, insert your needle at the bottom of the rip underneath the fabric and come to the top. Take a small stitch to secure the end of the thread in place. Now, you can begin mending the rip. Move your needle to the other side of the rip and take a small stitch. The smaller the stitch, the less visible the mending will be. Don’t go too close to the edge, though, or the thread may just rip through the fabric when pressure is applied.
Now, work your way up the tear, taking small, vertical stitches across the rip each time. Repeat until you get to the top of the rip. Once you get close to the top, taper the last few stitches, so they’re closer together. Once you’ve finished, gently pull the thread. This will cause the tear to close up and the stitches to disappear. Secure with a knot.
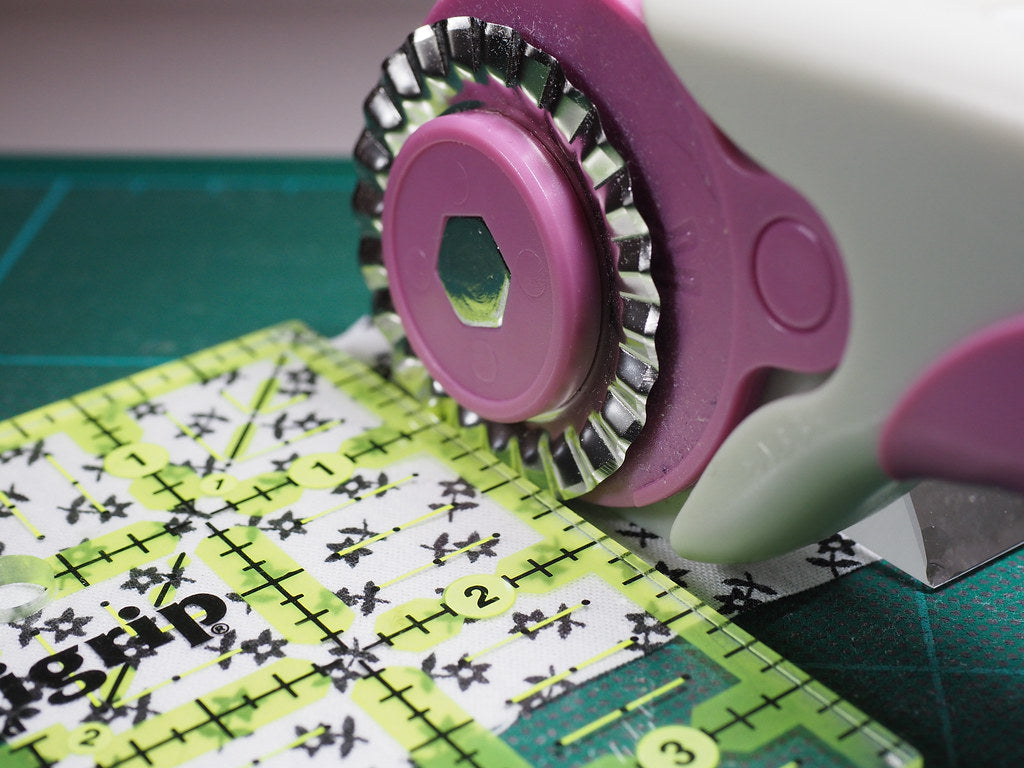
Machine Sewing A Clean Rip
To begin, thread your bobbin with a thread that roughly matches the color of the fabric (if you have trouble keeping your threaded bobbins organized, try this organizer.) Begin straight stitching along both sides of the rip. This will help to reinforce the edges of the fabric and reduce fraying.
Now, you’ll zig-zag stitch over the rip to seal the edges. You can go with a zig-zag foot or just a regular walking foot on your sewing machine. If your work is clean and the thread is a close match, you’ll barely notice the mend. If the area is fragile, go over the tear a few times.
If you used interfacing for reinforcement, by now, it’s been stitched in place, and you can cut off the excess.
Sewing Open Rips
When sewing an open rip, you’ll need a patch or an extra scrap of fabric to fill in the empty space. Choose a patch with a similar fabric or color if you want it to blend in, or you can add a patch with a design for a fun pop of color.
Once you’ve chosen your patch, press the area with an iron and trim the loose threads, just like with a clean rip. Now, pin your patch in place on the inside of the garment, ensuring there is enough material to cover the hole fully.
Hand Sewing An Open Rip
Hand stitching a clean rip is fairly similar to hand stitching an open rip, only this time, you’re stitching along the outer edge of the hole to keep the patch in place, not trying to close the gap. You can use any stitch you like here, but the easiest are running stitch, backstitch, and blanket stitch.
Keep in mind that both the right side of the patch and the stitching will show on the outside of the garment, so choose your patch and thread color wisely.
Machine Sewing An Open Rip
To machine sew your patch in place, you can use either a zigzag or a straight stitch. Make sure to press your garment and the patch beforehand to keep everything as smooth and wrinkle-free as possible. Again, both the thread and the patch will be visible on the outside of the garment.
Sewing Seam Rips
Seam rips in clothing are probably the easiest to mend because all you need to do is go over stitching that was already there. Begin by turning your garment inside out, and press the area with an iron. Assess the length of the rip. If it’s a small hole, it may be easier to hand stitch. If it’s a larger area, machine stitching may be the way to go.
Hand Sewing A Seam Rip
To hand stitch an open seam, use a running stitch or a backstitch. Running stitch is the simplest and is easier for beginners. Backstitch is a little trickier but will yield a much stronger hold. Make sure to close the hole entirely and overlap with the intact portion of the seam to secure it tightly.
Machine Sewing A Seam Rip
To close a seam rip with a machine, your best bet is a simple straight stitch. Just like when hand sewing a seam rip, ensure you overlap your stitching onto the seam after the rip ends and go over your work a few times for the strongest hold.
Conclusion
Knowing how to stitch holes in your clothing is a vital skill that can save you time and money. Plus, it keeps clothes out of landfills, and it’s much easier than you think!
For more sewing tips, tricks, and supplies, make sure to visit us online and join our Love Sew community.
Sources:
Why Vintage Clothing Was Made Better – The Economics of Durability | Heddels
How Much Waste Does the Fashion Industry Produce? | The Pretty Planeteer
Hand Sewing vs. Machine Sewing: Pros and Cons | Master Class

Leave a comment
This site is protected by hCaptcha and the hCaptcha Privacy Policy and Terms of Service apply.