Denim jackets have gone in and out of style for years, but they were originally popularized by the counterculture youth of the 1960s and became a mainstream, closet staple in the 70s and 80s. Now everyone owns a denim jacket… or you’re like me you own 2 of them. I have one that is really awesome with southwest inspired embroidery and I love to wear it all the time since it’s a great boho statement piece. But the other jacket, I’ve just been hanging onto for years and have never really loved… It’s been hiding in the back of my closet for at least the last 5 years… but it may be closer to 10.
Recently, I’ve been trying to declutter and get rid of some of the old clothes, mostly the ones a more fashionable me bought before 2020 when my wardrobe really took a turn for the comfier side. As I was sorting between the my “keep”, “donate”, and “sell” piles I pulled out that old denim jacket and couldn’t decide if I should hang on to it a little longer or if I should finally let it go. I hugged it close and was getting ready to say “It’s not you, it’s me” and let it go into the “donate” pile…. And then inspiration struck!
I remembered back to some of the recent trends I’ve been seeing with quilted jackets and adding patchwork to everyday things to add a little touch of individuality and with that I created a new piece that I’m going to love and wear to show off a little bit of my individuality and my craftiness. I wanted to share how I upcycled my jacket to hopefully inspire all of you who have some well loved pieces that you’re just not ready to give up on and want to dive into the world of upcycling!

Supplies
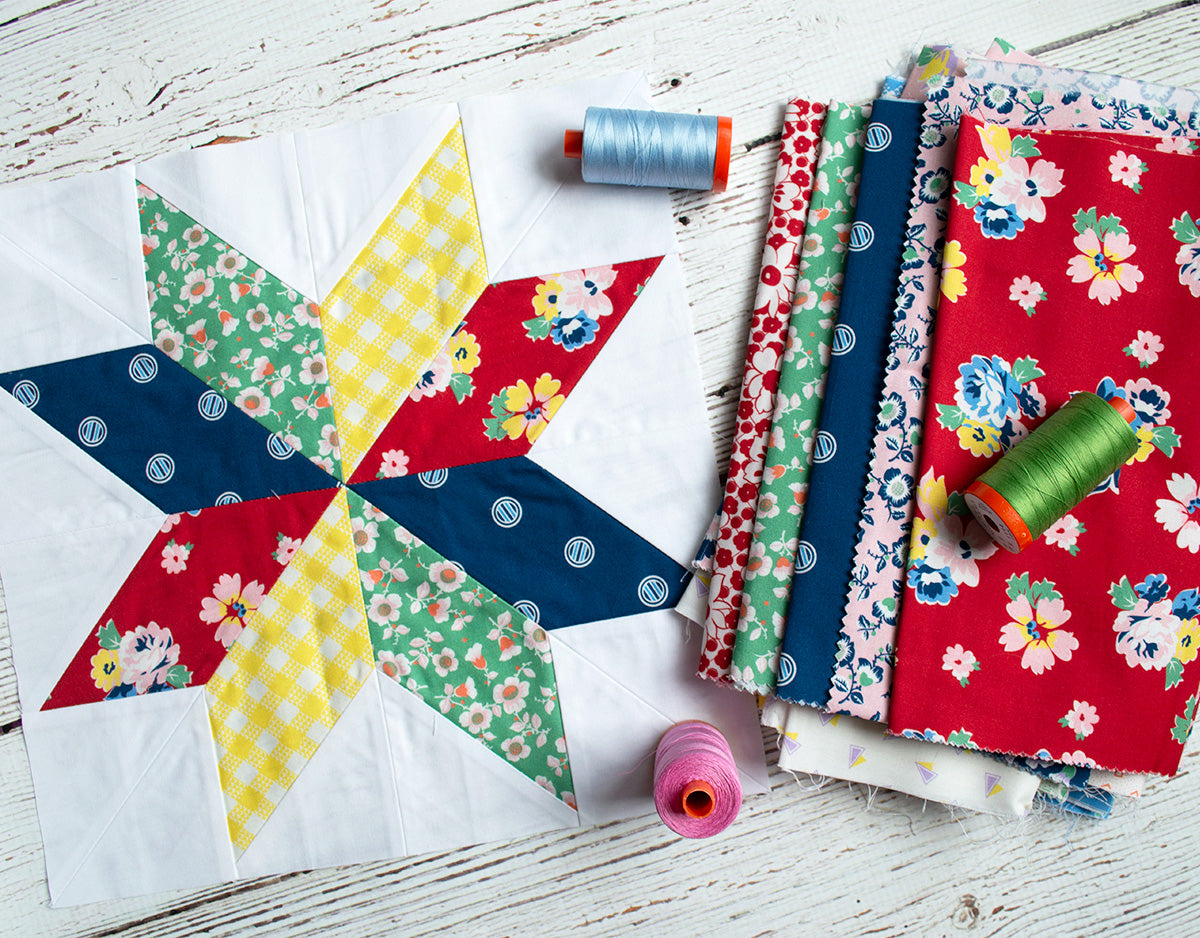
- The fabric you need really depends on the garment you’re choosing to upcycle, the style that you’re going for, and the shapes that you want to use in your design. You can use scraps from a past project or shop for fabric specifically for your upcycle. Check out Love Sew's exclusive premium fabrics brand, True Fabrics.
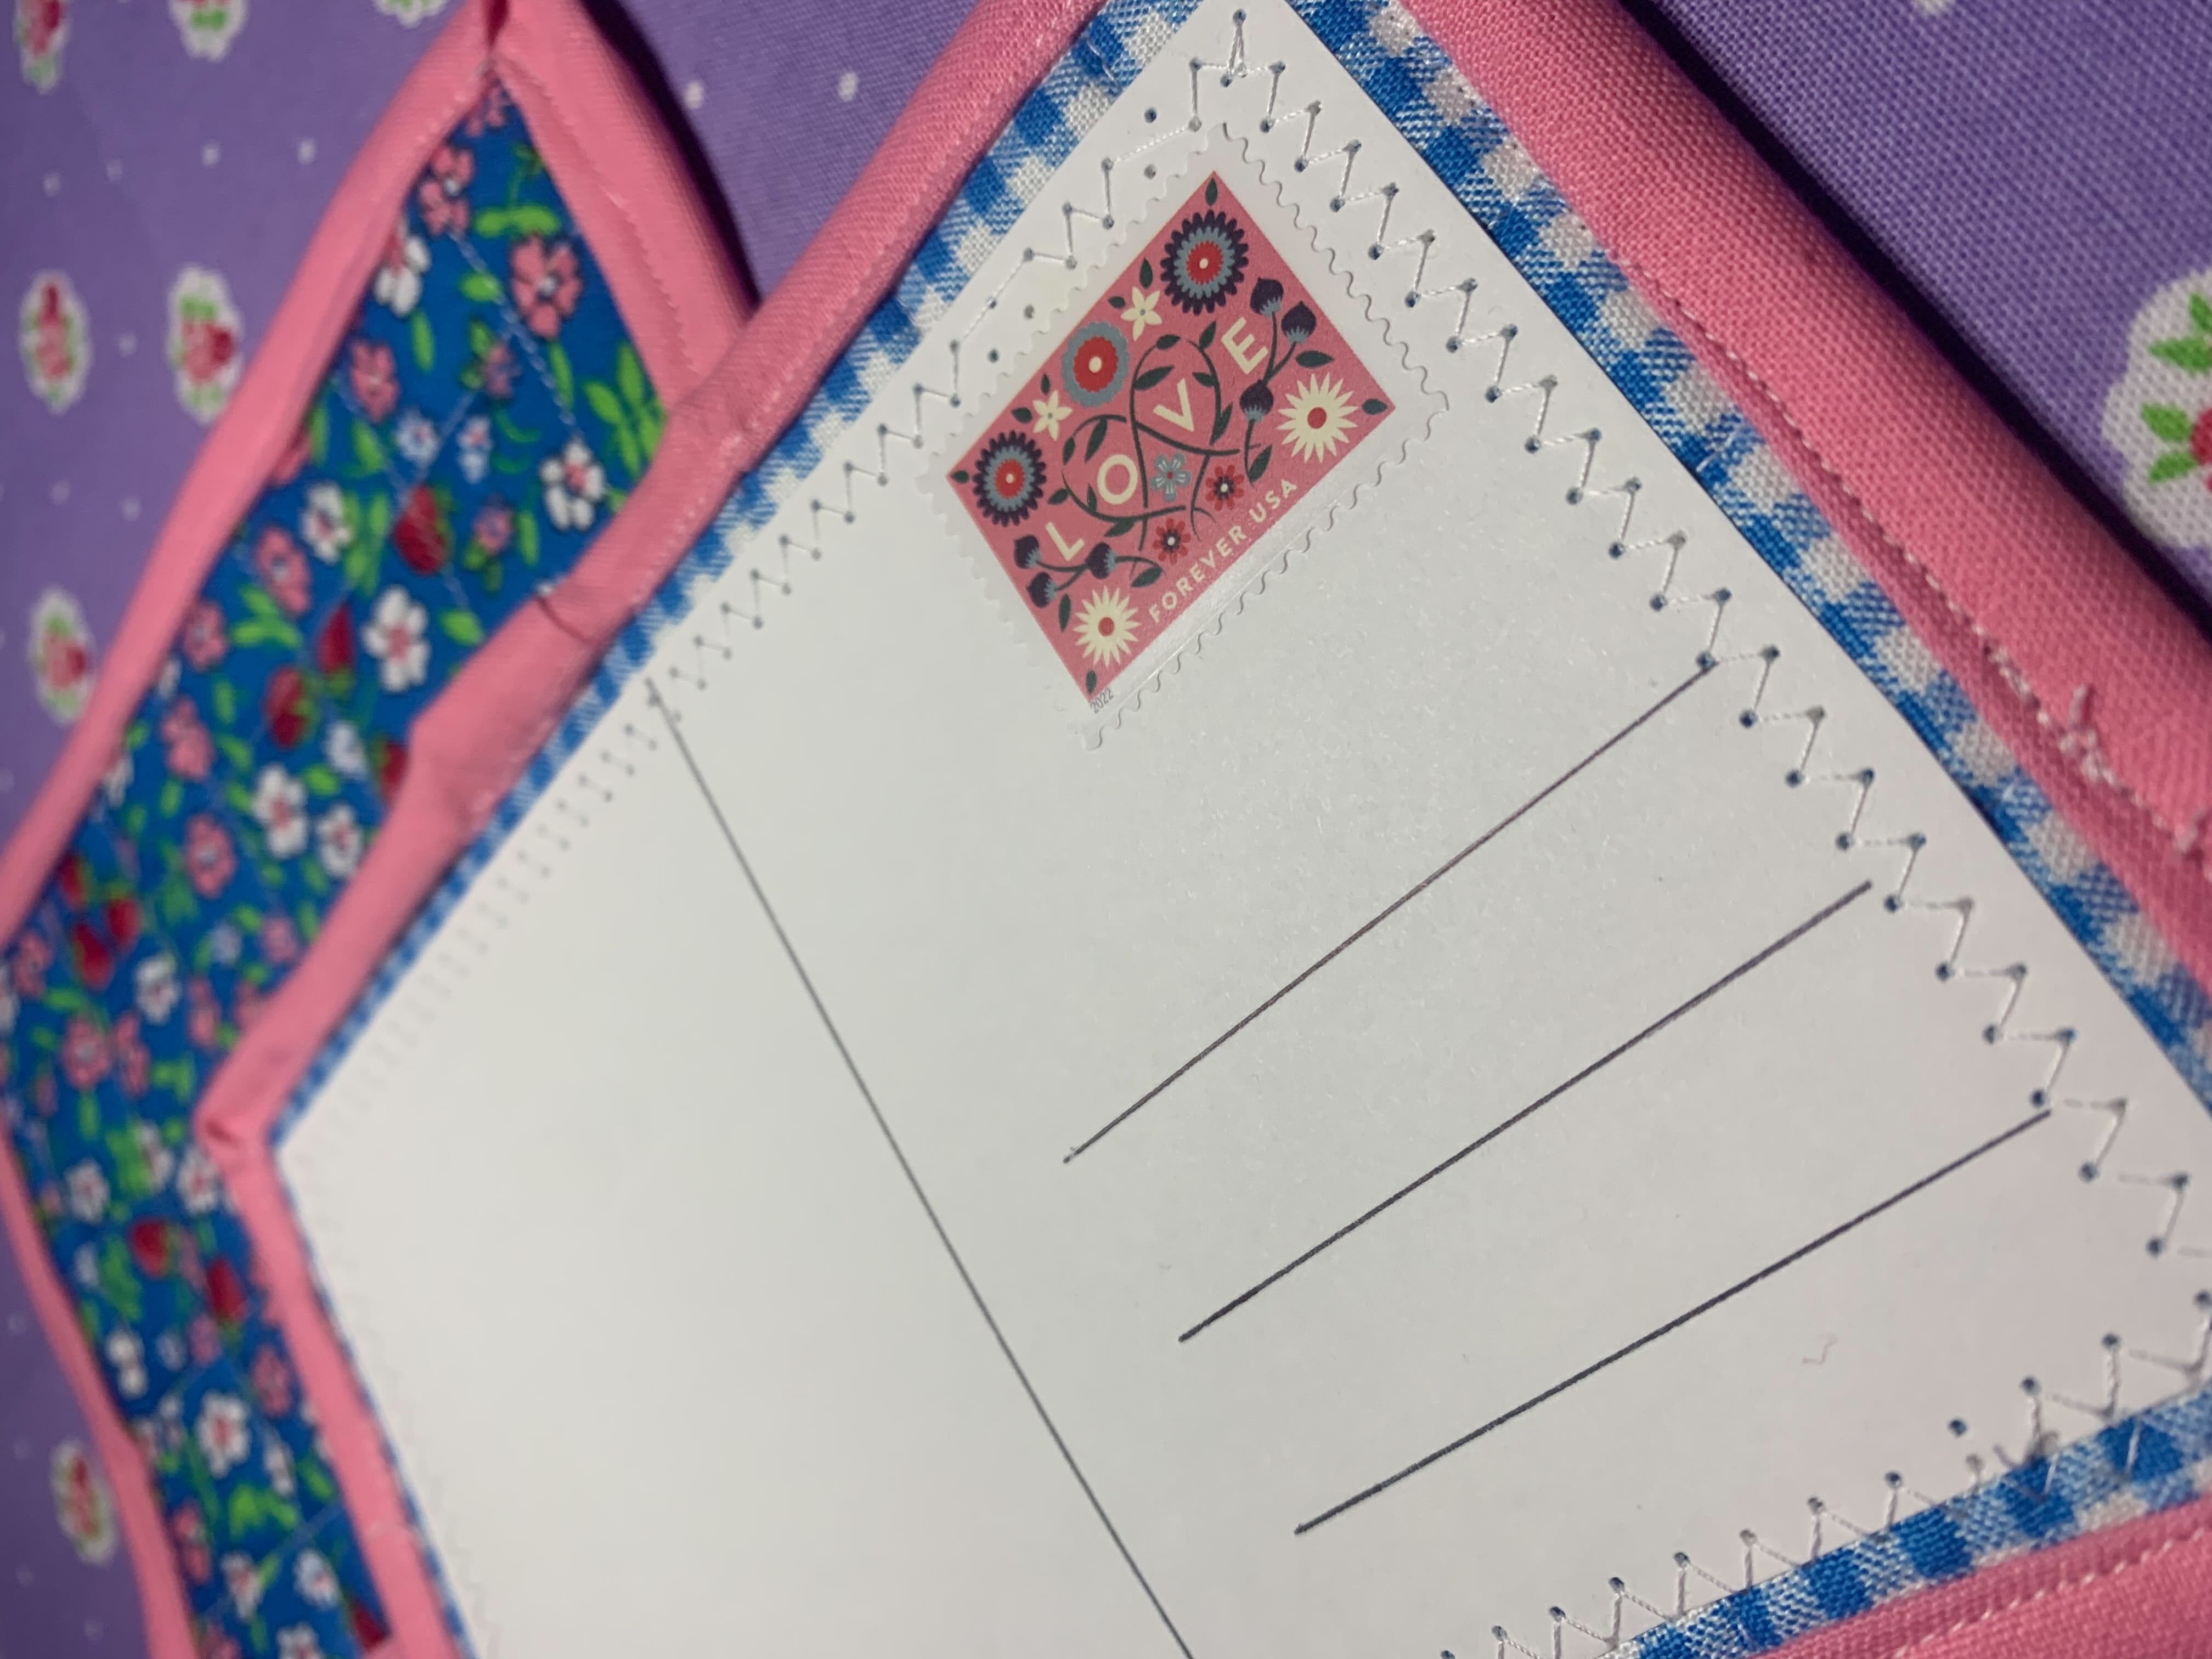
- There’s also the potential to add a lot of other fun and unique items to your upcycle like sequins, buttons, embroidery, lace, beads, and more, so let creativity speak to you and add as much or as little embellishment as you want. I’m not sure that I’m done with my jacket yet and I’m still thinking of what other embellishments I might want to add!
- Denim jacket or other item to upcycle
- Basic sewing machine
- Thread
- Pins - I love these adorable flower head pins!
- Hand Sewing Needles - Have trouble threading your needle? Try these!
- Thimble - Click here for a couple of my favorite options
- Rotary Cutter or Scissors
- Quilting Ruler, if needed
- Embroidery Floss (optional for extra embellishments)
Some other items that could be good to upcycle if you don’t have a denim jacket or can’t get to a secondhand store to find one:
- Chambray button down shirts
- Linen Pants
- Denim Pants or shorts
- Cotton sweatshirts
- Canvas bags
- And more!
Really anything can work unless it’s too stretchy like spandex or too stiff like leather.
Tutorial
Step 1: Make a plan
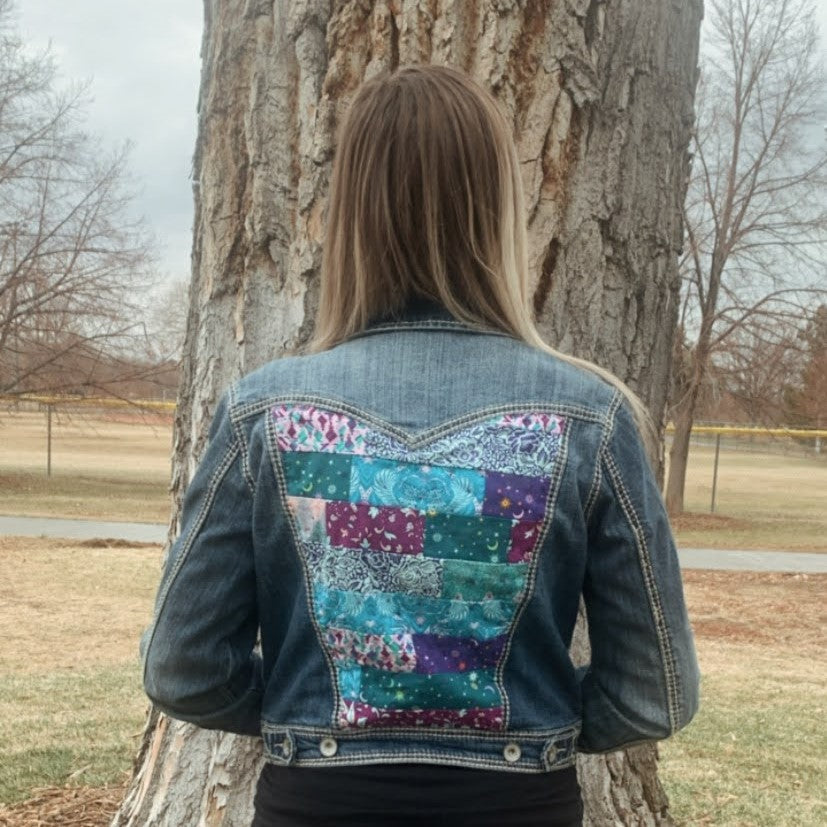
I really wanted to go with a fun and simple improvisational look, so I decided to create a strip pieced panel. The way my jacket is structured it has curved seams in the back for a “slimming” effect that I didn’t want to lose. I also thought that the denim on the sides could be really cool with some embroidery inspired by the fabric I chose (maybe you’ll see that in another tutorial soon!)

Step 2: Measure for your focal piece
With the look that I am going for I first cut 2.5” strips of varying sizes out of my scraps. The scraps I had were pretty large, so after I start piecing some of the strips together I’m going to split them in half or thirds and swap them around. I’m really going for a very scrappy, improvised look I played around with my strip piecing until I was happy. I measured the back panel of my jacket to make sure that I piece enough strips to cover the area. If you’re doing something more structured or on the full back of the jacket you should mark out where your block will go (this will help you to make sure it’s in the center before you make the sashing).
Step 3: Measure your sashing
Now you’ll figure out how much sashing that you need in order to create negative space around your block - having a little more than you need is key here as it’s easy to trim up or turn the excess under when you applique your finished piece to your jacket. You should leave at least ½” for seam allowance on all sides. Since I’m piecing a block that will fit the entirety of the back panel of my jacket, no sashing was required for my method. Note: take an extra close look at the construction of your jacket, some shoulder seams go all the way to the front of the jacket, so you’ll want extra fabric here to line up with the seams.
Step 4: Sew your patchwork and your sashing
Here I’m just stitching my 2.5” strips into a loosely rectangular shape that is large enough to cover the back panel of my jacket. I’m leaving enough extra so that I have enough extra that I can work around the curved seams easily when I finish the edges.

Step 5: Baste the patchwork to your jacket
Line up your focal piece with the lines or pins you marked on the back of your jacket. Double check that you’re in the center, but if that doesn’t look best feel free to adjust the piece slightly so that you’re happy with the placement. Start pinning the patchwork to your jacket, working from the center towards the outer edge and smoothing the fabric as you go. Since this is such a small piece using regular pins instead of safety pins will work just fine.

Step 6: Quilt your piece to your jacket
Note: You can machine quilt your piece to your jacket, but I chose to hand quilt as I am not sure my machine would like sewing through denim too much! I also thought the look of some big stitch Xs would add a little flare and look like stars.
Using my embroidery floss (you could use thread specific to hand quilting here, but I found that embroidery floss worked nicely and was easy to match the fabric with floss I already had) and a needle, I quilted my piece to my jacket. You can use as much or as little quilting as you want here. You can quilt the center, around the edges, or in any design that accents your fabric or block!
Remember that with your jacket you’re only working on 2 layers not 3 as you would for a quilt. This means that you don’t have to hide your knot in the layers, you can just leave the knots visible on the inside of your jacket. Make sure to quilt all the way through to the inside of your jacket and make sure to double, or even triple, knot your thread to ensure a long lasting hold.

Step 7: Finish the edges
Thread your needle and get ready to start sewing your way around your piece. Now is a great time to trim extra fabric only leaving ½” seam allowance around your design, you can also trim as you go if that’s easier for you.
Fold under the seam allowance and press either with an iron or by finger pressing so that the edges of your piece lines up with your jacket seams adding pins to secure while you work around the piece.
Smooth any excess fabric to the jacket edges, double (or triple for extra strength!) knot your thread and start sewing around the edge keeping your stitches small, less than ⅛”, adding extra stitches in the corners for those high wear areas. You may need to adjust your fabric and your stitches if your piece extends into curved areas like the armpits. You can always add more stitches to tack down or hide any puffy or puckered spots. Take some extra time on any curves in your jacket’s seams and make sure to adjust your stitches or repin until you’re satisfied.
Note: I used embroidery floss and big stitches to secure my panel to my jacket because I liked the look! You could also use your machine to stitch around the panel instead with a straight stitch or even a zigzag or other more decorative stitch to add your own flare!

Step 8: PHOTOSHOOT
Now is the fun part, you have a fun new piece for your wardrobe that is uniquely you! Celebrate your success with a fun photoshoot showing off your “new” jacket! Share your photos to our Facebook Group - Love Sew: Quilting Group.

Now I love my jacket… but I’m not sure that I am done adding my own personal touch. So check back soon for an update on what else I’ve added to my jacket!
Keep on Stitchin’
-Meridian 🐇
2 comments
Julie L Gallus-Raudabaugh
🌝
Janet Waters
Thank you for such great instructions
Love how it turned out
Leave a comment
This site is protected by hCaptcha and the hCaptcha Privacy Policy and Terms of Service apply.