Mail that isn’t junk mail is a luxury these days, but still how do you make snail mail more exciting? QUILT IT! What better way to show your faraway friends that you’re thinking of them than to send them a quilted postcard with a sincere, handwritten note.
Here’s a quick and easy tutorial for how to make your own quilted postcard to send to the people that you love! This tutorial is great for using scraps and you can mix it up by using any combination of colors or prints that you have on hand. You can also find a BONUS free printable version of this tutorial at the bottom of the page, so keep reading!
Tools:
- Fabric scissors (or rotary cutter)
- Quilting ruler
- Cutting mat
- Sewing machine (or quilting needle for hand sewing)
- Coordinating cotton thread
Supplies:
- 1 – 4 ½” x 6 ½” piece of Top fabric*
- 1 – 4 ½” x 6 ½” piece of Backing fabric
- 1 – 1 ½” x 26” strip of Binding fabric
- 1 – 4 ½” x 6 ½” piece of Batting*
*Watch Out: If you want to make your postcard a different size, the USPS postcard size requirements are: At least 3 ½” high x 5” and no more than 4 ¼” high x 6” long
*Tip: If you don’t have any batting on hand try using a square of flannel or fleece instead!
Shop True Fabrics to add to your stash!

Block Assembly
Step 1
Select your top, backing, and binding fabrics and cut to your desired size
Step 2
Create your quilt sandwich* by layering your fabrics in the following order* (top to bottom):
- Top fabric
- Batting
- Backing fabric
*Watch Out: Make sure that all rights sides of the fabric are facing out!
*Tip: You can use a couple of small safety pins or some loose basting stitches to help keep your fabrics together while finishing your block
Step 3
Using either your sewing machine or a sharp quilting needle, quilt your postcard in any pattern you like, we’ve chosen to use a simple grid, securing all the layers of your sandwich together.

Finishing the Block
Step 1
Trim any excess from the edges of your sandwich so that the layers are even.
Step 2
Fold your binding fabric in half and iron flat*.
*Tip: Use your wool pressing mat to make pressing binding a breeze!
Step 3
Bind your quilted postcard using your favorite technique
Sending Your Postcard on its Way
Step 1
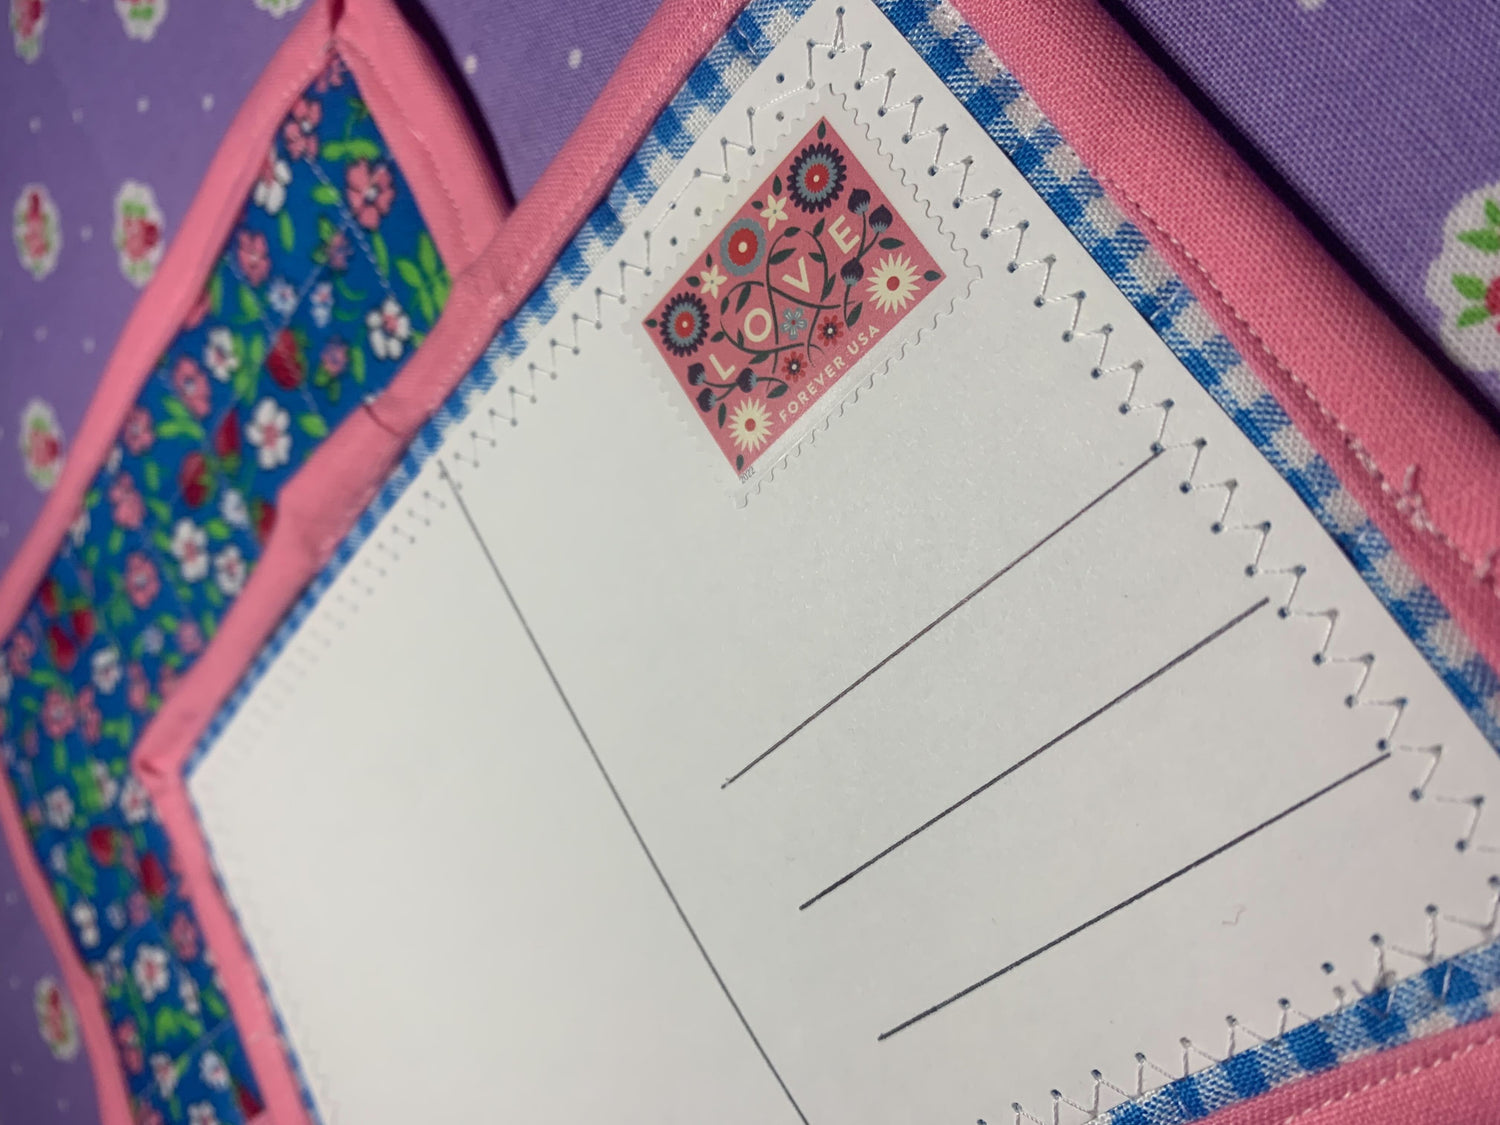
On the back of your quilted postcard* use a ruler to mark* a line down the vertical middle*
*Option: Use a zigzag stitch to secure a piece of cardstock to the back of your quilted postcard for an easy writing service. Remember, if you stitch through cardstock change your needle before your next project
*Watch Out: Make sure when writing directly on your quilted postcard that you use a fabric marker that won’t bleed!
*Vocab Check: A vertical line goes up and down while a horizontal line goes side to side!
Step 2
On the right side* of the back of your quilted postcard use a ruler to draw three horizontal lines for the name and address of your favorite person!
*Watch Out: make sure to leave space in the top right corner for your USPS postage stamp
Step 3
On the left side of the back of your quilted postcard write out a note to let that someone special know how much you care!
Step 4
Send your perfect quilted postcard*!
*Watch Out: Make sure to take your quilted postcard to a USPS location to make sure that you have included the right amount of postage!

And voila! Now you have an adorable, quilted postcard to send to your faraway family and friends to remind them of your love! These quilted postcards are easy to put together and fun to add your own flare - be it free motion quilting or piecing the front into a work of quilted art!
Click here for your FREE BONUS printable version of this tutorial.
Keep sharing your love!
❤️ Hannah Rose

1 comment
Jean Cordero
Great idea!!! I love it!!!
Leave a comment
This site is protected by hCaptcha and the hCaptcha Privacy Policy and Terms of Service apply.