The bobbin is an incredibly important part of the sewing machine. It’s essential to the way the machine creates stitches. However, if you’re a newer seamstress, you may be a little confused as to just how to thread your bobbin. Don’t worry; it’s pretty simple! All it takes is a little practice.
In this article, we’ll go over what the bobbin does, as well as how to wind and thread it. By the end of this tutorial, you’ll be equipped with all the knowledge and tools you need to get your machine prepped and ready to tackle your next project.
What Is A Bobbin?
If you’re new to sewing, you may not be familiar with what a bobbin is. The bobbin is a small metal, plastic, or wooden reel or wheel that comes with your sewing machine. The bobbin is made up of a small cylinder, with two thin wheels attached to either end. It looks like a tiny version of a spool. You wind the thread around the cylinder at the center of your bobbin.
The role of the bobbin is extremely important to your sewing machine. With hand sewing, you only need one thread source. However, a sewing machine requires two. The bobbin provides the second source of thread for your sewing machine to create stitches with.
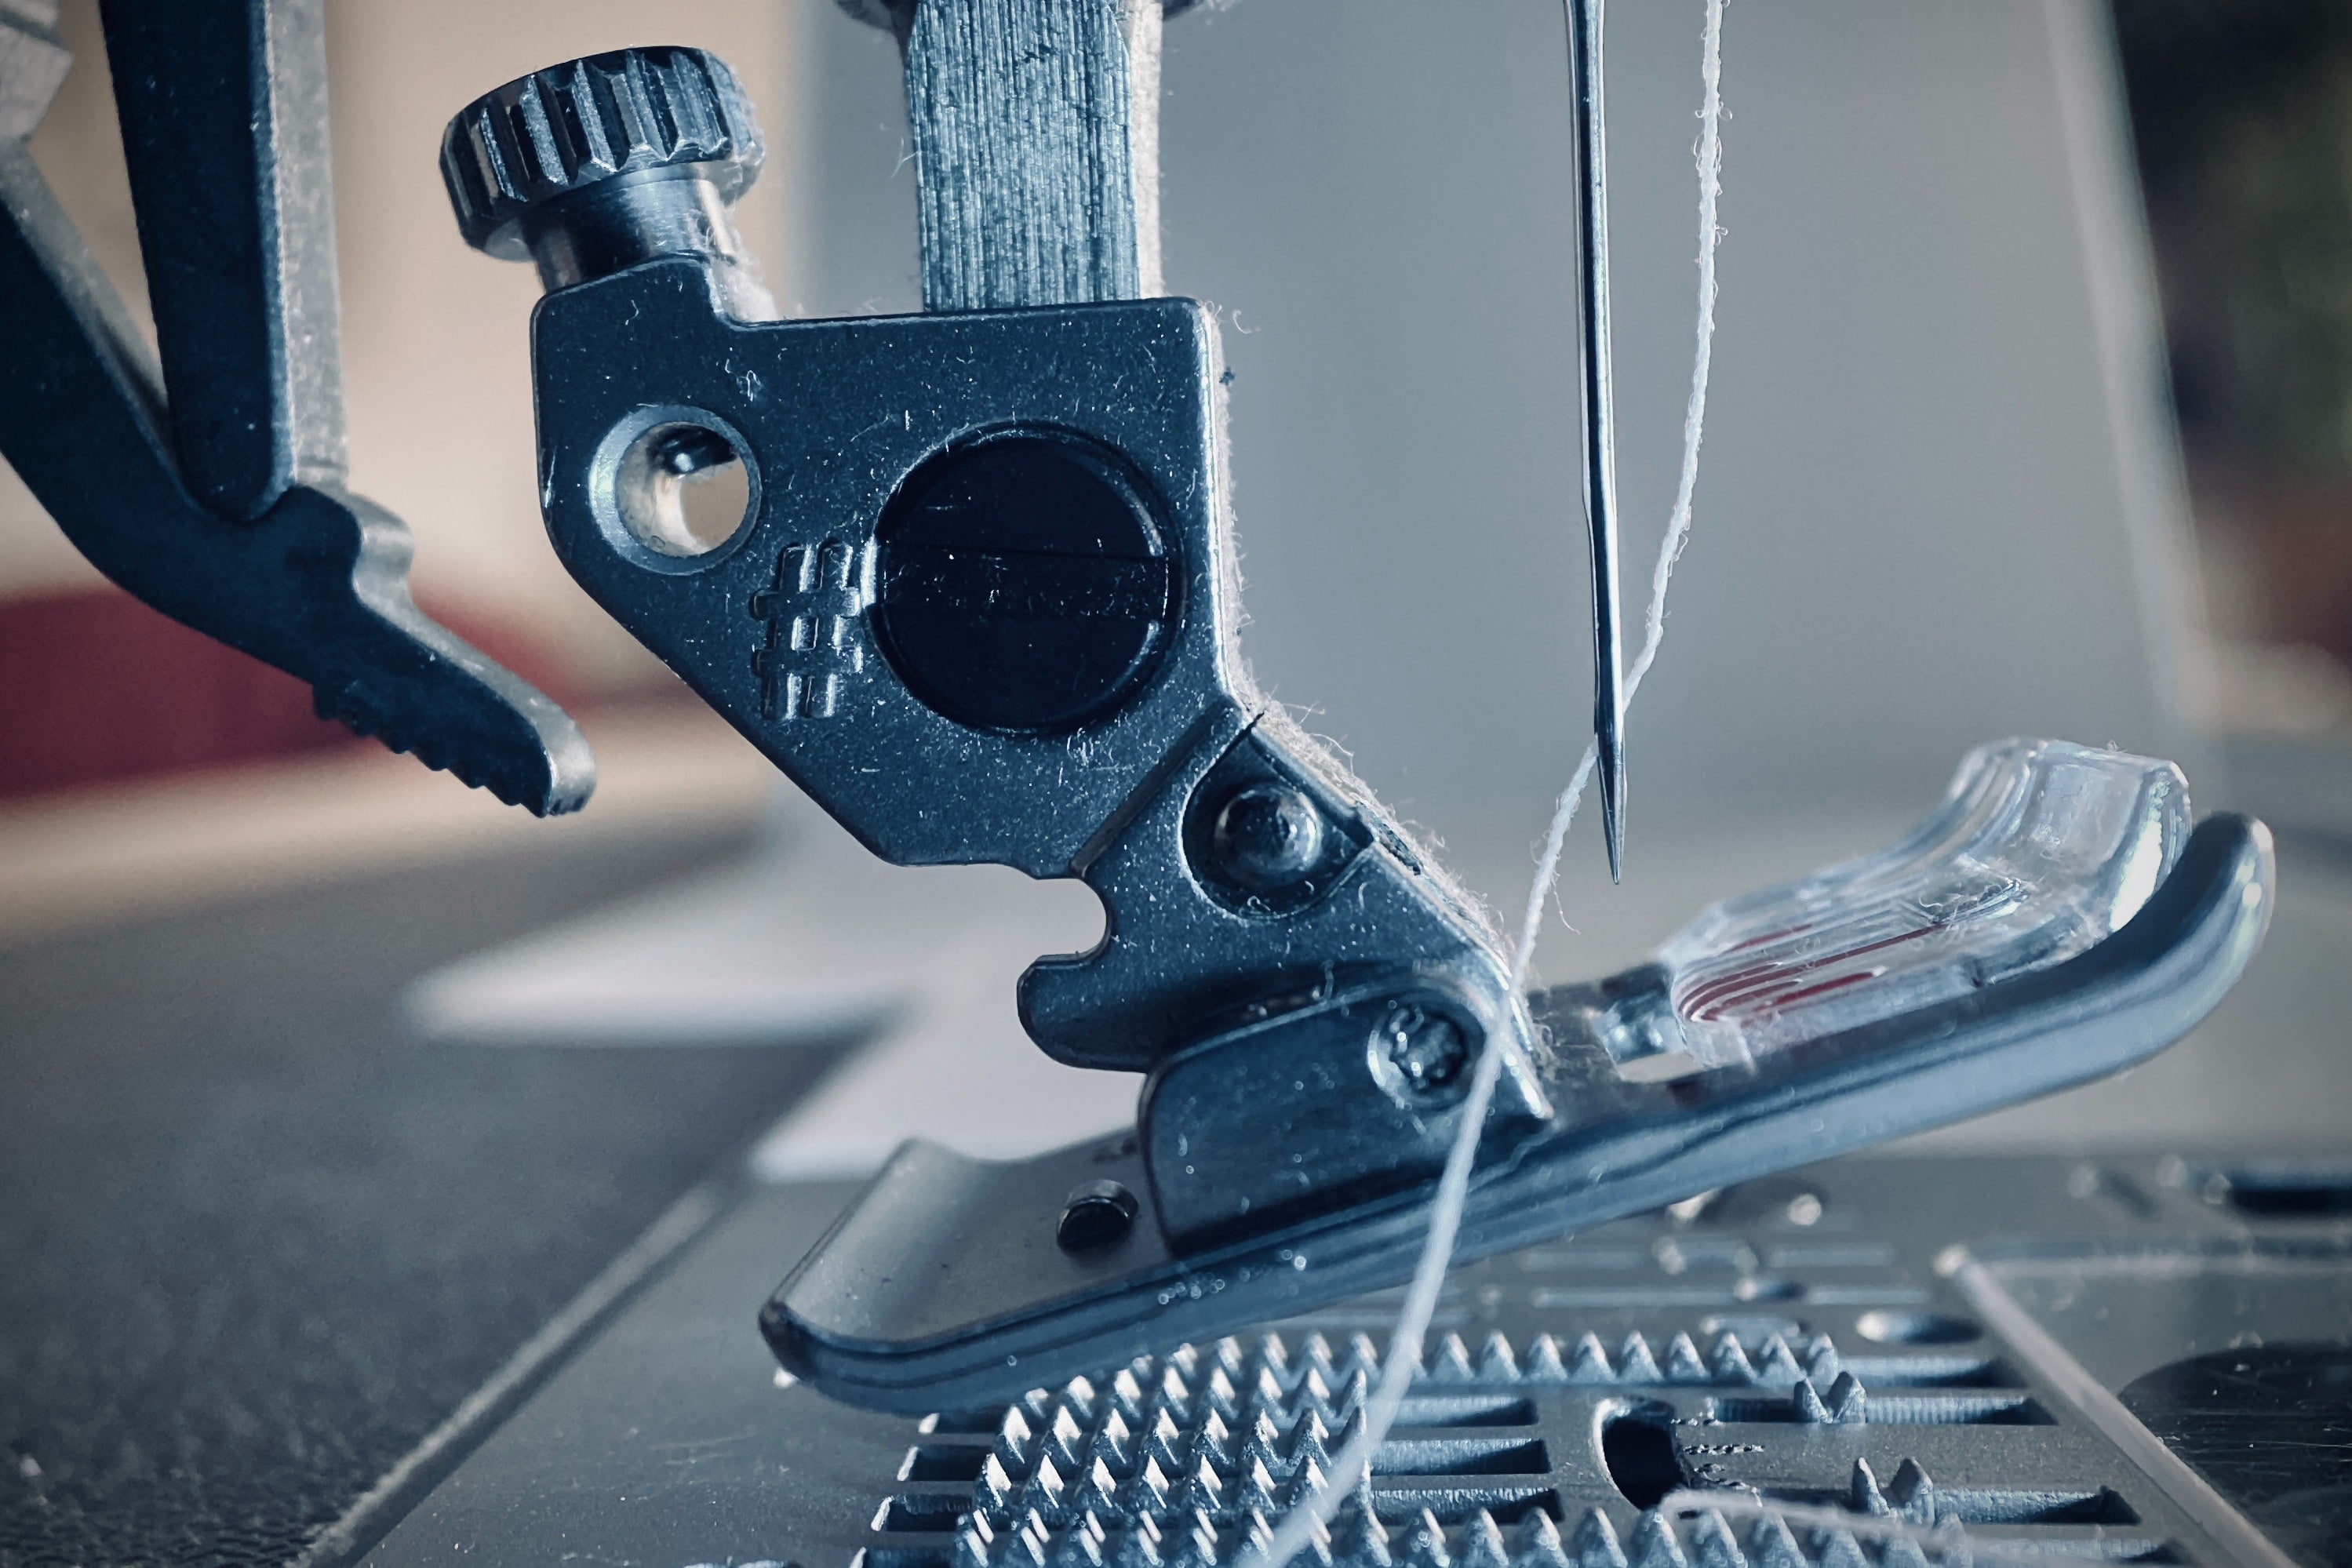
The bobbin is housed under the throat plate on your sewing machine, in something called a bobbin case. This holds the bobbin in place, so it can feed thread into the needle. When the needle plunges down through the fabric, it catches the thread from the bobbin, otherwise known as the bottom thread, and joins it up with the thread from the spool, or the top thread. This creates a stitch.
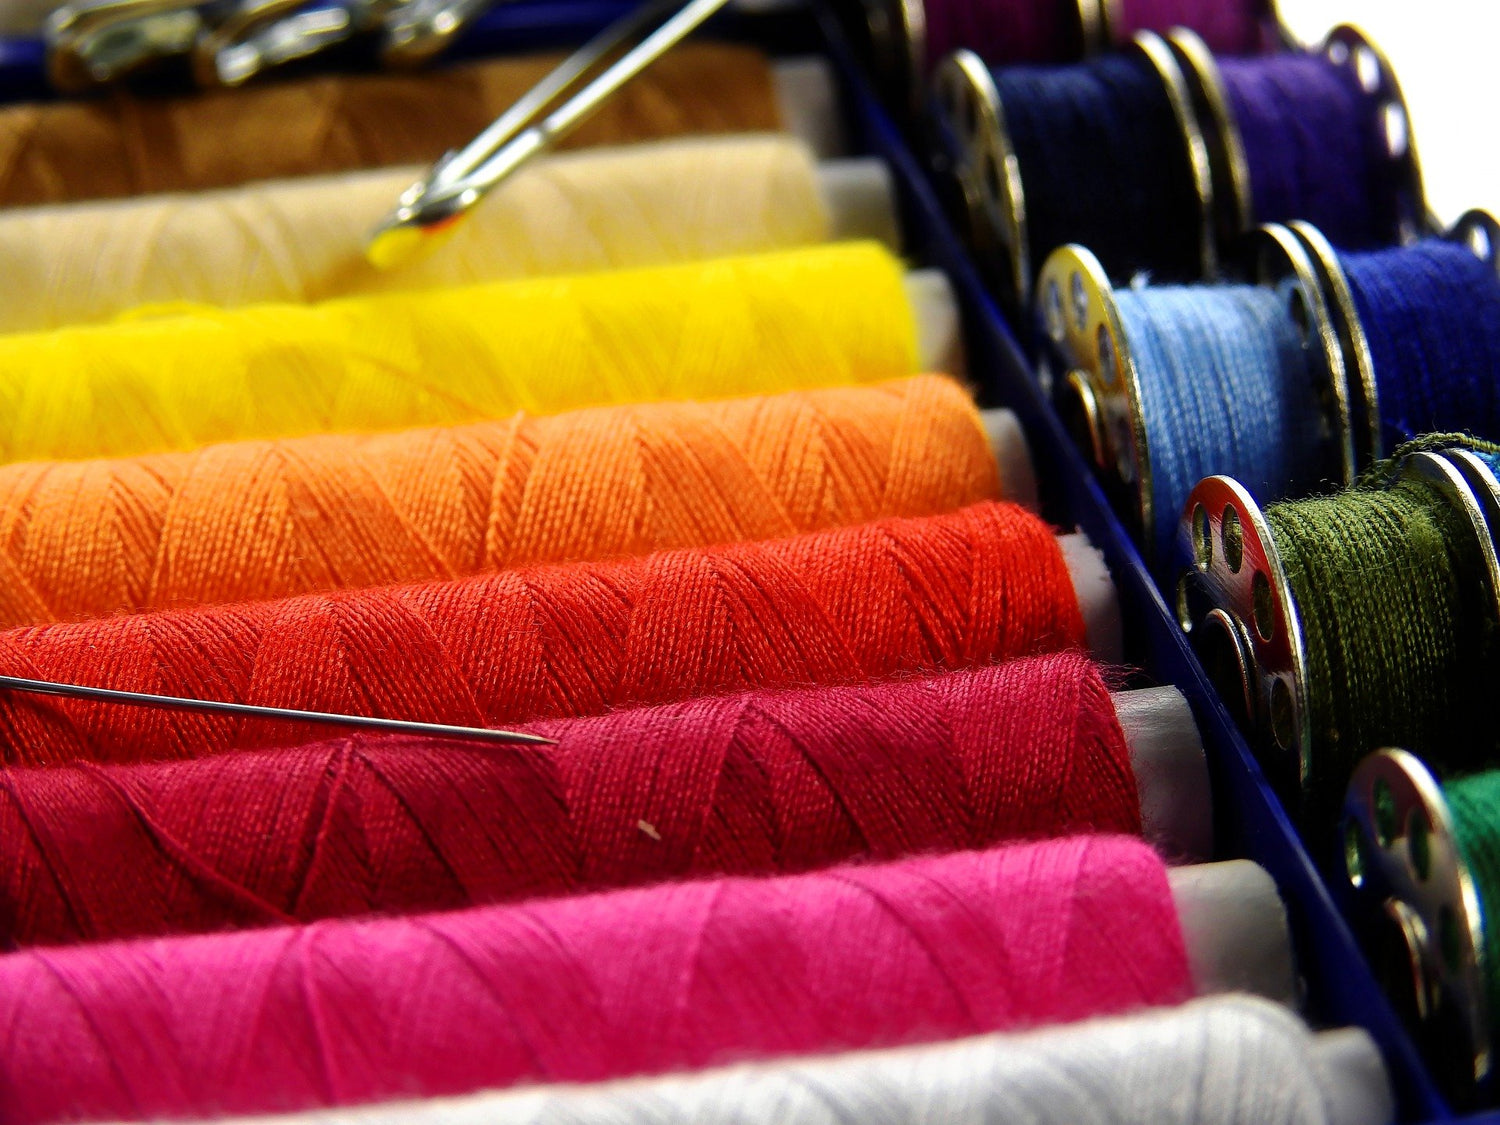
When you first receive your sewing machine, it may come with a few empty bobbins. This is because you’re meant to wind your bobbin with the same thread you’re using on your spool. That way, the two threads will be indistinguishable from each other in the stitches on your final project. You can also choose to wind your bobbin with a contrasting color of thread to create a two-toned stitching effect.
How Many Bobbins Do I Need?
You’ll receive one or two bobbins with your sewing machine, but it’s a good idea to buy extras. You can purchase extra bobbins at any craft store or sewing supplies store. However, you have to make sure the bobbins are designed for the make and model of your specific sewing machine. Trying to use a bobbin that’s incompatible can severely damage or break your machine.
So, why do you need all these extra bobbins? As you’ll see later on in the article, winding a bobbin is easy but can be a bit time-consuming. And unwinding the thread from a bobbin can be a hassle. So, if you finish a project, but still have thread left on your bobbin, put it aside for the next time you sew with that color of thread. You can even keep your bobbins and spool organized with specialty tools like this one.
If you often sew, pick up an extra pack of bobbins whenever you’re at the craft store. They’re fairly inexpensive, and you really can never have too many.
What Thread Can I Wind A Bobbin With?
Any thread that works with your sewing machine should work when wound around your bobbin. However, the bobbin is smaller than the spool, so they may not be able to hold much of bulky, thick threads. However, you can always pause your project to wind more thread around the bobbin.
When selecting a thread for your project, consider the fabric you’re using. Different types of threads are most compatible with different fabrics.
- Cotton Thread: Cotton thread has very little stretch and is good for delicate projects. Cotton threads work best with cotton fabrics or sheers but won’t work well for stretchy fabrics.
- Polyester/Nylon Thread: These types of thread are strong and have some stretch. Often, they’ll be coated with a waxy or silicone finish that allows the thread to slip through the fabric with very little friction. These threads can be used for stretch fabrics, as well as synthetics and knits.
- All-Purpose Thread: You may come across something in the craft store called “All-Purpose Thread.” This is usually a cotton thread wrapped in polyester. It works fine for most projects and is usually very inexpensive. However, most often, you’re better off choosing a slightly more expensive, higher-quality option.
- Silk Thread: Silk thread is extremely fine and works well when sewing natural fibers such as silk or wool. It’s very strong and can be used for a variety of purposes, such as basting.
- Elastic Thread: Just as the name suggests, elastic thread is extremely stretchy and elastic. It’s used in areas where you want some stretch, such as in the bust or waist of a garment. Usually, the elastic thread is threaded on the bobbin, and a normal thread is used on top.
These are the main types of thread you’ll come across as a beginner. If you want to read more about specialty threads, you can always consult a thread guide.
How To Wind A Bobbin
Now that you’re familiar with the importance of the bobbin and selected a thread to wind it with, it’s time to begin prepping your bobbin for sewing. Winding a bobbin is fairly easy, but can take a little practice to learn how to do. Every machine winds the bobbin slightly differently, so it’s a good idea to consult your machine’s instruction manual before you begin.
Almost all modern sewing machines come with a mechanism to wind the bobbin automatically, so you don’t have to do it by hand. This mechanism is usually located at the top of your machine. Before you begin winding, set your machine at a medium pace, so you have better control. It’s always best to start with an empty bobbin, so remove any old thread.
Now, you’ll identify the parts at the top of your sewing machine, so you know what goes where. If you haven’t already, familiarize yourself with the basic parts of the sewing machine. The parts you’ll need to locate for this task are the thread guide, the spindle/spool pin, and the bobbin winder. All of these should be located on the top of your machine. You’ll also need to use your hand wheel, which should be located on the side.
Now, you’ll disengage the clutch. This means that when your machine is running, your needle won’t move up and down. This is usually done with a knob inside the handwheel, but consult your sewing machine’s manual to confirm.
Place your bobbin, with the holes on top, onto the bobbin winder. Place your selected thread onto the spool pin. These may look similar to each other, but the spool pin will always be the taller of the two, as it needs to hold a larger spool of thread.
Now, loop your thread around the thread guide, then back to reach your bobbin. You should have created a large V-shape with the thread, with the strand crossing over each other near the thread guide. There should be arrows on your machine to direct you as to the path the thread should take.
Put the end of the thread through the hole in the top of the bobbin (from the bottom out, so the end of the thread is poking out the top.) Wrap the thread around the bobbin a few times manually to secure it in place. Click the bobbin winder, with the bobbin attached, across to the right. This tells the machine that the bobbin is ready to be wound.
Now, you can start winding by pressing on your sewing machine’s pedal. Keep going until your bobbin is full. Most machines will stop automatically when the bobbin has filled. Once you’re finished, click your bobbin winder to the left, re-engage the clutch, and cut the thread. Your bobbin is now perfectly wound and ready to be threaded into the machine.
How To Thread A Bobbin Into A Sewing Machine
To begin threading your sewing machine bobbin, start by threading your top spool through the machine (If you’re not sure how to do this, we have a detailed tutorial published on our site).
Now, load your bobbin into the bobbin case. This should be located under the needle and the throat plate, towards the bottom of your machine. Some machines have the bobbin loaded from the top, and some have it inserted on the front, so consult your sewing machine’s manual. If you have trouble seeing the small parts, try investing in an attachable LED light for your machine.
Once you’ve loaded the bobbin, bring the thread from the bobbin to the top of the throat plate where the needle pokes in and out. Turn the hand wheel towards you, so the needle hooks up the top thread with the bottom thread.
Next, find the loop of bobbin thread that is being caught by the needle and pull it to the top. Gently pull this thread, along with the end of the top thread, to the back. Both threads should run freely as you pull them.
You’ve successfully threaded your bobbin! Now, test a few stitches on a piece of scrap fabric to make sure everything is running correctly.
Conclusion
Learning to wind and thread a bobbin takes a little bit of practice, but it’s really a simple process. After you’ve done it a few times, it’ll feel like second nature, and you won’t even need to consult a tutorial.
If you want more tips, tricks, tutorials, and sewing gadgets, be sure to join the Love Sew community by visiting Love Sew online here.
Sources:
Bobbin | Definition of Bobbin | Merriam-Webster


1 comment
Janet Flor
Hello i am very impressed .Have been searching for blue and yellow fabric
and you have some beautiful storys .
have a great day. Janet
Leave a comment
This site is protected by hCaptcha and the hCaptcha Privacy Policy and Terms of Service apply.