One of the best parts of trying out new sewing and quilting projects is that they don’t have to be perfect. In fact, intentionally distressed or uneven patterns can mean a unique approach to classic styles that will really help your piece stand out. Working on quilts that aren’t meant to be uniform is a good option for taking the pressure off as you try out new patterns and practice your sewing and quilting skills.
One of those fun projects is the rag quilt. Not only is the rag quilt a great opportunity to upcycle old materials that you have around the house–and to memorialize t-shirts and bags you love—but it’s an imperfect final project that has a really unique, stylish effect when complete. Rag quilts can be a lot of fun to make and very cozy to use, and you can begin crafting your own with the materials you already have at home today.
Love Sew is here to help. Our team is dedicated to providing essential tools and resources to crafters at every stage, so they can follow their artistic vision and create a piece they can be proud of. Here’s our guide to creating your own rag quilt.
What Is a Rag Quilt?
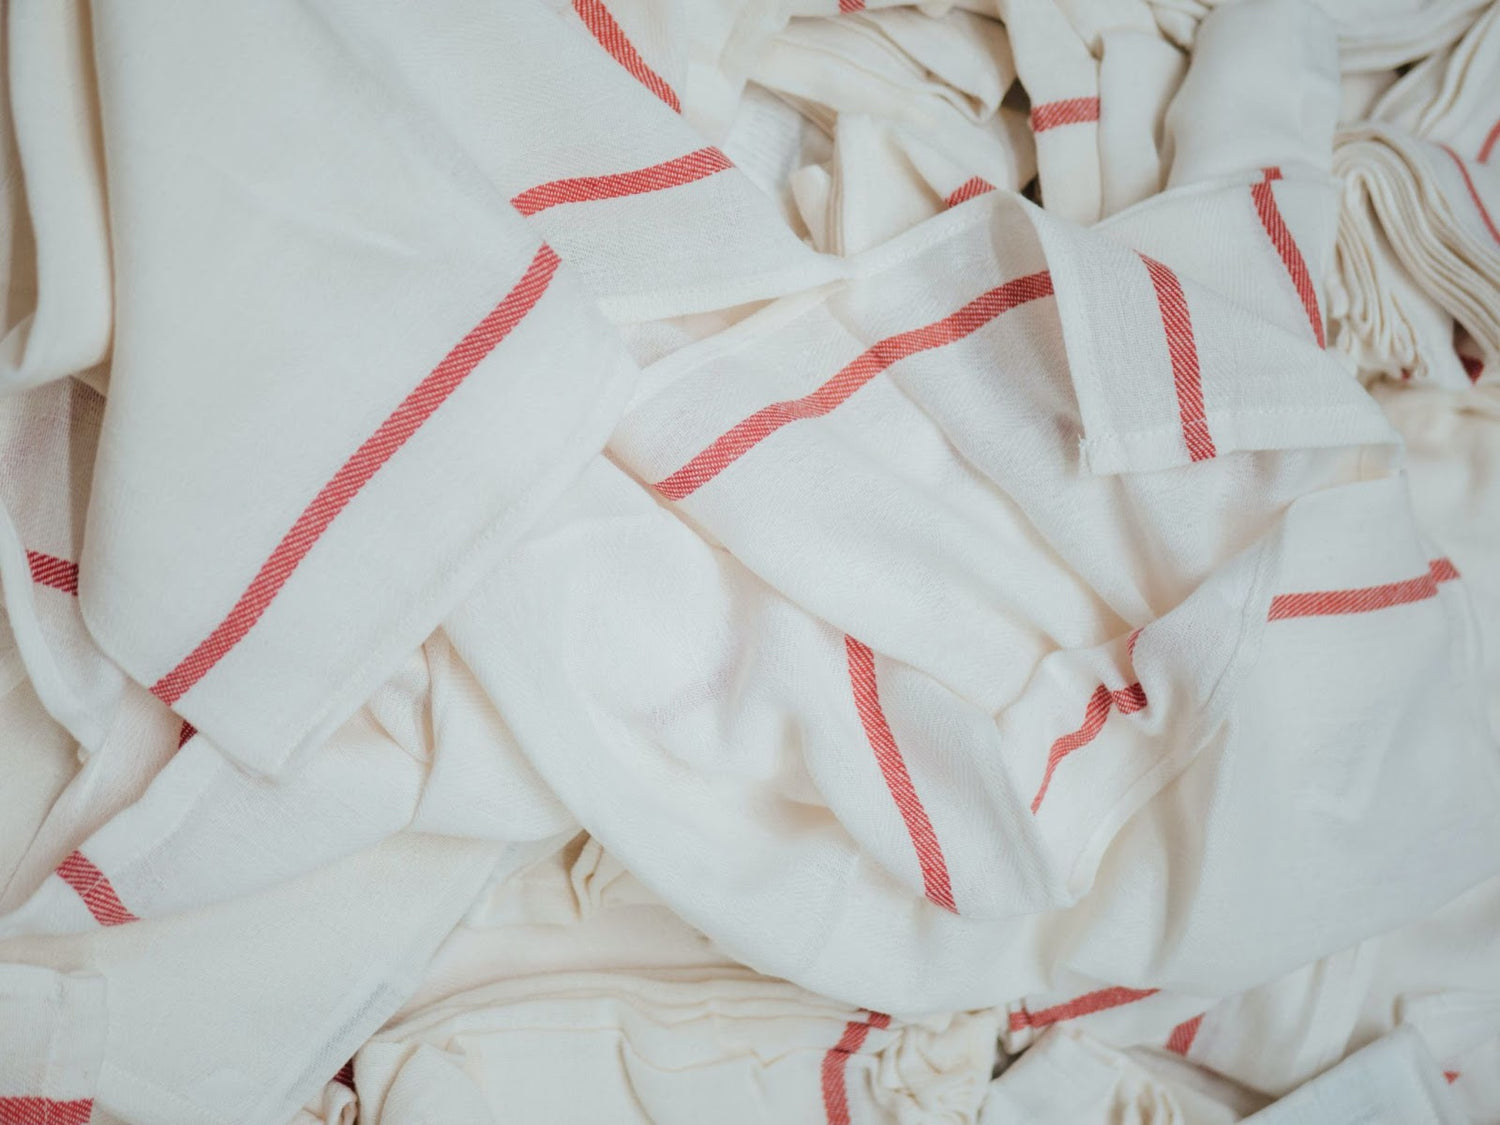
A rag quilt doesn’t need to be made of rags. The name actually refers to the fuzzy, frayed appearance of the pieces between the seams. It makes the quilt look less polished and allows you to take a lot more liberties when designing the pattern for your quilt.
You can mix and match materials to create a rag quilt, the same way you might with a t-shirt quilt, or you can pick up a few new types of fabrics to create a newer variation. The beauty of the rag quilt is that you have a lot of freedom to make the piece entirely your own. It’s a great option for beginners and makes for a lovely gift.
How to Make a Rag Quilt
As every crafter knows, the tools and materials that you have on hand are key to creating a final product that you can be proud of. Here’s what you’ll want to gather and do when it’s time to begin making your next rag quilt.
The Materials You Need for a Rag Quilt
Rag quilts stand out from regular quilts in that they don’t traditionally call for batting. The type of fabric you use to make your rag quilt is also very important when it comes to getting that final look. Here are the materials you’ll want to have on hand to make your rag quilt.
Top Layer Fabric
Flannel and cotton are the two most commonly used fabrics for rag quilts because they are fluff easily and cozy. You may also decide you want to mix and match fabrics for a more unique final design. You can use fresh fabrics or take pieces from old shirts and jackets for a t-shirt quilt design without the finished edges.
Middle Layer Fabric
Normally, the middle layer of your quilt is completely hidden from view. That’s not quite the case with a rag quilt. When you make a rag quilt, you’ll actually be using some of the middle layer fabric to achieve that fluffy final effect, which is why flannel is most recommended for the middle layer. You can use one or two layers of flannel to get your desired look. Keep in mind that the more layers that are in the quilt, the warmer and heavier it’s going to be.
Back Layer Fabric
If you love the feeling of flannel, use your favorite color flannel for the backing of the quilt. Cotton will keep your quilt cooler, but the back layer is really up to your design and preference.
Needle and Thread
Hand-stitching your quilt is always an option, but rag quilts are often very large, and with thicker-weave fabrics like flannel to stitch through, using a sewing machine is often a good choice. Pick the thread color that best matches your fabric choices, but keep a needle on hand in case you need to perform any touch-ups.
Rotary Cutter and Spring-Loaded Scissors
You’ll need a few different types of cutters to get this job done right. A rotary cutter is designed to make the big cuts, which will help you break your fabric down. Your spring-loaded scissors are helpful for the final, detailed step, but regular scissors will do just fine, as well.
Marker and Ruler
The phrase “measure twice, cut once” exists for a reason. Keep your marker and ruler close at hand to ensure you always get the best, most accurate measurements before you cut your fabric.
Steps to Make a Rag Quilt
Now that you have all of your materials on hand, it’s time to begin the fun and exciting process of creating your rag quilt. Follow these steps to get started.
1. Make Your Plan
Our sewing plans often adjust or evolve as we go, but it’s important to decide how you’re going to design your quilt before you make any cuts. Looking at your fabric options and making your pattern plan should be the very first step.
2. Measure and Cut Your Fabric
You can cut your fabric into squares, rectangles, or any shape that fits the pattern you like. You’ll also cut the middle and back pieces and then stack all three together like a sandwich. Make sure the back fabric piece is facing outward.
3. Stitch Your Fabric Sandwiches
Draw an “X” across each stack of front, middle, and back fabric. Then run the pattern through the sewing machine, so the pieces are properly connected. Do this for as many fabric stacks as you have.
4. Lay Out Your Pieces
Now lay out your pieces before you to see how you want to connect them. You may follow the pattern you originally decided on or find yourself mixing and matching. It’s helpful to look at everything laid out to ensure you have the right pieces for the pattern and you like the final design.
5. Sew Your Pieces
The most important part of this step is the seam allowance. Leave a ½ inch on both pieces, as that is what will give the overall fuzzy look when you’re done with the quilt. You may want to begin by making rows or columns first, and then attaching them all together when they are complete.
6. Cut Your Seams
This is where the spring-loaded scissor can come in handy, as this process can be somewhat involved and put a little pressure on the wrist. You’ll want to cut into the fabric overhang at regular intervals. ¼ - ½-inch apart is a good standard, but you can decide how you want the final product to look. Decide if you want to fray the edge of the quilt or bind it, and cut the edge seam if you’re going for a uniform look.
7. Wash Your Quilt
The quilt is done! But achieving that final fluffy look can only happen after the quilt has gone through the washing and drying process, so account for that in the timing of gift-giving or use. Once it dries, sit back and enjoy a cozy, adorable, and totally unique rag quilt all your own.
Conclusion
As crafters and quilters, we’re so often on the search for the perfect stitch or perfect line. There are so many different pattern options and styles to follow, and we have the wonderful opportunity to spend years practicing and honing our craft. But sometimes, it can be fun to tackle a project that embraces a little more of a messy style while still achieving that comfortable, cozy, individual feel.
That’s where the rag quilt comes in. Whether you’re a first-time quilter or you’re looking for a fun project to try out without the pressure, the rag quilt is an excellent option. The fuzzy, frayed edges add an extra something comfortable and special to the final design, and you can still take advantage of all of your favorite colors and patterns to create a look you really love. Like everything you put your mind to, your next rag quilt is sure to turn into something truly special.
Trust Love Sew for the guides, tools, and tutorials you may need along the way. Our expert team is here to support our sewing and crafting community and to share what we’ve learned over the years. Check out our growing catalog of tools and parts and explore our library to get started on your next rag quilt today.
Sources:
About Our Quilt Folk Art | Wisconsin Historical Society
How to Identify Scraps or Unlabeled Fabric | The Spruce
How to Clean a Quilt | Country Door
2 comments
Kay Mcelearney
How much fabric for a throw quilt.
Elaine Russell
I wish you would have attached a picture of a rag quilt to this pattern
Leave a comment
This site is protected by hCaptcha and the hCaptcha Privacy Policy and Terms of Service apply.