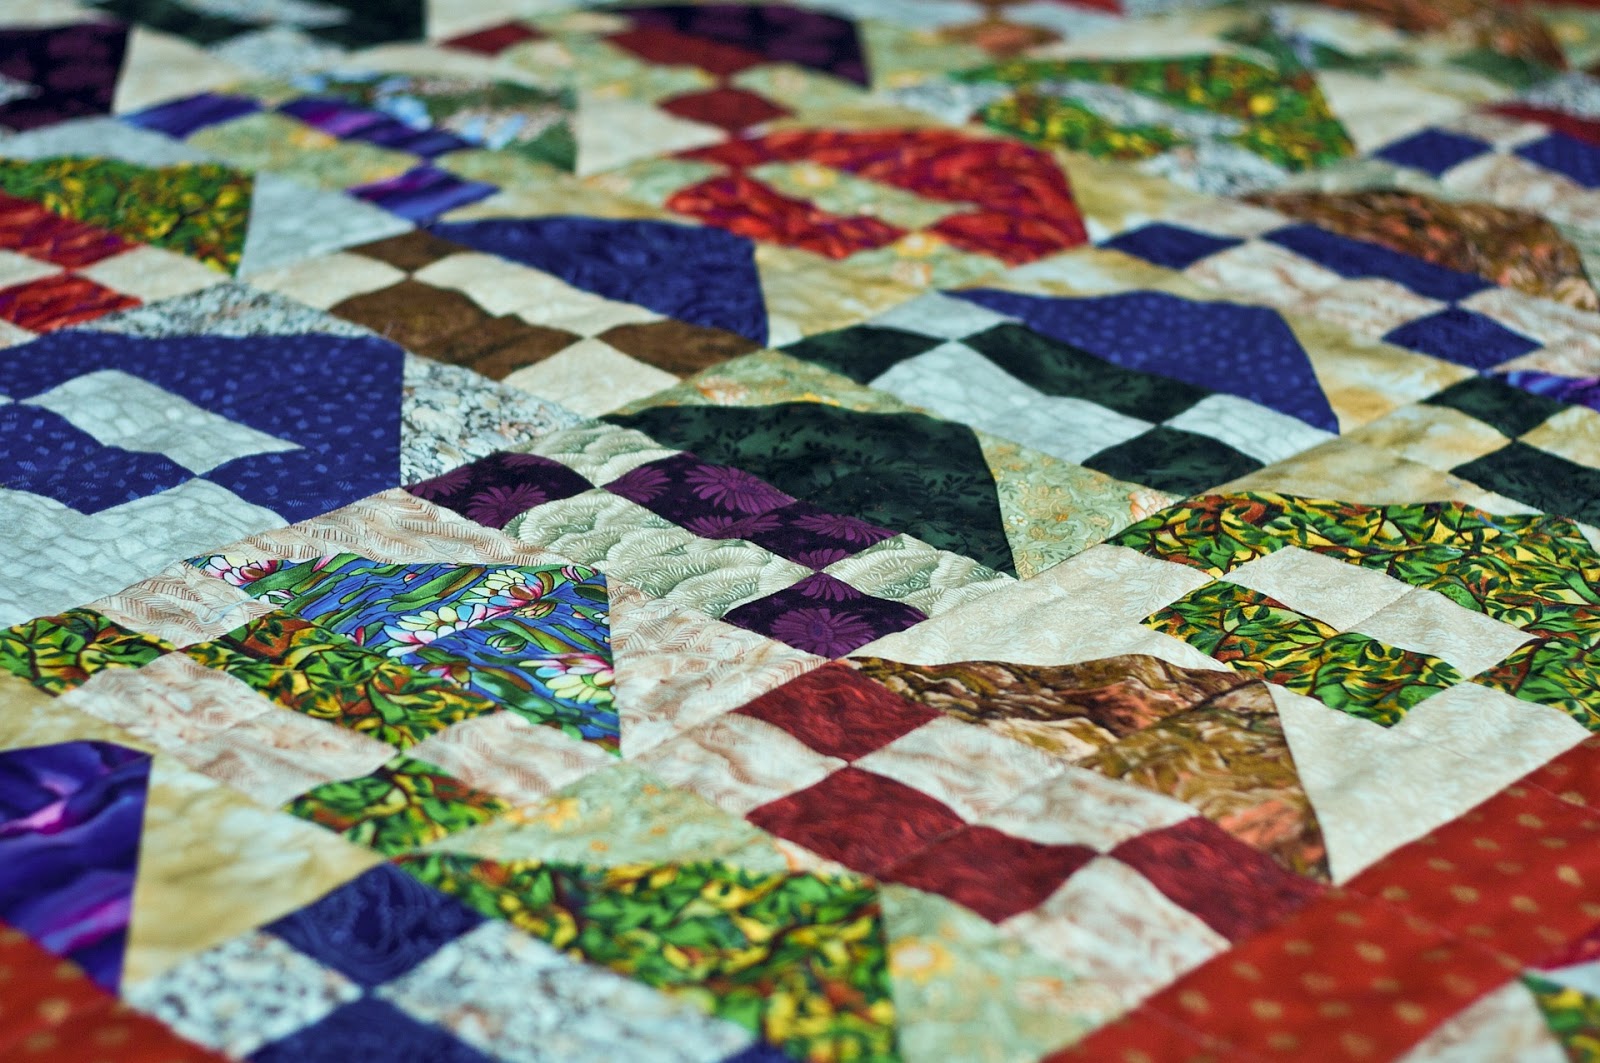
Sewing and quilting can be incredible methods for self-expression, which is just one of the reasons these textile arts have been an essential part of human civilization for so long. While in the modern day, we may not need tapestries to keep the wind from coming through our castle walls or to protect us on chilly nights after the fire dies down, that doesn’t mean the essential skills have lost their use.
There are still many important practical uses for sewing and quilting skills that can help you to save money, get a great fit, keep your favorite pieces in the closet for longer, and even allow you to create individual pieces all on your own. One of those essential skills that can be useful in so many ways is the hem.
Professional Looking Hems With Half The Work
Step by Step Guide on How to Hem a Shirt
You’re probably familiar with hemming pants since every individual is a different height, and pants often need to be rolled or cut in order to fit properly. But in addition to night-out clothing, like dresses and tuxes, you may find yourself wanting to hem your everyday shirts, as well.
Here are a few simple steps from our team at Love Sew that you can take to get that perfect shirt fit today.
How to Hem a Shirt
Knowing how to hem a shirt can be an incredibly useful skill. It won’t just make your clothes fit more comfortably, but it will actually make them more flattering and form-fitting, as well. Even if you don’t own the fanciest, most expensive shirts, you can still achieve a put-together look that will serve you at work and in your personal life with ease. Here are the tools and steps you’ll need to begin hemming your shirt today.
The Materials You Need to Hem
The materials needed to hem a shirt are simple, and you probably already have them in your sewing kit. Here’s what you’ll want to have on hand when hemming your shirt.
Pins
Getting that solid, clean line is essential when hemming, especially if you’re hemming a plain t-shirt. Collect up your pins and keep your pin cushion close.
Marker or Chalk
A hera marker or chalk can help you to delineate where you’re going to cut and sew, so you can get the smoothest, cleanest lines possible every time.
Make Your Sewing Projects Easier With Disappearing Ink
Needle and Thread
Find a thread that either matches the shirt or can be used as a unique element for its contrasting color. While hemming on a sewing machine is the best way to get a solid, uniform line, you can hand stitch your hem as well. The process will take longer and require more focus, but it is entirely possible and easy to achieve.
Scissors
The cleaner your line, the easier it will be to get a smooth hem, so fabric scissors can be a helpful tool when hemming your shirt. If you don’t have fabric scissors on hand, regular scissors will do just fine.
Ruler
You want to make sure that you’re cutting your shirt evenly all around and that it’s going to be the right fit when you’re done with the job. A ruler or measuring tape can help you get that uniformity.
Sewing Machine
Hems are one of the basic skills when it comes to sewing, so if you don’t have access to a sewing machine of your own, don’t worry. You can still get a clean and smooth hem by hand; it will simply require time and patience. That said, a sewing machine makes the process much faster.
Iron
Shirts, especially shirts we have already worn or washed, can crease and crinkle, which makes it difficult to get a smooth, uniform hem all the way around. Ironing can not only help you to get a clean line, but it can actually be a useful tool for securing your folds in place and even keeping the shirt from shedding as you cut it.
We’ve designed our mats to do a couple of really cool things, like:
Retain heat for double-sided, efficient pressing & energy savings. Grip your blocks for non-slip results. Use pins for those tricky pieces. Lightweight for portability
The Steps For Hemming a Shirt
Once all of your tools and materials are prepared, you can begin taking the following steps to hem your shirt.
1. Look at What Type of Shirt It Is
Different shirts have different hemming needs. When hemming a t-shirt, you won’t have the same approach as when hemming a button-down shirt. Not only is the material usually different, but the construction of the garment means you’ll need a specific hemming plan.
Check the Material
Most regular t-shirts are made of cotton or other easy-to-hem materials, but it’s always important to check before you cut. Woven fabrics, like linen, shouldn’t be tailored or hemmed at home, as they are more likely to fray and tug.
Decide On Your Method
There are a few different ways to approach the hemming process. You can follow the existing hem, use bias tape, try patterns, and more. It’s a good idea to explore your hemming options and find the best one for your needs.
Turn Your Shirt Inside Out and Mark
If you’re taking the most direct route to hem your shirt, you will begin by turning it inside out and making marks along where you want to cut using your chalk or marker. It can be difficult to determine the best length if you aren’t wearing the shirt, so considering putting it on before you mark the hem locations.
Don’t Forget the Arms
If your shirt is too long for you, chances are that the shoulders fall at an awkward length, as well, so mark where you would like to cut those when hemming.
Leave a Seam
You’ll want to make sure that you leave a ½-inch seam allowance below your preferred length, so measure in from where you want the hem to fall to ensure there’s enough space to cut and hem properly. Once you’re sure of the new seam location and proper allowance, you can cut off the excess fabric.
Fold in the Seam
You should be able to fold up exactly that ½-inch to get to the point where you want your hem to fall. If you have an iron available, iron the hem to get a clean, crisp fold. This will also help you to keep your new hem in place as you begin the sewing process.
Secure and Sew
Secure your hem into place with your pins and then begin the sewing process. If you’re stitching your hem by hand, sewing tape can be helpful for keeping the seam in place as you sew. You can use a thread color that blends in well with the color of the shirt or contrast it with something unique and vibrant to add a little something extra to your style. Play around with stitches and designs to get a new hem that you really love.
Cut Excess
Look over your newly hemmed shirt and cut away any excess threads or strands after tying off. Now it’s ready to wear!
You can also hem your shirt by following the line of the existing hem. You will do this by folding the edge of your shirt up until it reaches the length you want, stitching, folding down, and stitching again. The effect is that you will have a clean, uniform line all the way around, and the benefit is that it is often easier to follow.
Cut Fabric Like Butter. Last much longer than traditional steel rotary blades.
Save you money on those expensive Big brand rotary blades. Cut multiple layers of fabric effortlessly.
Conclusion
Knowing how to hem, whether you’re hemming your favorite pair of blue jeans, an evening gown, or a comfortable t-shirt, is one of the most useful and reliable skills you’ll need as a crafter. It’s also probably the skill you’ll use most commonly, as clothing often doesn’t fit us perfectly off the rack, and a little hem or pinch can make all the difference. Knowing how to hem can also be a useful way to learn about the shape and design of clothing, in case you’re ever interested in designing or sewing your own in the future.
And for all its benefits and uses, the skill of hemming is relatively easy and straightforward. You’ll only need to keep a few essential tools on hand, and the process won’t take very long, especially if you have access to a sewing machine. With dressmaker’s chalk, some needle and thread, and a pair of good fabric scissors, you can create a shirt that gives you comfort and confidence with every wear.
Here at Love Sew, we hope to join you on your sewing, quilting, and crafting journey. Whether you’re learning the basic sewing skills that can help you keep your wardrobe in great shape, or you want to start designing an epic quilt, we have the tools, guides, and parts that make it easy. No matter what your next project might bring, Love Sew has your back—or should we say, your hem!
Sources:
Sewing Kit | Smithsonian National Museum of American History
The Invention That Spawned a Fashion Revolution | Time Magazine


Leave a comment
This site is protected by hCaptcha and the hCaptcha Privacy Policy and Terms of Service apply.