When you’re a beginner, it’s all too common for your quilt points to get buried in the seam or simply float near the adjacent point. Nobody ever said your quilt blocks must be perfect, but there’s something so satisfying when the points line up.
If you’re looking to improve the precision of your piecing, this blog post is for you. I’m going to show you a little “Pin Trick” to get perfect points every time. You won’t need to be afraid of triangle pieces anymore!
Step 1: Prepare Your Pieces
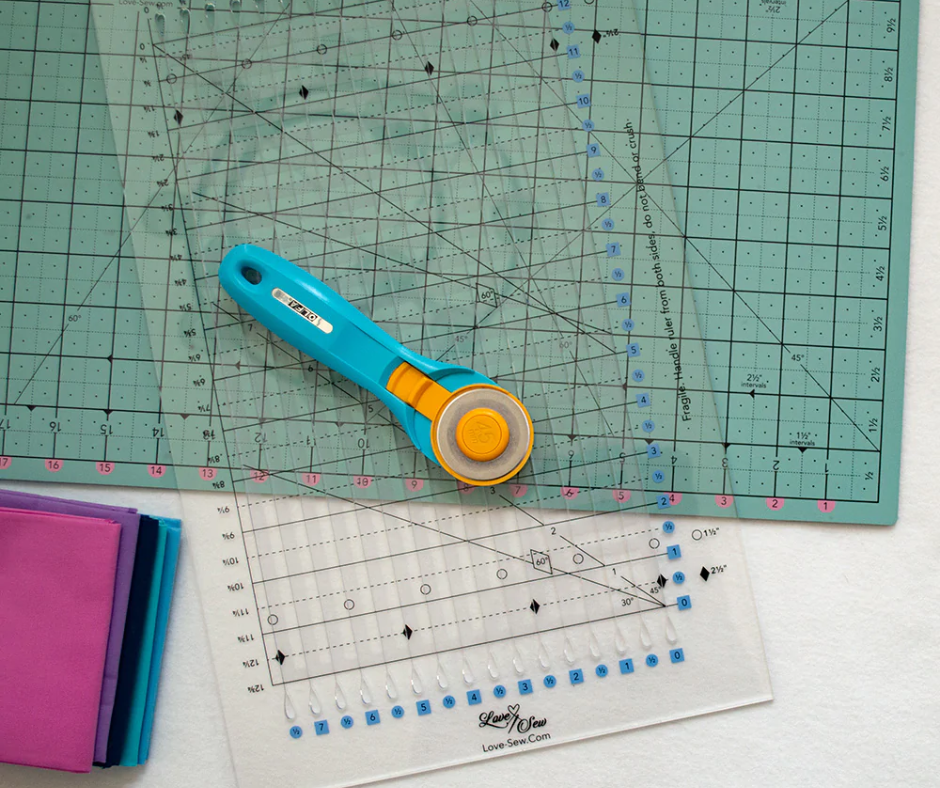
As with all quilting projects, accurate measuring and cutting is important if you want perfect points. After sewing your half-square triangles, and any other pieces, you need to measure and trim them to size. Don’t assume that everything came out perfectly, especially if you haven’t mastered ¼” seams yet. Using a rotary cutter and cutting mat is critical to this step. Be sure to also press your seams before attempting to line up your points.
Step 2: Place a Pin in the V
When you’re ready to line up your points, start by pushing a pin through the “V” in the wrong side of one of your pieces. It should go through right at the tip of the intersection. Then, with right sides together, continue to push the pin through the “V” on the other piece of fabric. This is called, “The Pin Trick.” You can do it whenever you need to align the points in two seams, but it works really well for points.

Once you have the pin positioned, keep it perpendicular as you place a pin on both sides of the point to keep it in place. This helps to prevent any shifting from happening as you sew. Some people find that only one pin is necessary, but do what works best for you.

Once the extra pins are in place, you can carefully lay your first pin down so that the block is ready to sew.

If you’re sewing a larger block with multiple points or intersections, place a pin in each intersection before matching up the edges. When blocks are larger than four inches, place extra pins between the points to help keep everything lined up.
All this pinning might seem tedious, but your points will be perfect. Try to avoid pinning through bulky seams, though, because it can lead to unwanted distortion when you sew.
I love sewing clips, but I think you get better points when you use pins. Sewing clips have a tendency to shift a little. I save them for sewing things like bindings and garments.
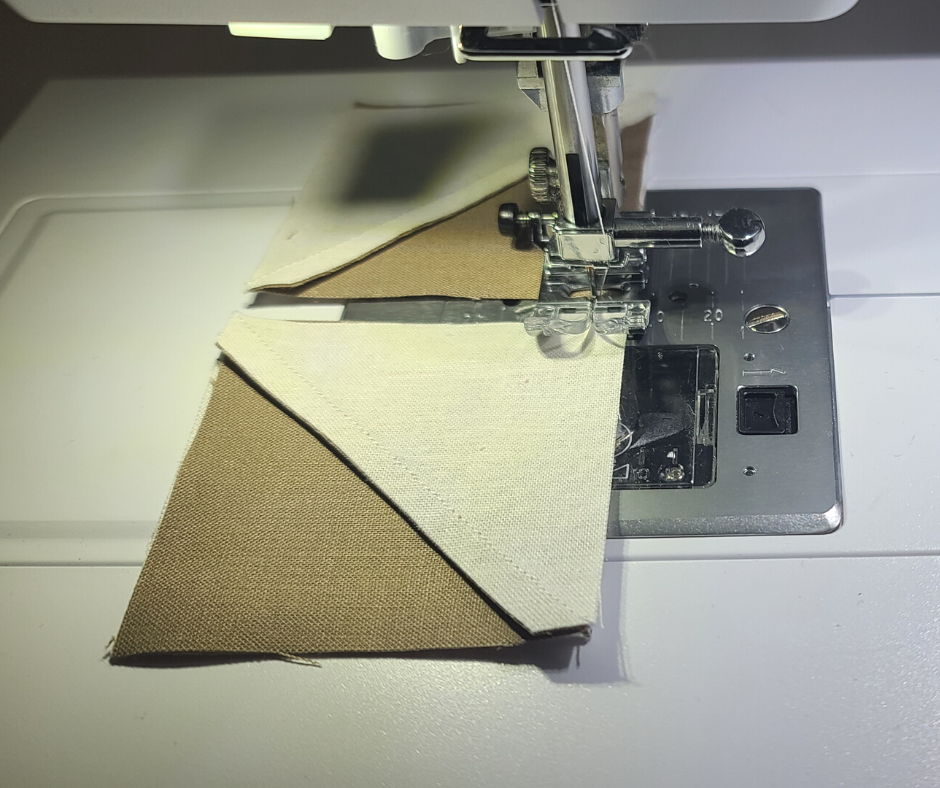
Step 3: Sew Using a ¼” Seam Allowance
After all your points are lined up, head to your sewing machine and use a ¼” seam allowance to piece everything together. When you get to a point, your needle should hit one thread width to the left of it. This is directly along the bottom of the little “V” you marked with a pin earlier. If you’ve taken the time to measure properly and you’ve been using a consistent ¼” seam allowance, this should line up well for you.

Slow down when you get to the points and other intersections on your quilt block to prevent the seam allowances from flipping the wrong direction. You can use your finger to hold them in place as they pass under your presser foot. If you’re having trouble keeping all of layers in place, a walking foot can help a lot.
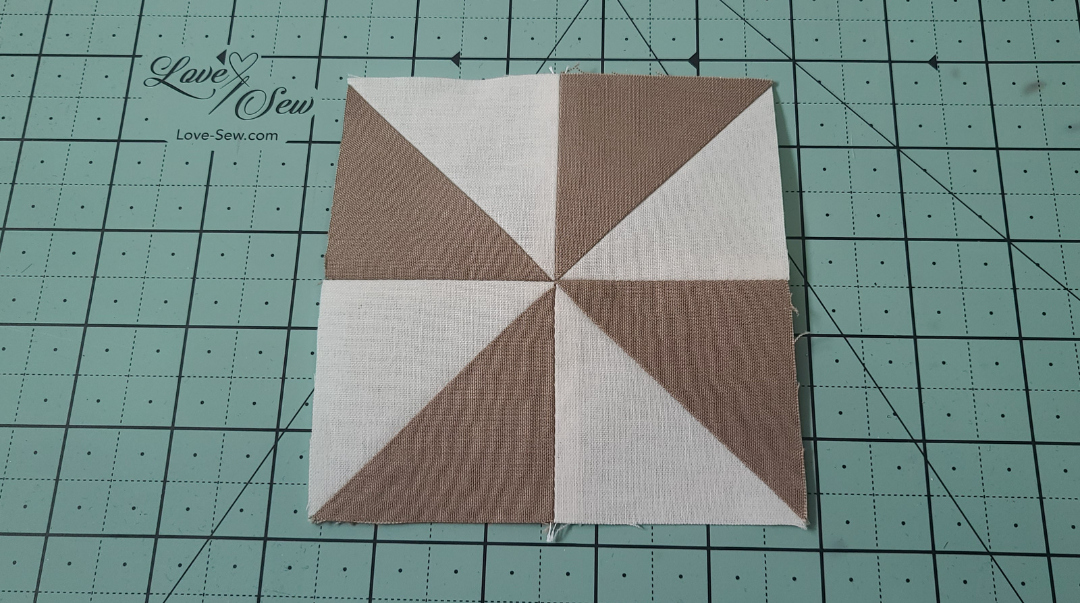
When you’re done, press your quilt block and admire your perfect points.

Conclusion
Creating perfect points is a skill that most quilters try to master, but don’t get discouraged if a few of your points don’t make the mark. Most people will never notice if they are off just a little bit.
I hope you try this simple “pin trick” on your next quilt. Is this something you do already? Let us know in the comments below.
Also, make sure to show off your latest quilting creations in our Facebook group. We’d love to see your projects with perfect points!
18 comments
Sharon
Great tip will try it on my next project keep them coming
Leslie M Price
I learned this recently in a class I was taking. Pressing accurately makes all the difference as well as pinning. They are getting better. Thanks for the blog.
Pamela Rison
I thought I saw a tutorial of a quilt made with flowers of fabric stitched to interface on your website wrong sides together, then turned right sides. I can not find it again. Can you help?
Pamela Rison
I saw a quilt on your web site that used Flowers that were made using interface but can not find it again. Am I dreaming? I would like to see the tutorial. Can you help?
DORIS HURTADO
I have been quilting for over 30 years. I pin and baste every intersection. Don’t take anything for granted. The finished item will speak for itself.
Leave a comment
This site is protected by hCaptcha and the hCaptcha Privacy Policy and Terms of Service apply.