Last week, I shared a video we created to teach you all about using your rotary cutting system to make precision cuts for basic quilt pattern shapes. Let's build on those skills and expand to more specialized shapes - we are talking triangles, hexagons, curves and more!
Taking it one step at a time, let's start simple: cutting half-square and and quarter-square triangles (HST and QST are abbreviations you might see in you quilt patterns for these shapes).
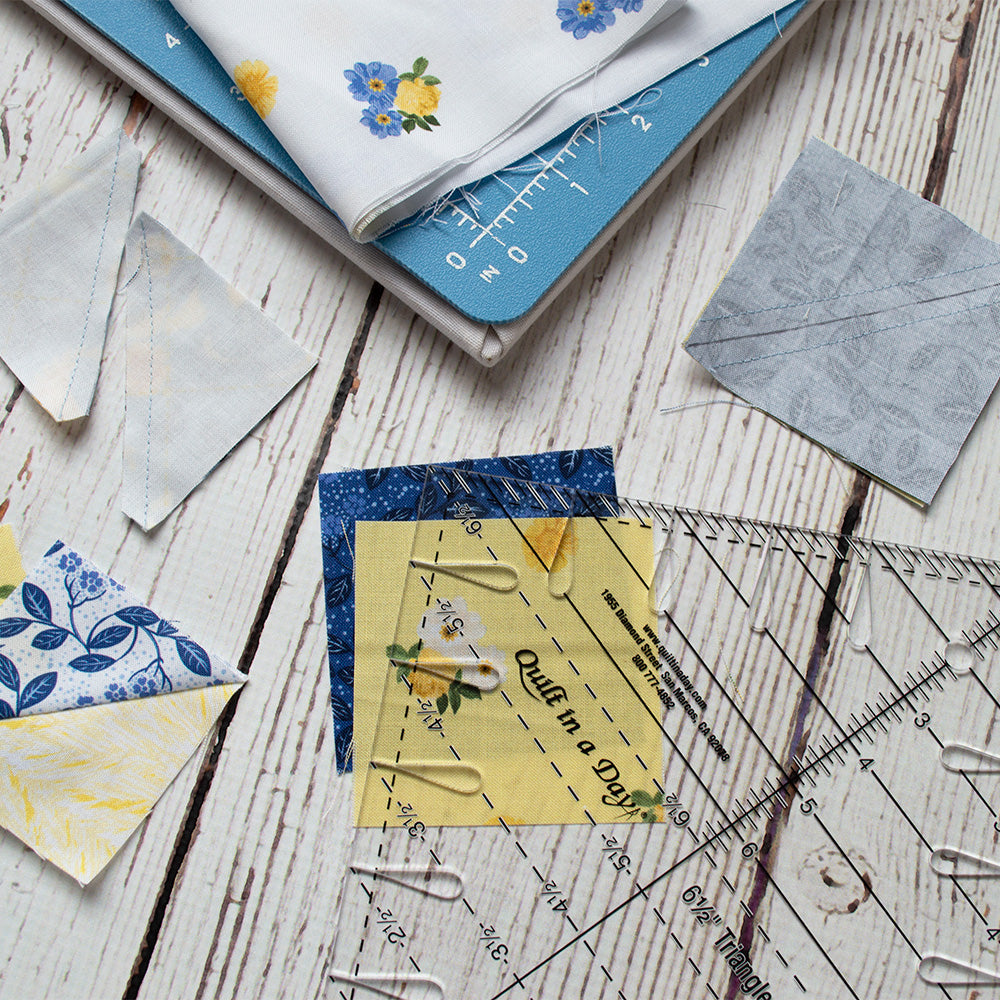
You might be surprised that for these triangles, you don't need anything other than your standard ruler - no need to buy templates or special rulers. You'll also be able to use your regular rotary cutter, too, but sometimes it's useful to have one in a smaller size than the usual 45mm if you are cutting very small shapes.

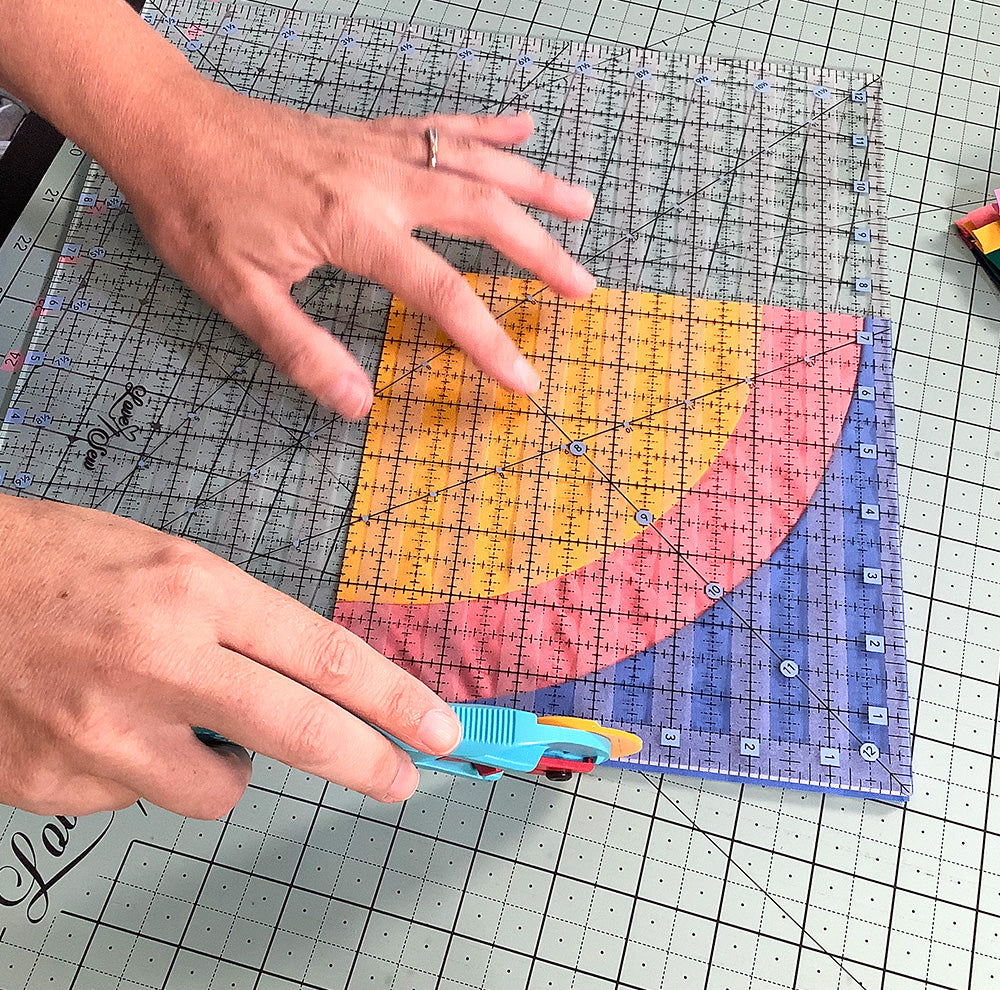
As their names suggest, you'll start with a square for both HST and QST. To cut a half-square triangle, simply place your ruler at a 45 degree angle so that the cutting edge passes through two opposite corners of any size square of fabic. You may choose to line the 45 degree line on your ruler with one side of the square to ensure a perfect angle. Make the cut and you'll get two half-square triangles from each square. After squares and rectangles, HST are the most common shape in quilt making so you'll want to become a master at cutting them!
For quarter square triangles, you'll start with a square again and make the first cut exactly the same as for the half-square triangle, BUT leave the pieces in position and rotate them (or your cutting mat) 90 degrees and repeat the cut. This time, you'll set your ruler so that the cutting edge passes through two opposite corners and at a 90 degree angle to the first cut. This will give you four triangles per square.
As you make more quilts and follow more patterns, you'll notice there are different uses for HST and QST even though -at first glance- they are essentially the same shape. The reason for using one or the other in your pattern? it comes down to the bias edge.
Side Bar:
Bias edge refers to the angled edge of a cut piece of fabric. When you cut a fabric straight or 'on the grain' you aren't affecting the woven threads that make up the fabric. They maintain the strength inherent in the way they are woven together because all the threads remain the same length going either horizontally or vertically. When you cut fabric on an angle, you change the integrity of the weave by creating threads that are not the same length anymore. You'll notice that a bias edge is stretchier than a straight-cut edge of fabric. The bias edge might also fray more easily, especially at angled corners where some of the threads of the fabric are very short.

SO, cutting triangles creates a bias edge. As often as possible, you'll want to avoid having the bias edge of cut pieces finish on the edges of your quilt block or the edges of your quilt.
That's a long way of saying that your pattern may include using QST or HST depending on how those bias edges will be sewn and where the shapes end up in a finished block or quilt.
So, let's practice cutting some triangles!

Grab your favorite pack of 5" pre-cut squares -it has 42 squares in it-
Cut an additional (42) 5" squares from your favorite solid or neutral fabric (or scraps or use a second pre-cut pack).
Cut all 84 squares into two half-square triangles and -this is the fun part- lay them out on your cutting mat or design surface and see how many different patterns you can create with strategic color placement or rotating the shapes. It's amazing how versatile this little shape can be.

Choose your favorite layout and sew them all together - you've made a super easy, super fast little quilt AND become a pro at triangles!
Show us your creations in the Love Sew Facebook group...you might inspire someone else and get more ideas from other quilters' layouts, too.
Happy Stitches!
Sharon
7 comments
Joan
Awesome ! Love a good short cut to speed things up😉
Judy
Thanks for your help
Judy
Thanks for your help
Judy
Thanks for your help
Judy
Thanks for your help
Leave a comment
This site is protected by hCaptcha and the hCaptcha Privacy Policy and Terms of Service apply.