Sewing gauges are an essential tool that every sewer should have in their collection. It can be used for a variety of purposes, like measuring evenly placed buttonholes, consistent seam allowances, and perfectly symmetrical hemlines.
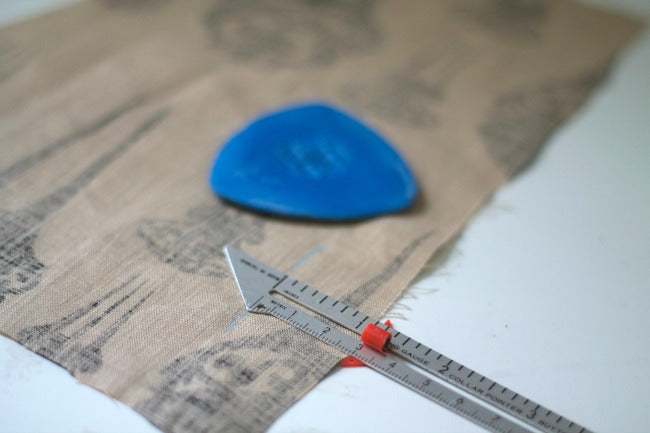
A sewing gauge looks like a tiny ruler, about six inches long. It has a slider in the middle to assist with accurate measuring. A typical sewing gauge measures inches on one side and centimeters on the other. The slider on the sewing gauge allows the user to measure any distance from ⅛ of an inch all the way up the six inches. The slider is a bit wider than the gauge, which allows it to help stabilize gauge for even, accurate measurement.
Not much is known about the invention of the seam gauge, but we do know it was invented by Benjamin L. Snyder and patented in 1965. Hemming a garment to shorten it and prevent fraying is a practice that has been used in garment making since medieval times, perhaps even earlier. Although hemming can sometimes seem unimportant, it’s an extremely important design step that will affect the overall silhouette and design of the piece.
Hemming is a skill that every garment maker must know how to do well, and learning to use tools like a sewing gauge will help you along the way. In this tutorial, we’ll go over different hem styles, as well as a few different ways to use a sewing gauge, so you’re fully prepared to tackle your next hemming project.
Types Of Hems
Before you begin hemming, your garment must be completely fitted and finished. Any alterations made after hemming can change the hemline you’ve worked so hard to get just right. Before hemming, it’s a good idea to let your garment hang for about 24 hours so all the fabric falls into place. While the garment hangs, it’s a good time to decide which type of hemline you’ll be adding to your garment. There are five main types of hems, each suited to different projects and fabrics.
Double Fold Hem
The double folded hem is the most basic of the hems and is the most common, especially for sewing newbies. Just like the name suggests, the hem is folded twice over the wrong side of the garment. This hides the raw edges and creates a neat, finished hemline. The double folded hem is best for straight hemlines, as sometimes curves hems can wrinkle and pucker.
Narrow Rolled Hem
The narrow rolled hem is a delicate, small hem that is used to finish the edges on garments with lightweight fabrics, like blouses. It also works wonderfully for hemming curved edges. The narrow rolled hem is very similar to the double folded hem, only much narrower.
Bias Tape Hem
This type of hem uses bias tape, a narrow strip of fabric, to create a hem. It is used in cases where a double fold hem or a narrow rolled hem would be too bulky, and it’s commonly used with thicker fabrics. The bias tape covers the raw edge and is stitched in place. Use a color of bias tape that matches the garment to make it less noticeable, or choose a complimentary color or pattern to make it stand out.
Blind Hem
A blind hem is used in cases where you don’t want the hem to be visible from the outside of the garment. It’s a special method of folding and stitching that results in the hem stitches being almost invisible. It’s usually used for wider, straight hems and must be done using a sewing machine.
Zig Zag Hem/Overlocked Hem
A zig-zag, or overlocked hem, works well on most fabrics, but is particularly useful in bulky or hard to press fabrics. It also works well for curved hems, such as the hem of a skirt. The zig-zag hem is done by zig-zag stitching across the raw edge, then folding it under the wrong side of the fabric and straight stitching it in place.
Once you’ve identified what type of hem your garment needs, it’s time to break out your sewing gauge and get to hemming.
Using a Sewing Gauge For Hems
Sewing gauges have a few different uses when it comes to hems. They allow you to get an accurate hem measurement when turning the edge of the fabric, so your hem is even all the way across. Sewing gauges will come in handy when sewing every type of hem.
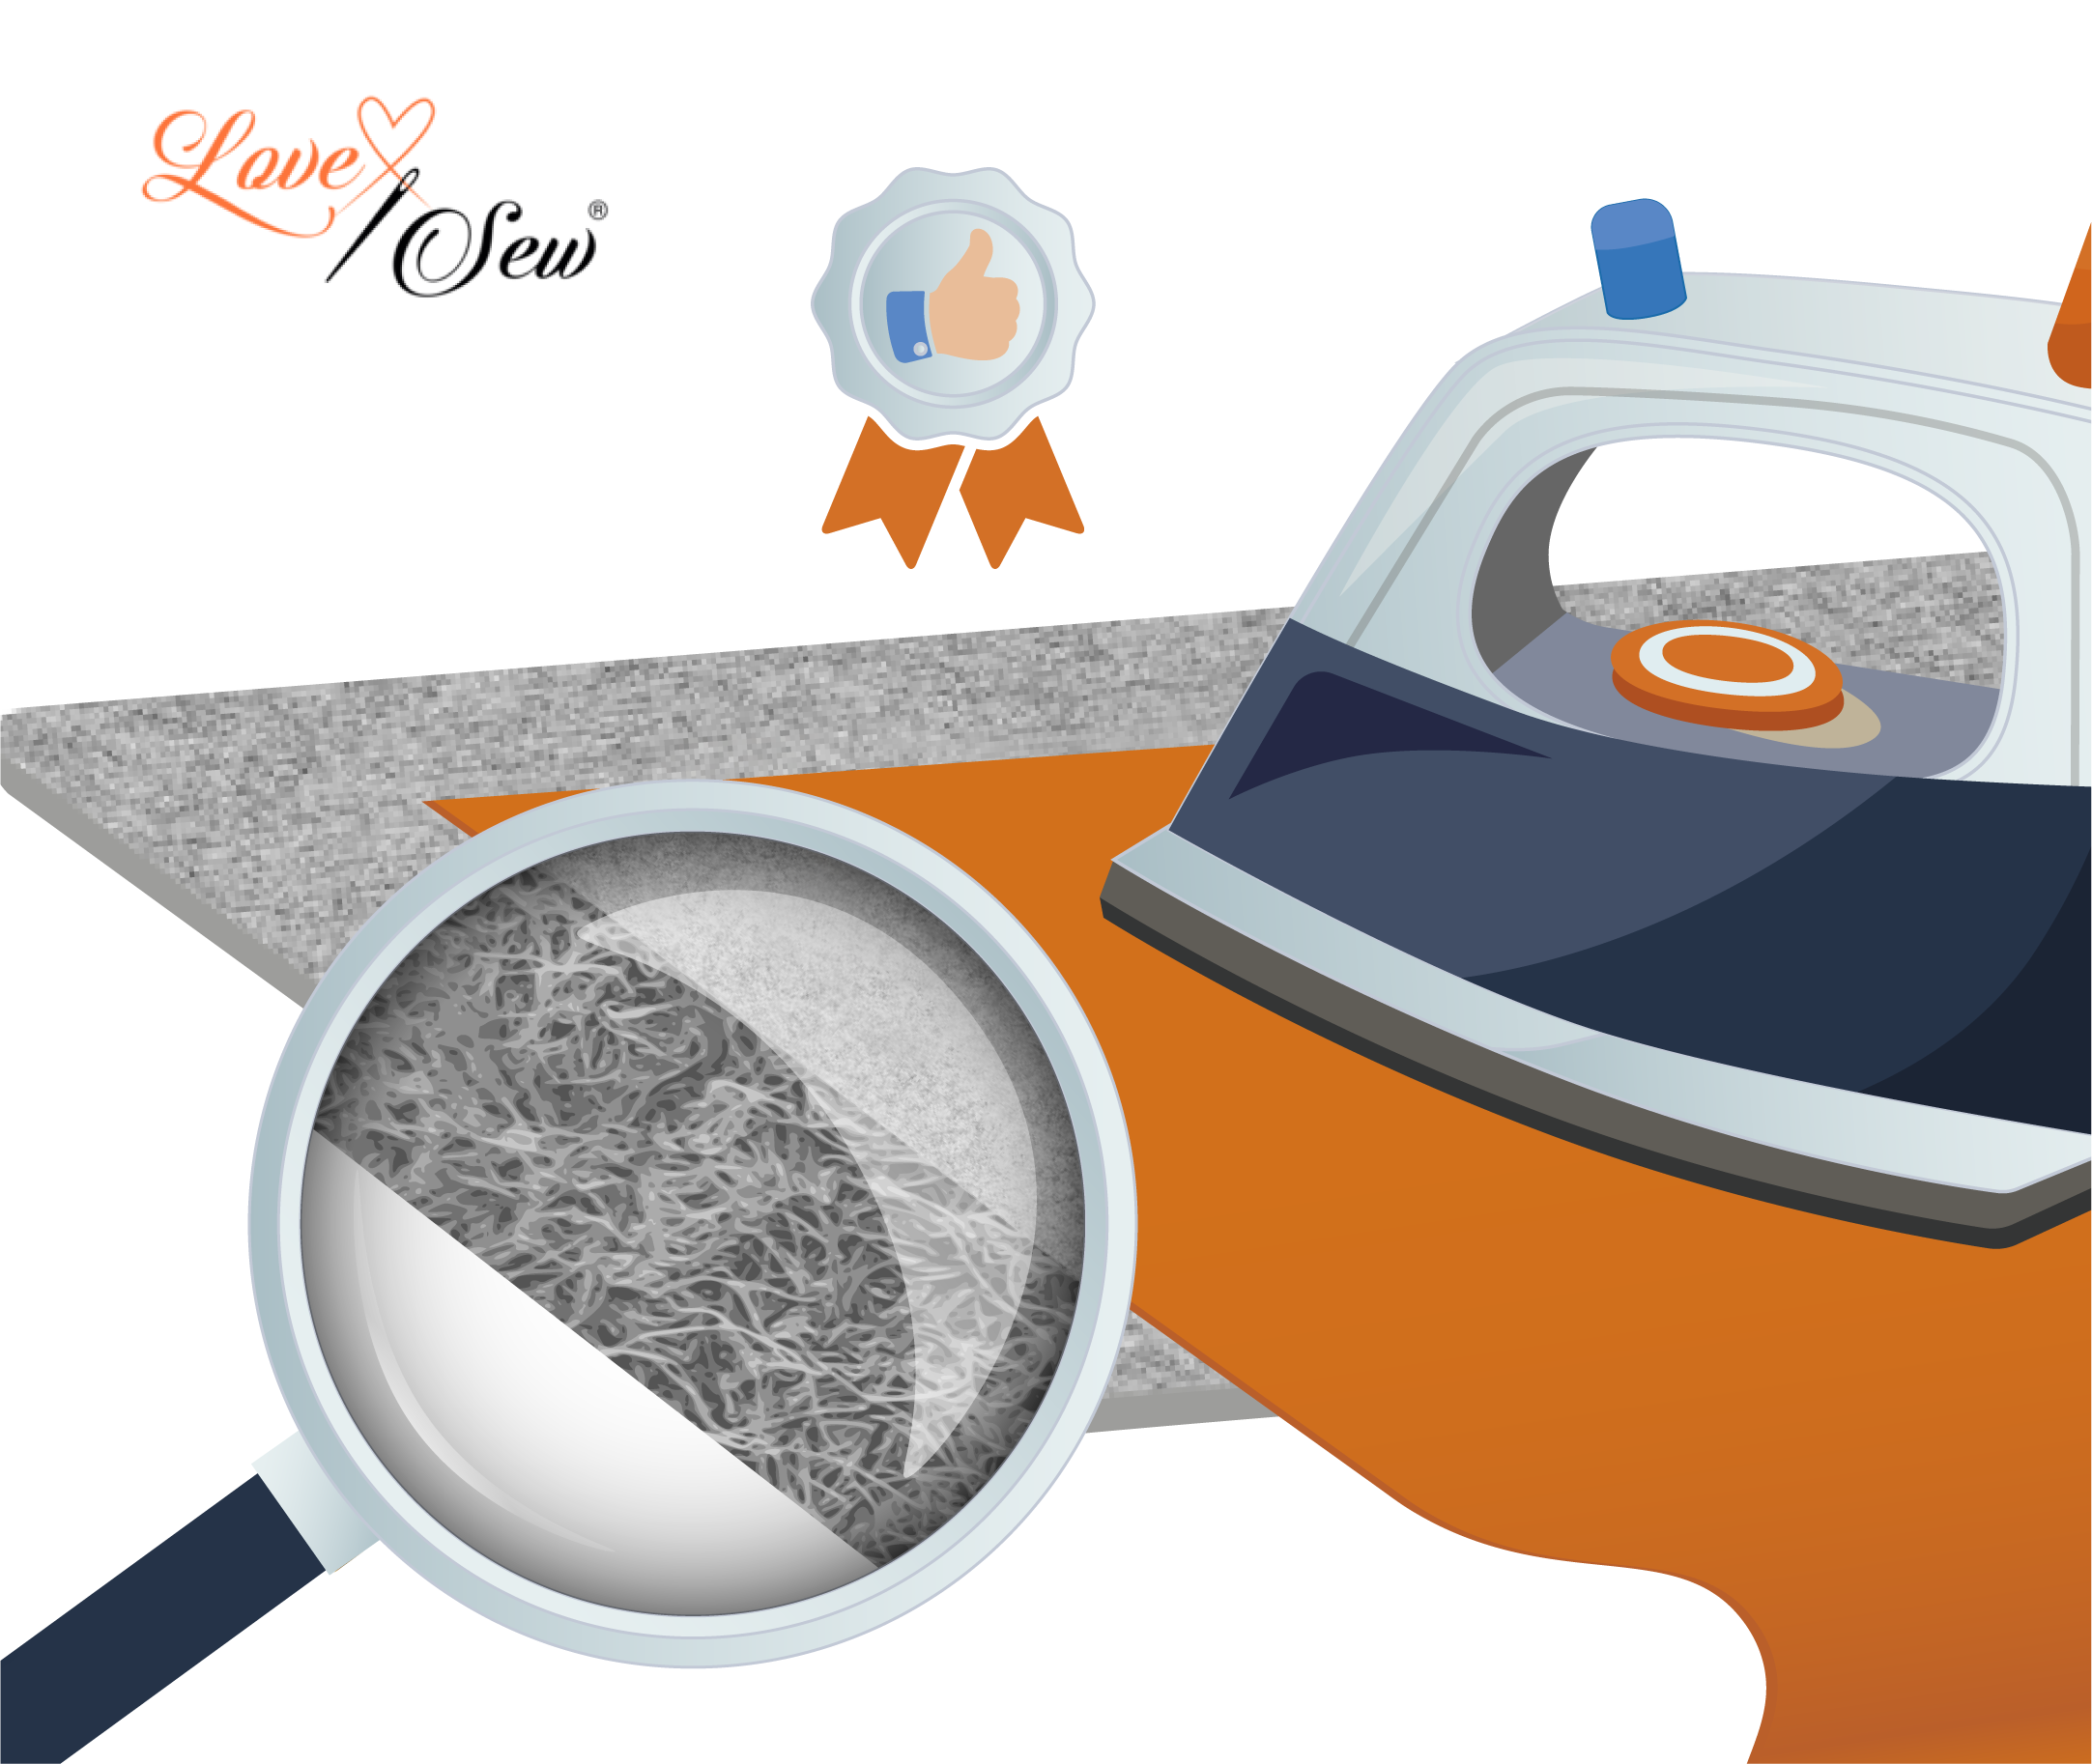
To begin measuring with your sewing gauge, it’s important to press your fabric with an iron first. You’ll want a crisp, wrinkle-free canvas to begin with for the most accurate measurements. Next, turn your garment inside out so that the wrong side of the fabric is exposed.
Now, determine the width of your hem. This will vary depending on the type of hem you’re going for.
- For a double rolled hem, the first fold will measure about ¼ inch, and the second can vary from about ½ to ¾ inch.
- For a narrow rolled hem, it’ll be about ⅛ to ¼ inch, repeated twice over two folds.
- For the bias tape hem, you’ll actually be measuring the width of the bias tape, but the most common is ½ inch bias tape. ¼ inch of the bias tape will be on either side of the hem.
- Blind hems are a bit more complex because they require an intricate folding and stitching pattern to make the hem invisible. The first fold will usually measure about an inch, and then you’ll fold the hem backwards over the right side, so it’s poking out about ⅛ of an inch when looking at the wrong side.
- Zig-zag hems can really be any length you like since they’re only folded over once, but typically range about ¼ to ½ inch.
Once you’ve determined the length of your first fold, you can begin measuring with your sewing gauge. Turn the garment inside out so that the wrong side is exposed, and move the slider on your sewing gauge to the hem length you’ve decided upon.
Now, take the edge of the fabric and fold it over, so the wrong sides are together. Line up the sewing gauge with the folded edge of the fabric. The end of the sewing gauge now represents where the fold of your hem should end.
Now, you’ll make adjustments to the folded edge so that the raw edge of the fabric perfectly lines up with the end of the sewing gauge. You can pin or clip the fabric in place as you go to keep it in place. You can also press it with an iron as you go along to create a crisp edge. Repeat this process around the entire hem of the garment.
Once you’ve created your first hem fold, you can repeat the process over. This will depend on what type of hem you’ve decided to create. Most hems, with the exception of the bias tape hem and the zig-zag hem, will require at least two folds.
Now, you’re ready to stitch your hem in place. Whether you’re hand sewing or using a machine, your work has been made much simpler with the use of a sewing gauge. You’ve eliminated the guesswork of hemming, and you’re guaranteed to end up with a crisp, clean hemline all the way around.
Other Uses For A Sewing Gauge
A sewing gauge is a handy tool that can be used for so much more than just creating even hemlines. We’ve compiled a few other ways for you to use this handy little gadget below.
-
Button Hole Placement: Deciding on the size of buttonholes, and measuring their spacing, is a cinch with a sewing gauge. Begin by setting your gauge to the desired length, then work your way down the garment, marking the placement with a pencil or chalk.
-
Measuring Starting/Stopping Points: Sewing gauges come in handy when measuring and marking where your stitching needs to begin and end. For example, when sewing in-seam pockets, you can use your sewing gauge to measure out the distance between the edge of the seam line and the edge of the pocket, so you know where to start and stop sewing.
-
Making Bias Binding: Making bias binding requires precision, especially when folding over to conceal the raw edge. Using a sewing gauge to measure the fold helps you be precise and even.
-
Measuring Pleats: Sewing gauges are great for accurately measuring the distance between pleats, as well as ensuring they’re all the same width. It also helps you pin the pleats at even intervals.
- Measuring Seam Allowances: Similar to measuring hems, measuring seam allowances can be tedious, as it has to be done all the way around the garment. Using a sewing gauge helps you work more quickly and ensure that your seam allowances are even all the way around.
Conclusion
Measuring even, accurate hemlines can sometimes be a chore, but it’s necessary to finish off garments and make them look professional. Using a sewing gauge helps take the headache out of the task, as well as ensures your hemlines will look perfect every time.
For more sewing tutorials, tips, tricks, and materials, visit Love Sew online. We’re passionate about all things sewing, and we’d love to welcome you into our sewing community.
Sources:
Leave a comment
This site is protected by hCaptcha and the hCaptcha Privacy Policy and Terms of Service apply.